How to Align Electric Eyes on a Garage Door?
If your garage door refuses to close all the way or keeps reversing, there's a good chance the problem lies with the safety sensors—also known as electric eyes. These small devices are crucial components of your garage door system, designed to prevent accidents by detecting obstructions. However, if they fall out of alignment, your garage door won’t function properly. In this guide, you’ll learn how to align electric eyes on a garage door easily, using simple tools and techniques. This step-by-step tutorial is designed to help you fix the issue efficiently while improving your understanding of garage door safety systems.
What Are Electric Eyes on a Garage Door?
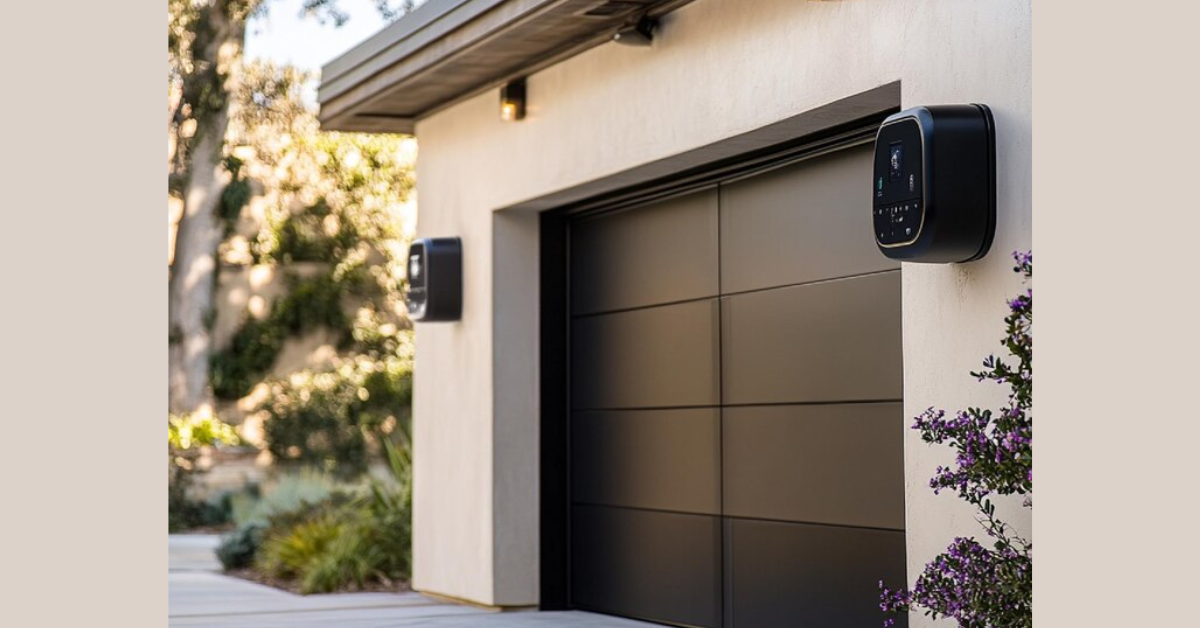
Electric eyes, or garage door safety sensors, are photoelectric sensors mounted on either side of the garage door opening, about 4 to 6 inches off the ground. These sensors work in pairs: one emits an infrared beam, and the other receives it. If anything breaks the beam while the door is closing, the system halts the door and reverses it to prevent injury or damage. When the electric eyes are not aligned correctly, the system believes something is in the way—even if there’s nothing there.
Why Proper Alignment Is Important
Misaligned sensors can cause several problems:
- The garage door refuses to close.
- The door reverses immediately after attempting to close.
- You may hear clicking sounds or see flashing LED indicators.
Aligning the electric eyes ensures the infrared beam is uninterrupted, restoring your garage door to full functionality.
Tools You’ll Need
To align garage door safety sensors, you’ll need the following:
- A measuring tape or ruler
- A screwdriver (usually Phillips-head)
- A string or laser level (optional but helpful)
- A clean cloth to wipe the lenses
Step-by-Step Instructions to Align Electric Eyes
Step 1: Check for Obstructions and Clean the Sensors
Before adjusting anything, inspect the area around the sensors. Clear away cobwebs, dirt, or any items that could block the beam. Use a clean cloth to wipe the sensor lenses. Sometimes, a simple cleaning is all it takes to fix alignment issues.
Step 2: Inspect Sensor Mounts and LED Lights
Each electric eye should have an LED light indicating its status. A steady green or red light usually means it's working properly, while a blinking or off light suggests misalignment or another issue. Check the brackets or mounts holding the sensors in place. Make sure they’re not loose, bent, or damaged.
Step 3: Loosen the Mounting Screws
Using a screwdriver, gently loosen the screws on the mounting brackets. Don’t remove them entirely—just enough to allow you to adjust the sensor’s position.
Step 4: Align the Sensors
You can align electric eyes in two main ways:
Option A: Using a String
- Tie a string to the sensor on one side.
- Stretch it across to the other sensor and tie it, keeping it level.
- Adjust the sensors so the string touches both sensor lenses equally.
Option B: Using a Laser Level
- Set the laser level on one sensor and point it to the other.
- Adjust until the laser hits the center of the opposite lens.
Both methods help ensure the sensors are perfectly aligned horizontally.
Step 5: Secure the Sensors
Once aligned, carefully tighten the screws on each bracket without moving the sensor. Double-check that the LED lights on both sensors are now solid (not blinking). This is the clearest sign that your electric eyes are aligned correctly.
Step 6: Test the Garage Door
Close the garage door using your remote or wall switch. If the door closes smoothly without reversing, the sensors are properly aligned. To double-check safety functionality, place an object like a box in the sensor path and attempt to close the door. It should automatically reverse when the beam is interrupted.
Additional Troubleshooting Tips
If aligning the sensors doesn’t solve the issue, consider the following:
- Check Wiring: Look for loose or frayed wires connecting to the sensors.
- Replace Sensors: If one or both sensors have damaged lenses or do not light up even after alignment, replacement may be necessary.
- Check Power Supply: Ensure the opener is getting power, as sensor issues can sometimes stem from larger electrical problems.
Final Thoughts
Knowing how to align electric eyes on a garage door is an essential skill for any homeowner. It's a quick, straightforward fix that restores safety and functionality to your garage system. Always perform routine checks and cleaning of your sensors to avoid future misalignment. By ensuring your sensors are working correctly, you’re not only maintaining your garage door system but also protecting your family and belongings.
For more DIY garage door repair tips and home improvement advice, consider bookmarking this guide or sharing it with others who might find it useful. Keeping your garage door in top condition starts with the small components—like those trusty electric eyes.


