
Fix n Go Blog
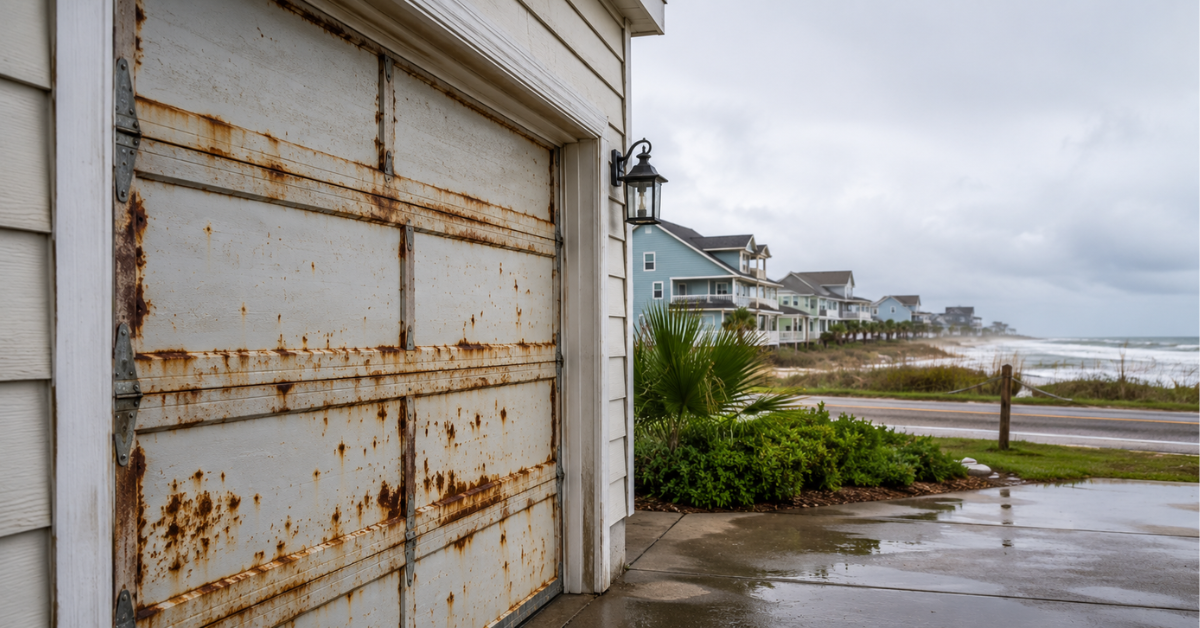
Why garage doors rust faster near coastal Texas, what causes it, and how to protect your door from salt air damage year-round.
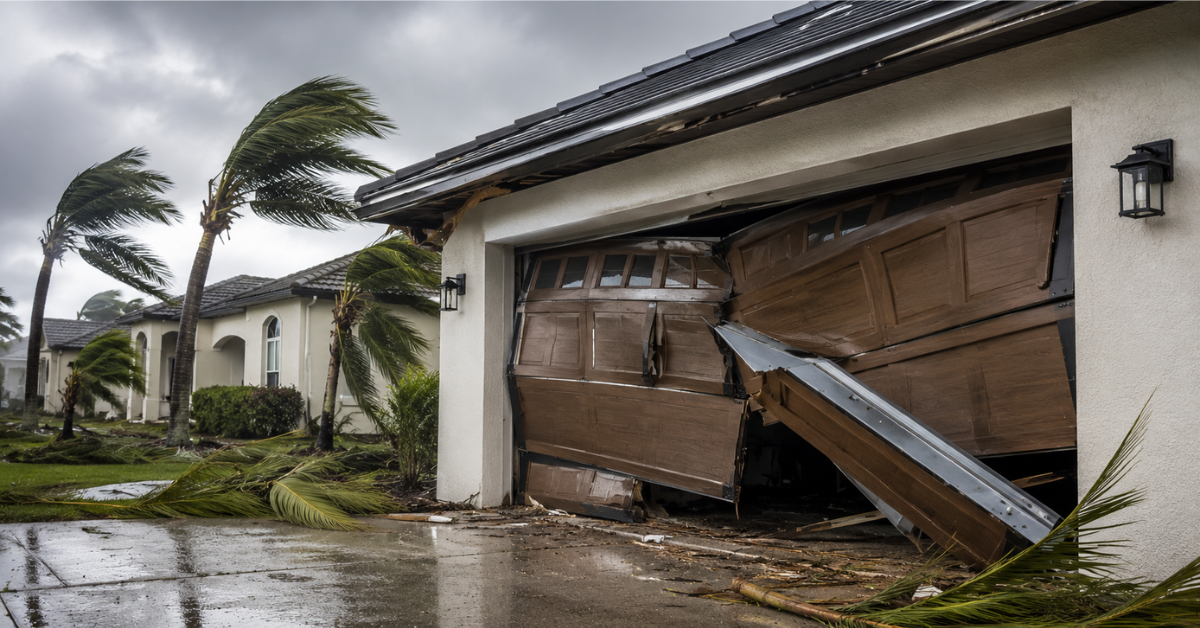
Can hurricanes damage garage doors? Yes, here's how wind pressure causes failure, which doors hold up best, and how to protect yours.
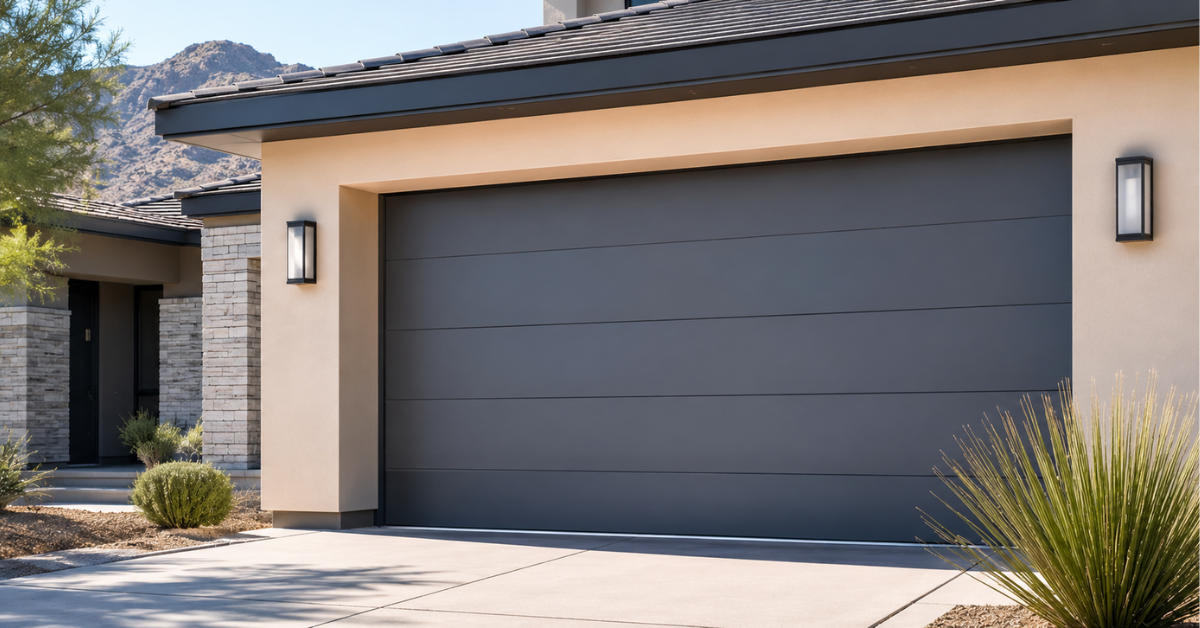
Discover the best garage door materials for extreme heat, from insulated steel to fiberglass, and how to protect your garage from sun damage.
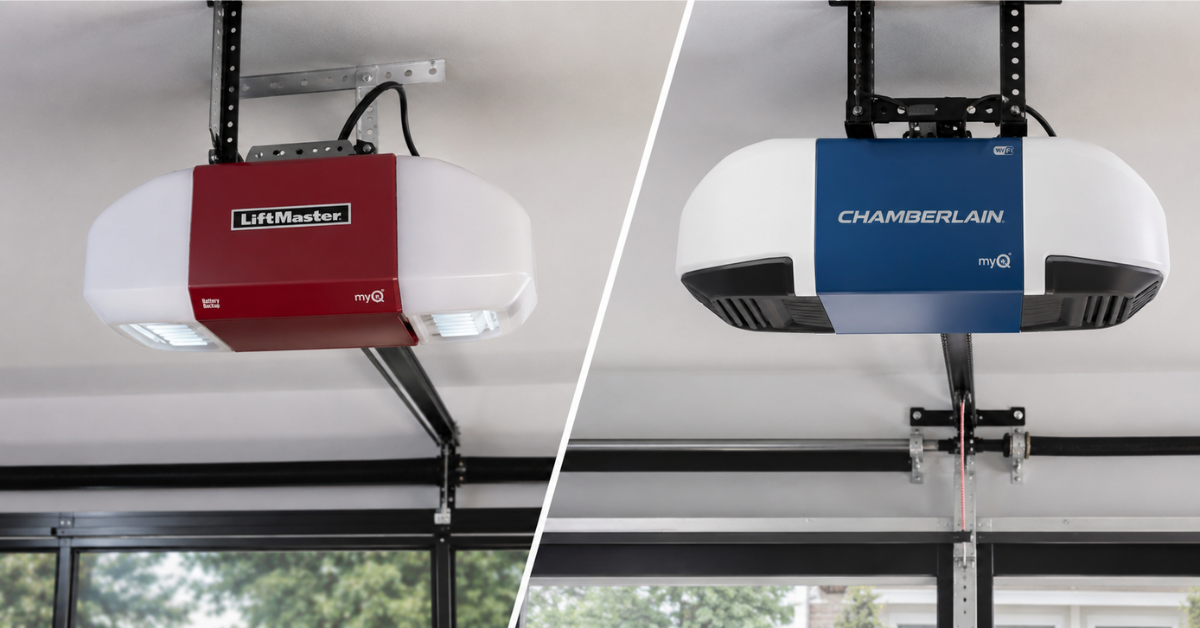
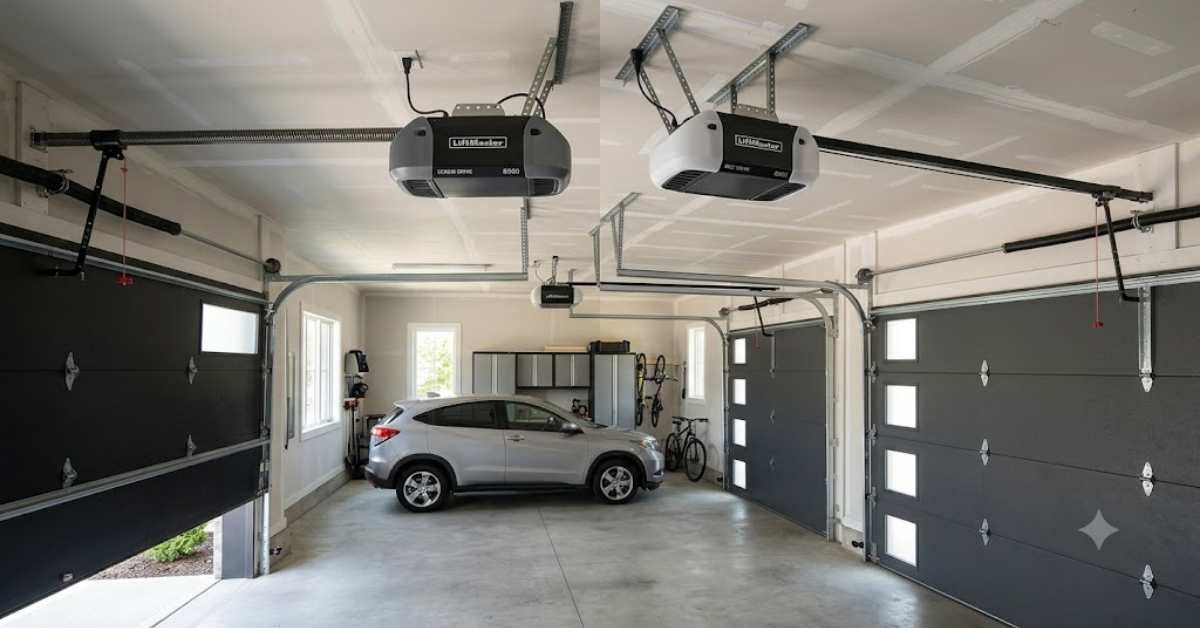
LiftMaster vs Chamberlain garage door openers: compare price, features, warranty, and reliability to find the right fit for your home.
Find the best garage door openers for heavy doors, including horsepower needs, drive types, and features that prevent motor strain.
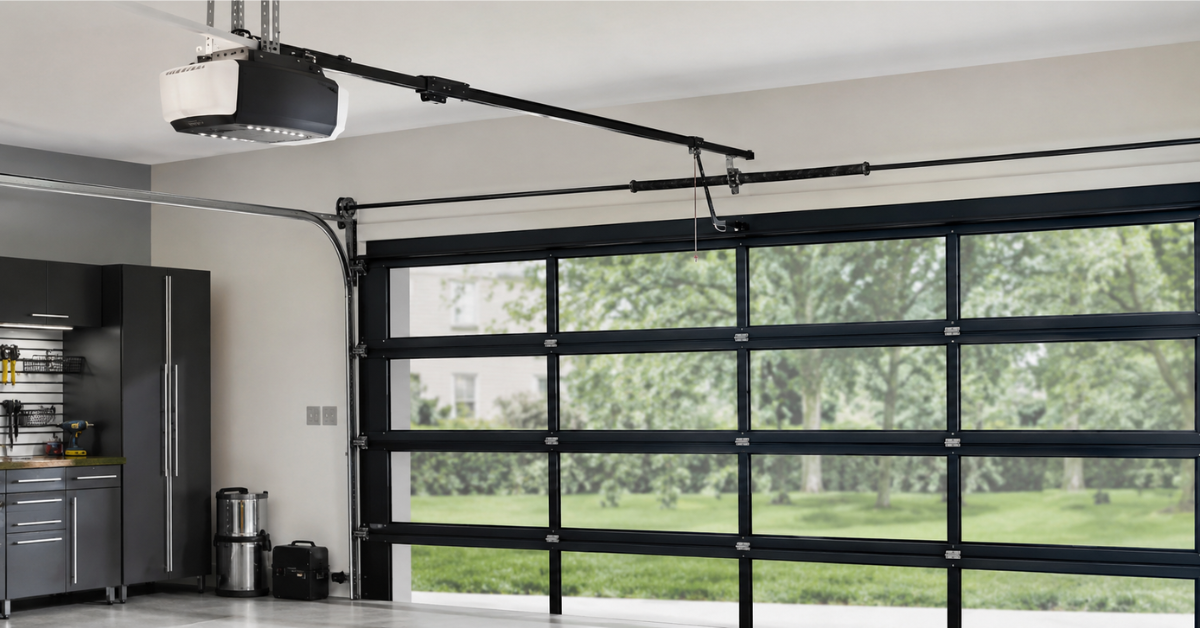
Screw drive vs belt drive garage door opener: compare noise, maintenance, cost, and durability to find the best fit for your home.
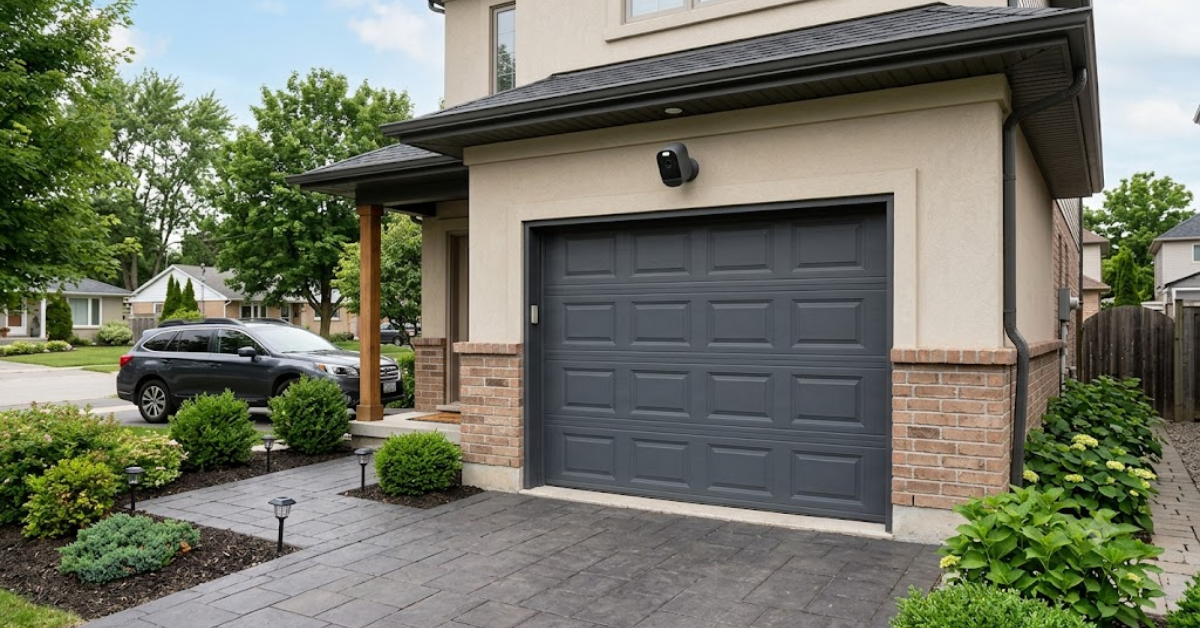
Discover the best garage door cameras for home security, what features actually matter, and how to choose the right one for your setup.
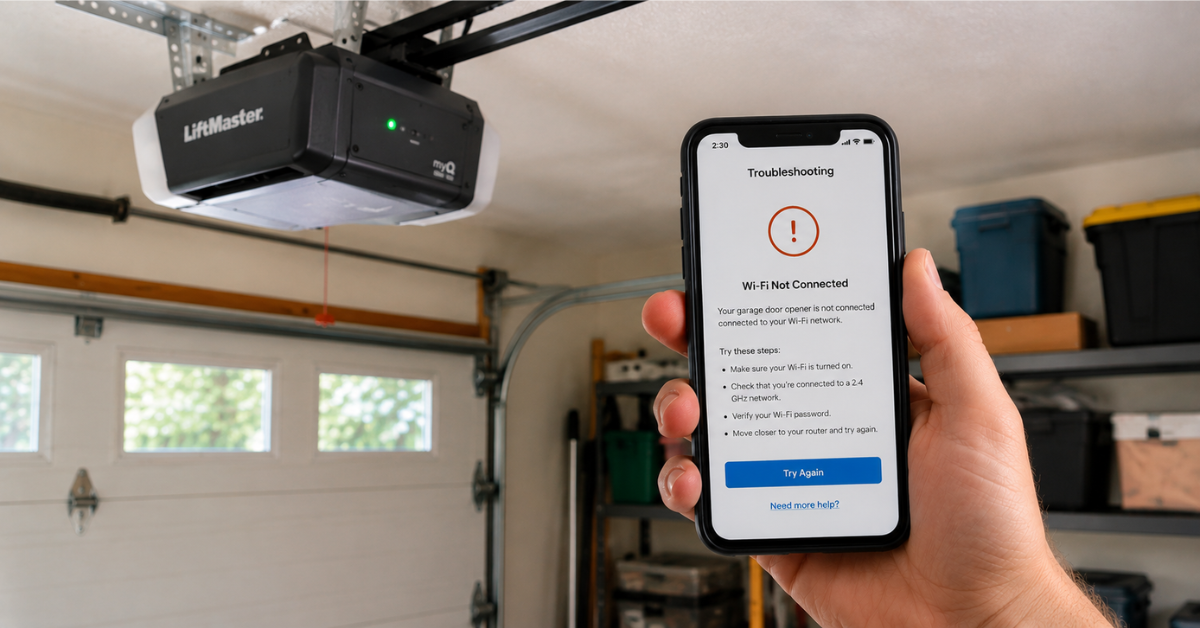
Stop fighting a WiFi garage door opener that won't connect. Get the exact fixes that work, from signal issues to full resets, in one guide.
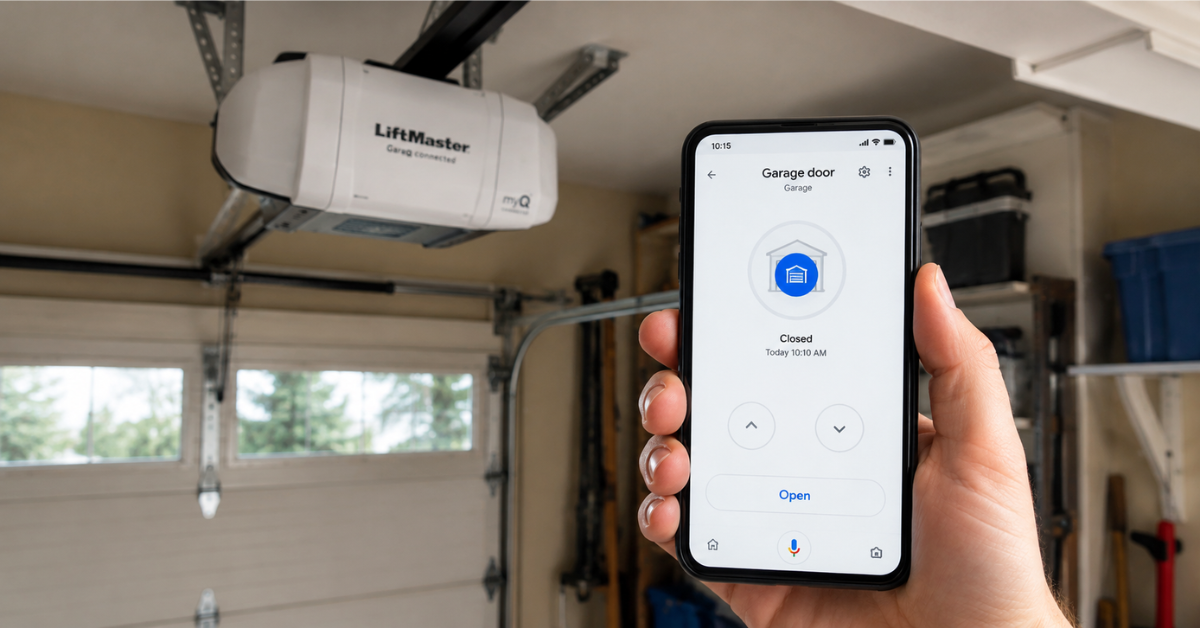
Learn how to connect your garage door to Google Home in minutes. Step-by-step setup, compatible devices, and troubleshooting tips inside.

A garage door that jerks when closing signals something is wrong. Discover every cause — from worn rollers to cable issues — and the right fix for each.
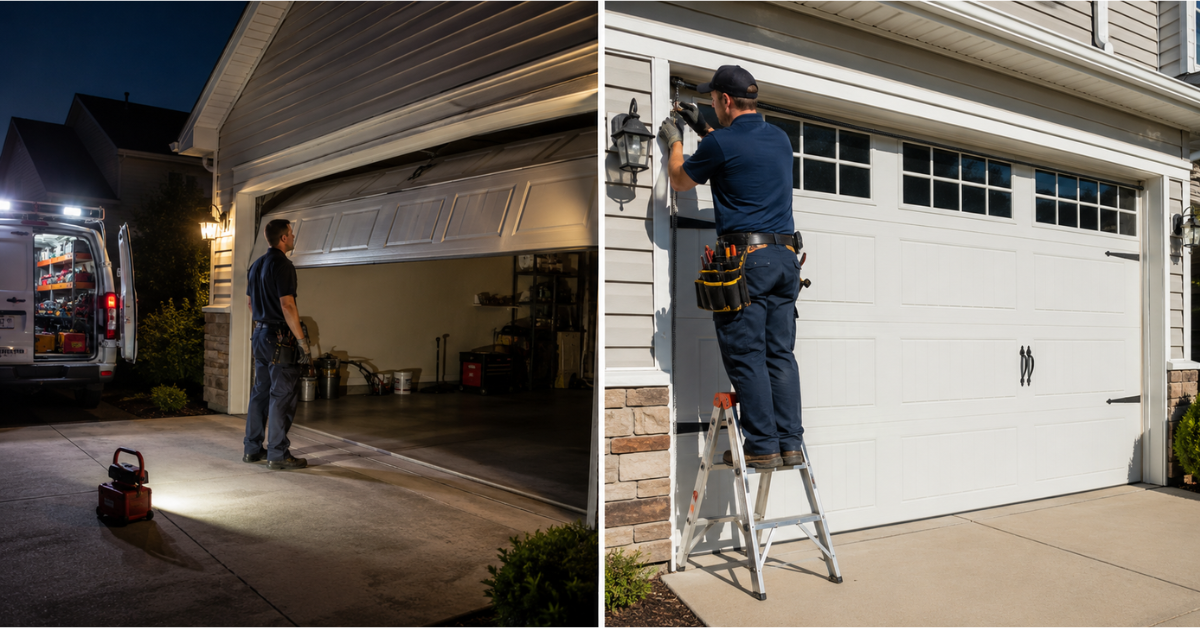
Not sure if your garage door issue is an emergency or can wait? This guide breaks down exactly when to call for emergency repair — and when you don't need to.
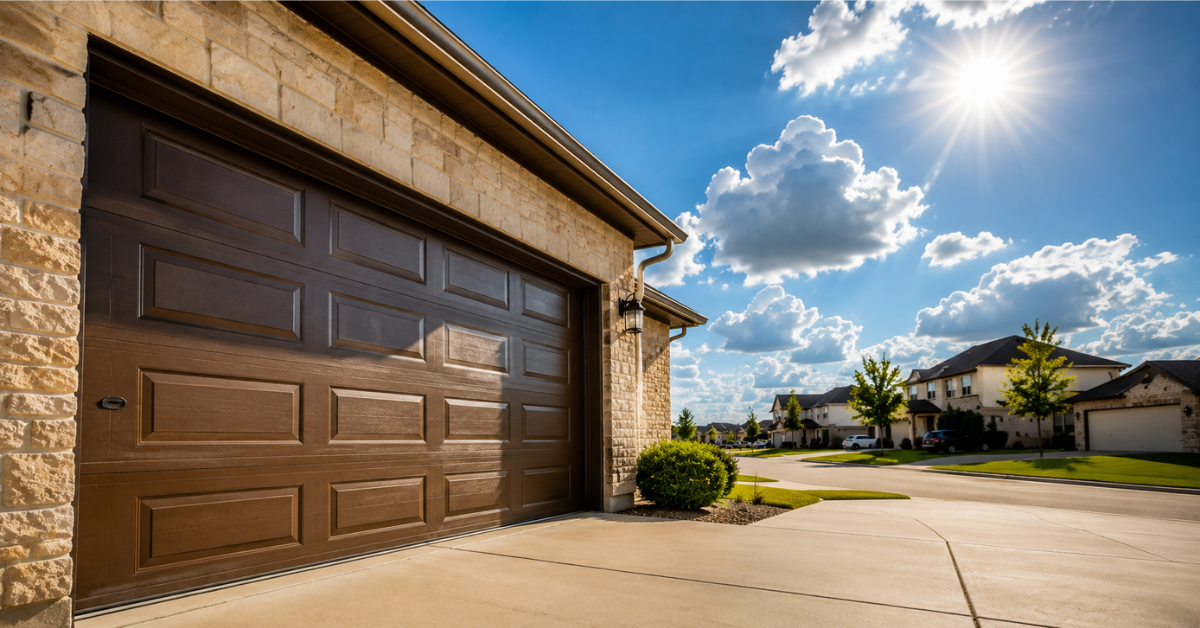
Texas heat, humidity, and storms put garage doors through more than most. Find out how long yours should last — and what shortens that timeline fast.