What to Do If Your Electric Garage Door Won’t Open?

Rabia Tingat • June 11, 2025

An electric garage door is one of the most convenient features of a modern home—until it suddenly stops working. If your electric garage door won’t open, it can be a major inconvenience, especially if your car is stuck inside or you’re trying to get in after a long day. Before calling a professional, there are several things you can check and try on your own. This article will guide you through the most common issues and solutions for an electric garage door that won’t open, written in simple terms and optimized with high-search-volume keywords to help you find what you need fast.


Check the Power Supply First


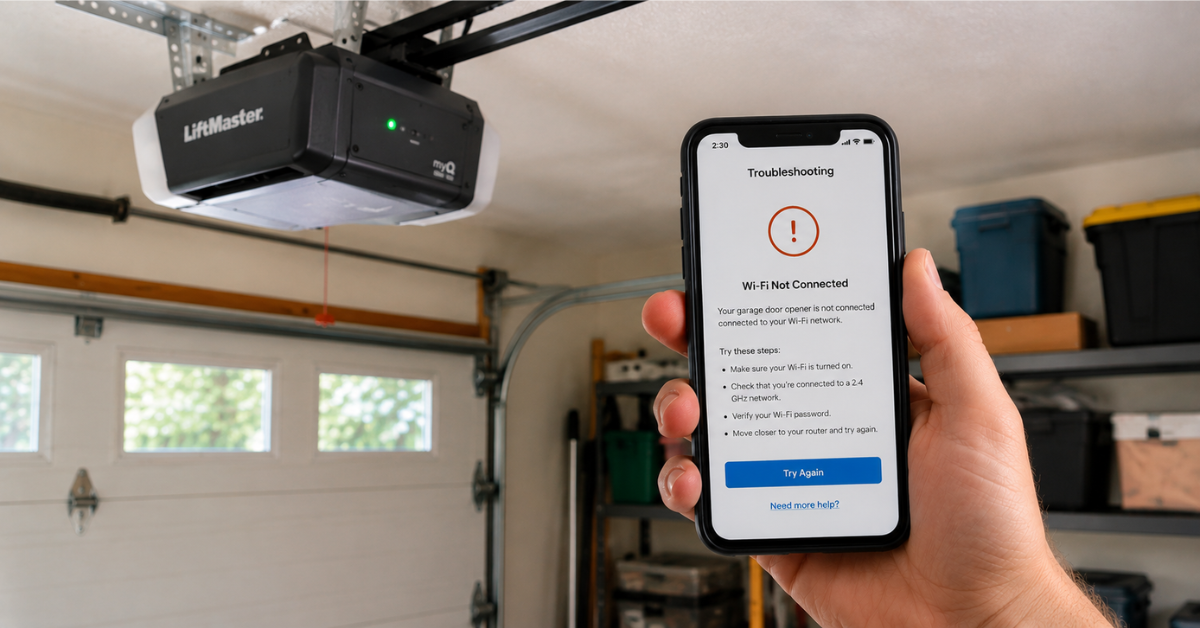
One of the most common and overlooked reasons an electric garage door won’t open is a power issue. Begin by making sure that the garage door opener is plugged in properly. Sometimes plugs get loose or accidentally unplugged. Next, check your home’s circuit breaker or fuse box. If the breaker has tripped or the fuse is blown, reset or replace it. Many homeowners are surprised to learn their opener was without power all along.


Examine the Remote Control and Wall Switch


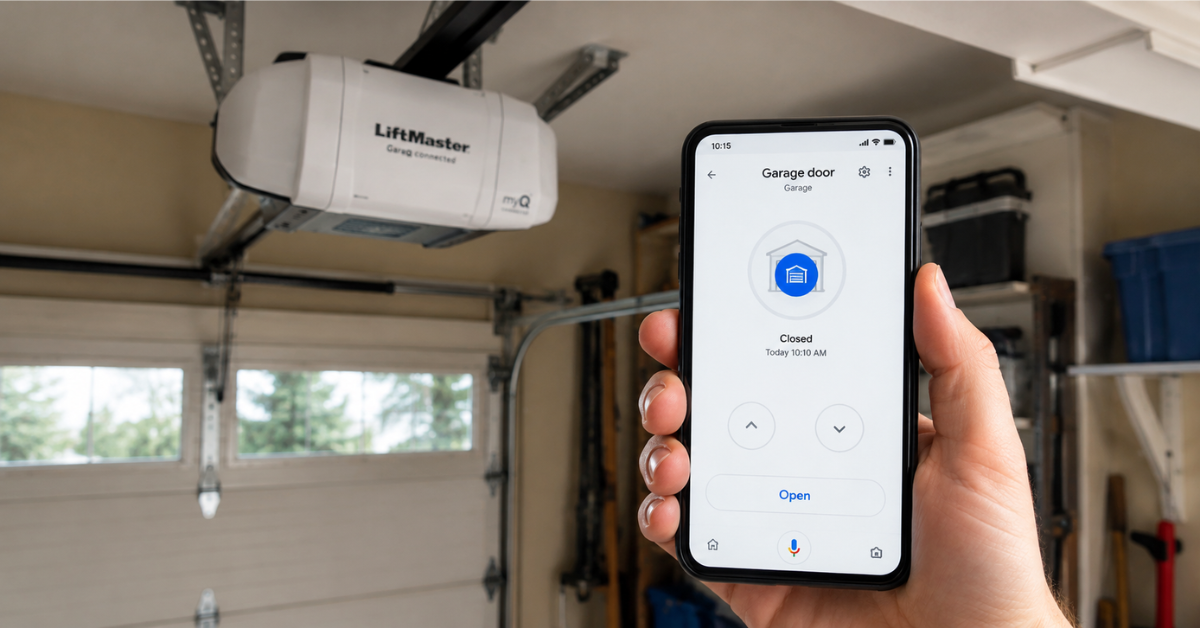
If your electric garage door won’t open with the remote, try using the wall switch inside your garage. If the wall switch works but the remote doesn’t, the problem is likely with the remote—often just a dead battery. Replace the battery and test it again. If the remote still doesn't respond, try reprogramming it according to your garage door opener’s manual. Also, make sure you are within range when using the remote and that nothing is blocking the signal.


Look for Physical Obstructions


Garage doors run on metal tracks that must be clear for smooth operation. Sometimes debris, dirt, or even small objects like tools or rocks can block the tracks, preventing the door from moving. Check both sides of the track and remove anything that could be in the way. Also, ensure the tracks are not bent or misaligned, as that could restrict the door's movement and stop it from opening.


Inspect the Safety Sensors


Modern electric garage doors are equipped with safety sensors near the bottom of the frame. These sensors prevent the door from closing when something is in its path—but they can also stop the door from opening if misaligned or blocked. Make sure nothing is obstructing the sensors. Clean the sensor lenses with a soft, dry cloth and ensure both sensors are pointed directly at each other. If the sensors are blinking or the indicator lights are off, that usually means they need to be realigned or repaired.


Check the Garage Door Springs


If your garage door won’t open and you hear the motor running, the issue might be with the springs. Electric garage doors rely on either torsion or extension springs to assist in lifting the heavy door. If a spring is broken, the door may become too heavy for the opener to lift. You might even hear a loud bang when the spring breaks. Because garage door springs are under extreme tension, they can be very dangerous to repair yourself. If you suspect a broken spring, it's best to contact a professional for help.


Try the Manual Release


When your garage door opener fails, you can still open the door manually. Look for the red emergency release cord hanging from the opener rail. Pulling this cord will disconnect the door from the motor, allowing you to lift it by hand. Keep in mind, however, that if the springs are broken or damaged, the door might be extremely heavy. Use caution and never attempt to lift it alone if it feels unsafe.


Listen for Unusual Sounds


Strange noises like grinding, humming, or clicking when you press the opener can be signs of a more serious mechanical problem. These sounds may indicate that the opener's motor is running but not engaging properly with the door. This could be due to a stripped gear, broken chain, or malfunctioning drive system. If you hear any of these noises, it's a good idea to schedule an inspection with a certified technician.


Consider the Age of Your Opener


Garage door openers usually last 10 to 15 years with proper maintenance. If your opener is nearing or past this age, it might simply be time for a replacement. Older models may also lack modern safety features and energy efficiency. Upgrading to a newer, quieter, and more reliable model can save you future headaches and improve your home’s security.


When to Call a Professional


While many garage door issues can be resolved with basic troubleshooting, some problems require professional attention. Electrical faults, broken springs, and damaged motors are not DIY-friendly repairs. If you’ve tried all the steps above and your garage door still won’t open, don’t hesitate to call a licensed garage door repair technician. A trained professional can diagnose the problem quickly and safely, saving you time and potential injury.


Final Thoughts


When your electric garage door won’t open, don’t panic. Start by checking the simplest issues like power supply, remote batteries, and sensor alignment. Many problems have easy fixes you can handle yourself. However, if the issue is more serious—like broken springs or mechanical failure—professional repair is the safest route. Regular maintenance, such as cleaning tracks and testing your opener system, can also help prevent future issues. With these steps, you’ll be better prepared to handle a stuck garage door and get back to your day with minimal delay.

You might also like

Fix N Go Blog

How to Replace a Garage Door Motor?
By Rabia Tingat July 24, 2025
If your garage door opener motor has become noisy, sluggish, or completely non-functional, it may be time to replace it. A faulty motor can make daily garage use frustrating and even unsafe. Fortunately, replacing a garage door motor isn't as complicated as it may seem—especially if you're comfortable with basic DIY tasks. In this step-by-step guide, we’ll walk you through how to replace a garage door motor safely and effectively. Whether you’re dealing with a burnt-out motor or simply upgrading to a newer model, we’ll help you understand the entire process—from removal to reinstallation. Signs Your Garage Door Motor Needs Replacing Before we jump into the replacement process, let’s look at a few signs that indicate your garage door motor is failing: The opener struggles to lift or lower the door Unusual grinding or humming noises from the motor Frequent power failures or overheating The door only opens partially or not at all The remote and wall switch stop responding If your opener exhibits any of these issues even after resetting or troubleshooting, replacing the motor is likely the best long-term solution. Choosing the Right Garage Door Motor Replacement Garage door motors (often called garage door openers) come in several types—chain drive, belt drive, screw drive, and direct drive. When choosing a replacement, make sure it’s compatible with: Your garage door's weight and size Available power source (AC or DC motor) Existing hardware and mounting setup Brands like Chamberlain, Genie, and LiftMaster offer reliable units that include all necessary mounting brackets, sensors, and manuals for a smoother installation. Tools You’ll Need Before replacing your garage door motor, gather these essential tools: Ladder Socket set Screwdrivers Adjustable wrench Wire cutters and strippers Power drill Safety glasses and gloves Once you're equipped, turn off the power supply to the opener to avoid electrical hazards. Step-by-Step Guide to Replacing a Garage Door Motor Step 1: Disconnect Power and Unplug the Motor Safety first—disconnect the opener from the power outlet. If it's hardwired into your home’s electrical system, turn off the circuit breaker. Confirm there's no electricity flowing to the unit using a voltage tester. Step 2: Disengage the Door from the Opener Pull the emergency release cord (usually a red handle) to disengage the garage door from the opener. This lets you open and close the door manually during the motor replacement process. Step 3: Remove the Old Garage Door Motor Start by detaching the wires connected to the safety sensors and wall switch. Take photos or label wires for reference during reinstallation. Next, use a socket wrench or screwdriver to unscrew the motor unit from its mounting bracket on the ceiling. Be cautious—these units are heavy and often require a second person to safely lower them. Once the motor is removed, also uninstall the rail and trolley if your new opener comes with its own. Step 4: Install the New Motor and Mounting Rail Assemble the new motor unit according to the manufacturer’s instructions. This often includes connecting the rail, carriage, and pulley system. Mount the new rail above your garage door and secure the motor to the ceiling using provided brackets. Make sure everything is level and firmly attached. A misaligned rail can lead to jerky movements or early wear on the new motor. Step 5: Wire the Motor and Accessories Reconnect the wall switch and safety sensor wires to the terminals on the new motor unit. Most openers have labeled terminals—typically for red, white, and black wires. If your model includes a backup battery, antenna, or Wi-Fi connection, set these up now. Follow your motor’s wiring diagram precisely to avoid connectivity issues. Step 6: Reconnect the Door and Adjust Settings Pull the emergency cord back into the “engaged” position to reattach the door to the trolley. Now, plug the motor into the power outlet or restore power at the breaker. Turn on the unit and test the door’s operation. Adjust the travel limits and force settings as needed. These settings ensure the door opens and closes completely without excessive strain. Refer to your manual for step-by-step adjustment instructions—usually involving small dials or digital buttons on the unit. Testing Your New Garage Door Motor Once installed, test the full functionality of the opener: Use both the wall switch and remote control Check safety sensors by blocking the beam—door should reverse Confirm smooth and quiet operation Listen for any abnormal noises or vibrations If the door doesn’t operate properly, recheck the alignment of the rail, the wiring connections, or the motor’s mounting hardware. Professional Help vs. DIY While replacing a garage door motor is a doable task for experienced DIYers, you may want to call a professional if:  Your opener is hardwired (no plug-in cord) The ceiling mount is in a tight or high area The garage door is unusually heavy or custom-built You’re unsure about wiring and adjustments Professional installers can typically complete the job within 1–2 hours, and many offer warranties on both labor and parts. Final Thoughts Replacing a garage door motor may seem like a big task, but with the right preparation and safety steps, it's well within reach for the average homeowner. Whether you're upgrading to a quieter, smarter opener or fixing a worn-out unit, understanding the wiring, mounting, and setup process will ensure a successful installation. Remember to always follow the manufacturer’s instructions, double-check your wiring, and test your new unit thoroughly. When done correctly, a new garage door motor will provide smooth, reliable performance for years to come.
How Does Genie Garage Door Motor Wire In?
By Rabia Tingat July 22, 2025
Find out how to wire a Genie garage door motor with expert tips. Improve motor performance and ensure secure, safe installation with this guide.
How to Replace a Garage Door Cable?
By Rabia Tingat July 20, 2025
Learn how to replace a garage door cable step-by-step. This guide covers tools, safety tips, and expert advice for a smooth and safe cable replacement.