How To Program A Liftmaster Keypad?

Rabia Tingat • October 10, 2024

LiftMaster is one of the most reliable brands when it comes to garage door openers. One of its best features is the wireless keypad, which allows you to open your garage without the need for a remote. Programming a LiftMaster keypad may seem challenging, but with the right steps, it’s easy to set up in just a few minutes. To ensure a smooth and secure setup, this guide will help you program your LiftMaster keypad.


Why You Should Program a LiftMaster Keypad

Before we dive into the steps, let’s understand why programming your LiftMaster keypad is beneficial.

  1. Convenience: A wireless keypad allows you to access your garage without needing to carry a remote. This is especially useful if you’re prone to losing remotes or prefer hands-free entry.
  2. Security: You can program a unique code, enhancing the security of your garage and home.
  3. Multiple Users: If multiple family members need access to the garage, the keypad allows everyone to use a secure PIN without distributing remotes.


What You’ll Need

Before starting, make sure you have:

  • A LiftMaster garage door opener with a compatible wireless keypad
  • A step ladder if your opener is mounted high
  • The four-digit code you want to program into the keypad


Step-by-Step Guide to Programming a LiftMaster Keypad

1. Locate the “Learn” Button

1. Locate the “Learn” Button

The first step is to find the “Learn” button on your LiftMaster garage door opener. This button is typically located on the back or side of the motor housing unit, which is mounted on the ceiling of your garage. You may need to use a ladder to access this area safely.

The “Learn” button is often near the antenna wire hanging from the garage door opener and can be yellow, purple, red, or green depending on your model.


2. Press the “Learn” Button

Once you’ve located the “Learn” button, press it. After pressing the button, you will see an LED light either blink or stay solid, depending on the model. This indicates that the garage door opener is in “program mode,” and you now have 30 seconds to complete the next steps.


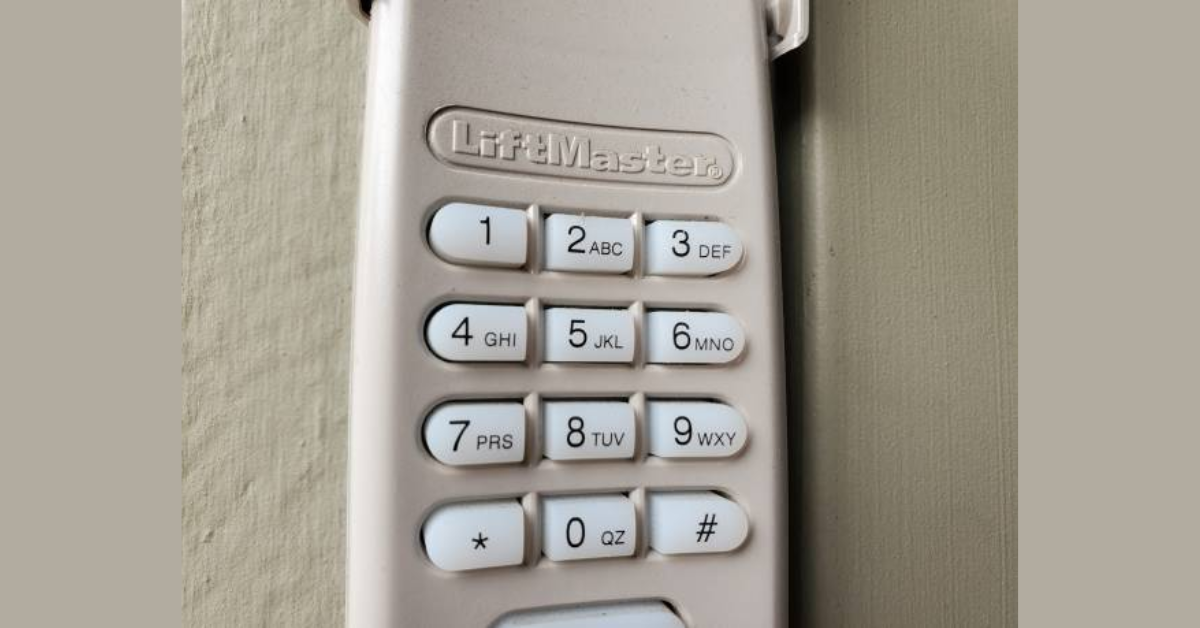
3. Enter Your Four-Digit Code

Now, head over to the LiftMaster keypad. Enter the four-digit code that you want to use to open the garage door. This code can be any combination of numbers that you can easily remember. Once entered, press and hold the “Enter” button on the keypad.


4. Test the Keypad

After you have entered your code and pressed “Enter,” the garage door should move or the motor should make a noise, indicating the code has been successfully programmed. To test the keypad, wait for the garage door to close fully, then re-enter the code to see if the garage door opens. If the door opens, congratulations! You have successfully programmed your LiftMaster keypad.


5. Reprogramming the Keypad (If Necessary)

If you made a mistake during the programming process or want to change your code, don’t worry. Reprogramming the keypad is simple. Start by pressing and holding the “Learn” button again until the LED light turns off. This will erase the previous code. After that, repeat the steps mentioned above to enter a new code.


Troubleshooting Tips


Even though programming a LiftMaster keypad is straightforward, there are a few issues you may run into. Here are some troubleshooting tips to help:

  • The keypad isn’t responding: Check the batteries in the keypad. If the batteries are dead or low, replace them and try programming the keypad again.
  • The garage door doesn’t open: Double-check that you’re entering the correct four-digit code. Also, ensure that the keypad is within range of the garage door opener. If the code is still not working, reset the keypad by pressing the “Learn” button again and repeat the steps.
  • Multiple users need different codes: Some LiftMaster keypads allow you to program multiple codes for different users. Check your keypad’s user manual for instructions on adding additional codes.
  • Interference from nearby devices: Sometimes, wireless devices can cause interference with your LiftMaster system. Make sure your keypad and garage door opener are not near other wireless devices or metal objects that could disrupt the signal.


Maintaining Your LiftMaster Keypad


To ensure your LiftMaster keypad continues to function optimally, here are a few maintenance tips:

  1. Change the Batteries Regularly: Most LiftMaster keypads use 9V or AA batteries. It’s a good idea to replace them every six months to a year, depending on usage.
  2. Keep the Keypad Clean: Dirt and debris can accumulate on the keypad over time, causing buttons to stick or malfunction. Clean the surface with a damp cloth regularly.
  3. Update Codes Periodically: For security reasons, it’s smart to change your keypad code occasionally, especially if you’ve shared it with guests or contractors.


Frequently Asked Questions

Q: How many codes can I program into my LiftMaster keypad?

Q: How many codes can I program into my LiftMaster keypad?

A: Most models allow you to program one code, but some advanced models support multiple codes.


Q: Can I program the keypad without a remote?

A: Yes, you can program a LiftMaster keypad directly by using the “Learn” button on the garage door opener.


Q: What should I do if I forget my code?

A: If you forget your code, press and hold the “Learn” button on your garage door opener to erase the previous code. Then follow the programming steps to set a new code.


Conclusion


Programming your LiftMaster keypad is a simple and efficient way to enhance the convenience and security of your garage. By following these easy steps, you can quickly set up your keypad and enjoy the benefits of wireless, keyless entry. Remember to keep your code secure and update it periodically to maintain the safety of your home. If you ever run into issues, refer back to the troubleshooting tips for assistance.

You might also like

Fix N Go Blog

How to Replace a Garage Door Motor?
By Rabia Tingat July 24, 2025
If your garage door opener motor has become noisy, sluggish, or completely non-functional, it may be time to replace it. A faulty motor can make daily garage use frustrating and even unsafe. Fortunately, replacing a garage door motor isn't as complicated as it may seem—especially if you're comfortable with basic DIY tasks. In this step-by-step guide, we’ll walk you through how to replace a garage door motor safely and effectively. Whether you’re dealing with a burnt-out motor or simply upgrading to a newer model, we’ll help you understand the entire process—from removal to reinstallation. Signs Your Garage Door Motor Needs Replacing Before we jump into the replacement process, let’s look at a few signs that indicate your garage door motor is failing: The opener struggles to lift or lower the door Unusual grinding or humming noises from the motor Frequent power failures or overheating The door only opens partially or not at all The remote and wall switch stop responding If your opener exhibits any of these issues even after resetting or troubleshooting, replacing the motor is likely the best long-term solution. Choosing the Right Garage Door Motor Replacement Garage door motors (often called garage door openers) come in several types—chain drive, belt drive, screw drive, and direct drive. When choosing a replacement, make sure it’s compatible with: Your garage door's weight and size Available power source (AC or DC motor) Existing hardware and mounting setup Brands like Chamberlain, Genie, and LiftMaster offer reliable units that include all necessary mounting brackets, sensors, and manuals for a smoother installation. Tools You’ll Need Before replacing your garage door motor, gather these essential tools: Ladder Socket set Screwdrivers Adjustable wrench Wire cutters and strippers Power drill Safety glasses and gloves Once you're equipped, turn off the power supply to the opener to avoid electrical hazards. Step-by-Step Guide to Replacing a Garage Door Motor Step 1: Disconnect Power and Unplug the Motor Safety first—disconnect the opener from the power outlet. If it's hardwired into your home’s electrical system, turn off the circuit breaker. Confirm there's no electricity flowing to the unit using a voltage tester. Step 2: Disengage the Door from the Opener Pull the emergency release cord (usually a red handle) to disengage the garage door from the opener. This lets you open and close the door manually during the motor replacement process. Step 3: Remove the Old Garage Door Motor Start by detaching the wires connected to the safety sensors and wall switch. Take photos or label wires for reference during reinstallation. Next, use a socket wrench or screwdriver to unscrew the motor unit from its mounting bracket on the ceiling. Be cautious—these units are heavy and often require a second person to safely lower them. Once the motor is removed, also uninstall the rail and trolley if your new opener comes with its own. Step 4: Install the New Motor and Mounting Rail Assemble the new motor unit according to the manufacturer’s instructions. This often includes connecting the rail, carriage, and pulley system. Mount the new rail above your garage door and secure the motor to the ceiling using provided brackets. Make sure everything is level and firmly attached. A misaligned rail can lead to jerky movements or early wear on the new motor. Step 5: Wire the Motor and Accessories Reconnect the wall switch and safety sensor wires to the terminals on the new motor unit. Most openers have labeled terminals—typically for red, white, and black wires. If your model includes a backup battery, antenna, or Wi-Fi connection, set these up now. Follow your motor’s wiring diagram precisely to avoid connectivity issues. Step 6: Reconnect the Door and Adjust Settings Pull the emergency cord back into the “engaged” position to reattach the door to the trolley. Now, plug the motor into the power outlet or restore power at the breaker. Turn on the unit and test the door’s operation. Adjust the travel limits and force settings as needed. These settings ensure the door opens and closes completely without excessive strain. Refer to your manual for step-by-step adjustment instructions—usually involving small dials or digital buttons on the unit. Testing Your New Garage Door Motor Once installed, test the full functionality of the opener: Use both the wall switch and remote control Check safety sensors by blocking the beam—door should reverse Confirm smooth and quiet operation Listen for any abnormal noises or vibrations If the door doesn’t operate properly, recheck the alignment of the rail, the wiring connections, or the motor’s mounting hardware. Professional Help vs. DIY While replacing a garage door motor is a doable task for experienced DIYers, you may want to call a professional if:  Your opener is hardwired (no plug-in cord) The ceiling mount is in a tight or high area The garage door is unusually heavy or custom-built You’re unsure about wiring and adjustments Professional installers can typically complete the job within 1–2 hours, and many offer warranties on both labor and parts. Final Thoughts Replacing a garage door motor may seem like a big task, but with the right preparation and safety steps, it's well within reach for the average homeowner. Whether you're upgrading to a quieter, smarter opener or fixing a worn-out unit, understanding the wiring, mounting, and setup process will ensure a successful installation. Remember to always follow the manufacturer’s instructions, double-check your wiring, and test your new unit thoroughly. When done correctly, a new garage door motor will provide smooth, reliable performance for years to come.
How Does Genie Garage Door Motor Wire In?
By Rabia Tingat July 22, 2025
Find out how to wire a Genie garage door motor with expert tips. Improve motor performance and ensure secure, safe installation with this guide.
How to Replace a Garage Door Cable?
By Rabia Tingat July 20, 2025
Learn how to replace a garage door cable step-by-step. This guide covers tools, safety tips, and expert advice for a smooth and safe cable replacement.