How to Replace a Garage Door Spring?
A garage door is one of the heaviest and most used moving parts in any home. What many homeowners don’t realize is that it relies on a powerful but often overlooked component—the garage door spring. When a garage door spring breaks, the entire system can malfunction, making the door hard or impossible to lift. Replacing a garage door spring is not only essential for restoring functionality but also critical for ensuring safety.
This comprehensive guide explains how to replace a garage door spring, highlights the tools you'll need, and outlines the precautions you must take to avoid accidents. If you're a handy homeowner with some DIY experience, this article will help you through each step.
Why Garage Door Springs Are So Important
Garage door springs serve the crucial function of counterbalancing the weight of the door. Without them, the garage door would be too heavy for the opener—or even a person—to lift safely. There are two main types of springs used in garage doors:
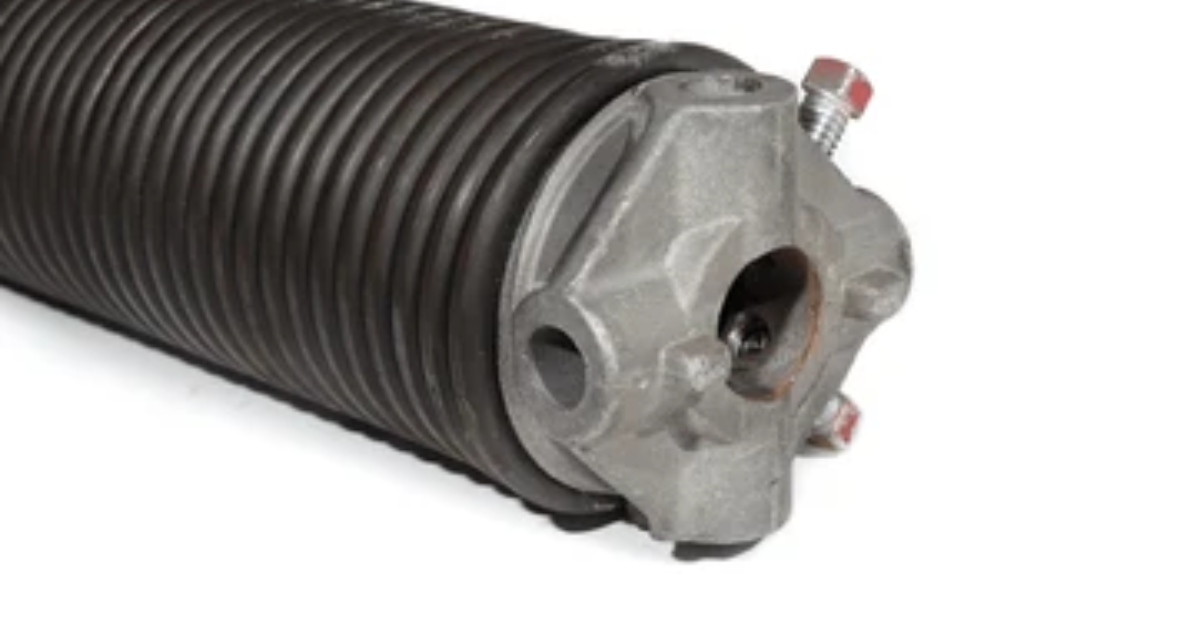
- Torsion Springs: Positioned above the garage door, these wind and unwind to lift or lower the door. They are more durable and common in modern garage doors.
- Extension Springs: Located on either side of the door, these stretch and contract during operation. They are more commonly found in older setups.
Regardless of the type, both perform the same job—making it possible to open and close the door effortlessly. Over time, due to repeated cycles and metal fatigue, these springs wear out or break and need replacement.
Signs Your Garage Door Spring Needs Replacement
Before you learn how to replace a garage door spring, it’s important to recognize the signs of failure. Here’s what to look out for:
- The garage door feels unusually heavy when you try to lift it.
- The door opens a few inches and then slams shut.
- There’s a loud snapping or popping noise.
- You notice a visible gap in the spring (for torsion springs).
- The door appears crooked or unbalanced.
If you encounter any of these symptoms, it’s likely time to replace your garage door spring.
What You’ll Need to Replace a Garage Door Spring
Before starting, make sure you have the proper tools and materials. Using the wrong equipment can increase the risk of injury. Here's a basic list:
- Safety glasses and gloves
- Winding bars (never use screwdrivers)
- C-clamps or locking pliers
- Socket wrench set
- Ladder
- Replacement garage door spring (correct size and type)
- Tape measure and marker
Always ensure your replacement spring matches the specifications of your original one. Incorrect sizing can cause system failure or create safety hazards.
Step-by-Step Guide to Replacing a Garage Door Spring
1. Disconnect the Garage Door Opener
Start by unplugging the garage door opener to prevent any accidental activation. Next, manually lower the door completely and use C-clamps or locking pliers to secure it in place. This is crucial to keep the door from moving while you work.
2. Release Tension from the Old Spring
If you're replacing a torsion spring, use winding bars to carefully unwind it. Insert one winding bar into the winding cone and hold it firmly. Loosen the set screws slowly while maintaining a firm grip on the bar. Carefully alternate bars until all tension is released.
For extension springs, open the door fully to remove tension and then unhook the springs from the track hanger and pulley system.
3. Remove the Old Spring
Once the tension is released, use a socket wrench to remove the bolts holding the spring in place. For torsion springs, slide the spring off the torsion bar. In the case of extension springs, remove any additional clips, cables, or brackets securing the spring.
4. Install the New Spring
Slide the new torsion spring onto the torsion bar or connect the extension spring to its hanger and pulley. Make sure it is oriented correctly—this varies based on whether it’s a left or right-hand spring.
Reconnect all brackets, pulleys, or clips securely. Use a marker to line up reference points to ensure balanced alignment.
5. Wind the New Spring
This is the most dangerous part of the process. Use the winding bars to carefully add the appropriate number of turns to the torsion spring. A typical 7-foot garage door requires about 30 quarter-turns (or 7.5 full turns). Tighten the set screws once you’ve added the correct tension.
For extension springs, make sure they are stretched to the right amount and securely hooked back into the pulley system.
6. Test the Garage Door
Remove the C-clamps or pliers and manually lift the garage door halfway. If it stays in place, the tension is correct. If it rises or falls on its own, you’ll need to make adjustments. Once balanced, reconnect the garage door opener and test it with the motor.
Safety Tips You Shouldn’t Ignore
Replacing a garage door spring involves handling high-tension components, which can be dangerous. Here are a few essential precautions:
- Never work without safety gear. Eye protection and gloves are a must.
- Do not use makeshift tools. Always use proper winding bars for torsion springs.
- Know your limits. If you're unsure or uncomfortable at any point, hire a professional.
- Follow manufacturer instructions. Each garage door system can have slight variations.
Final Thoughts
Knowing how to replace a garage door spring can save you from costly repairs and downtime. While the task demands care, the process is manageable with the right tools, knowledge, and attention to safety. Keeping your garage door in good working condition ensures smooth operation, added security, and longer lifespan for the entire system.
Whether you’re replacing torsion or extension springs, the key is precision. Always use the correct replacement parts and double-check your work before operating the door. If you’re not confident handling high-tension components, calling in a garage door technician is the safest and most reliable option.
By replacing a worn or broken spring promptly and correctly, you’re not just fixing a door—you’re restoring peace of mind every time you open or close it.
You might also like
Fix N Go Blog