Hacks for Opening Your Garage Door with a Broken Spring
Dealing with a broken garage door spring can be a frustrating and inconvenient situation, especially when it hinders access to your vehicle or storage space. In such emergencies, knowing how to safely maneuver your garage door becomes crucial. This guide aims to provide practical hacks and temporary solutions for opening your garage door when confronted with a broken spring. From understanding the issue to employing safe emergency release methods and seeking professional help, these insights will help you navigate this challenging situation while prioritizing safety and efficient access to your garage.
Recognizing the Issue
Understanding the issue of a broken garage door spring involves recognizing its signs and being aware of the risks associated with this malfunction.
Signs of a Broken Spring
- One of the primary indicators is the inability to open the garage door. Attempting to open it might result in only one side rising, causing the door to appear crooked or uneven.
- A broken spring often produces distinct sounds such as a loud bang, similar to a gunshot, when it breaks. Prior to the break, you might hear squeaking or creaking noises as the spring becomes worn or weak.
- Inspecting the spring itself can reveal visible signs of damage. Look for gaps or breaks in the spring, which can be apparent when the door is closed and the spring is visible.
Types of Garage Door Springs
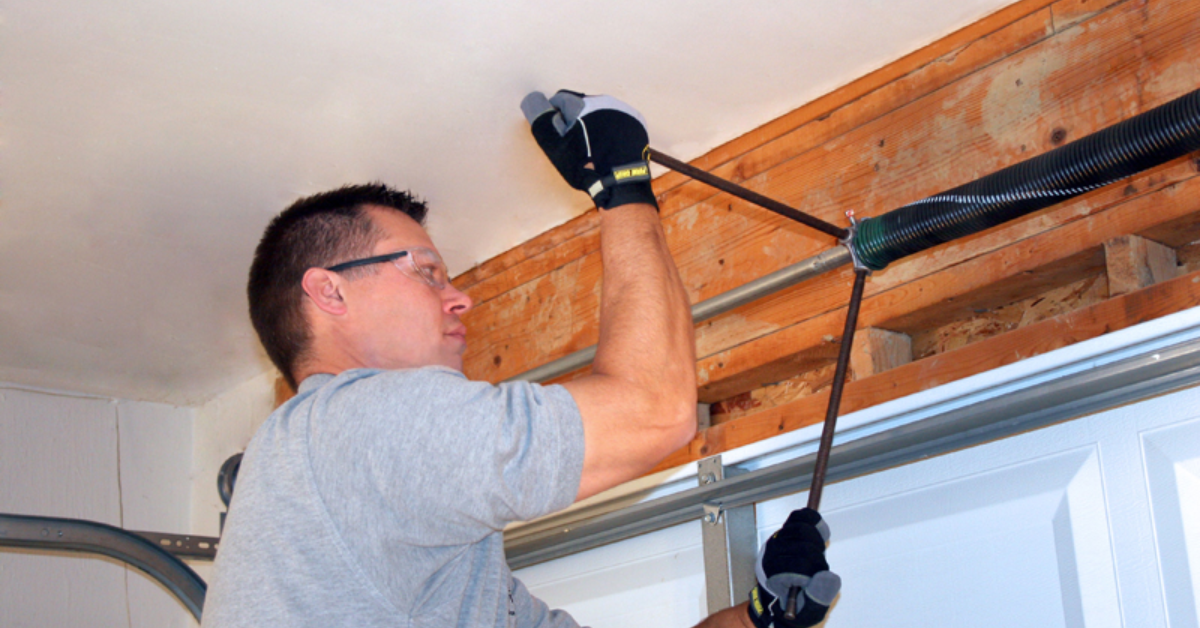
Torsion Springs: Typically mounted above the door,
torsion springs wind and unwind to facilitate door movement.
Extension Springs: Usually located on either side of the door,
extension springs stretch and contract as the door moves.
Risks Associated with a Broken Spring
- A garage door with a broken spring can be incredibly dangerous. The door might slam shut unexpectedly due to the lack of tension in the spring, posing a serious risk to anyone nearby.
- The abrupt closure of the door can cause damage to vehicles, belongings, or the door itself.
- Attempting to open the door using the automated opener when the spring is broken can put excessive strain on the opener's motor and components, potentially leading to further damage or malfunction.
- Trying to manually open the door without understanding the risks can result in physical injuries due to the weight of the door.
Understanding the signs of a broken garage door spring and the potential risks involved is crucial for safety reasons. When faced with such an issue, it's advisable to avoid operating the door and seek professional assistance to address the problem effectively and safely.
Immediate Actions
Addressing a broken garage door spring calls for immediate action to ensure safe access and prevent further complications. Here's a comprehensive look at the immediate steps to take and temporary solutions available:
Locating the Emergency Release Cord
The emergency release cord, usually recognizable by its red handle, is commonly positioned along the garage door opener rail or track. To locate it, visually follow the path of the opener rail, as it should hang within easy reach, eliminating the need for a ladder or specialized tools. This cord serves as a crucial feature for manually operating the garage door in case of power outages or emergencies, allowing for swift and accessible disengagement from the automatic opener system.
Using the Emergency Release Cord Safely
When using the emergency release cord, firmly grasp its handle and pull it downward smoothly and steadily. This action effectively disengages the door from the automatic opener system, enabling manual operation of the garage door. It's a straightforward yet crucial step, especially during power outages or when the automatic system malfunctions, ensuring safe and easy access to your garage.
Temporary Solutions
To secure the garage door track, employ either a C-clamp or a vice grip positioned just below the bottom roller. This prevents the door from descending rapidly after the emergency cord has been released, offering a temporary yet effective solution for managing the door's movement safely. While this method doesn't address the underlying spring issue, it provides a stopgap measure to control the door's descent and ensures added safety during spring-related malfunctions.
Manual Lifting Caution
In the event of a broken spring, be cautious as the door may become significantly heavier to lift manually. Avoid attempting to lift it alone if it feels excessively heavy or poses a challenge. Seeking assistance from others is advisable to safely manage the door's weight, ensuring everyone involved understands the precautions and lifts it together. This collaborative approach minimizes the risk of injury and safely addresses the heavier load resulting from a broken spring in the garage door.
Adhering to these immediate actions, locating the emergency release cord, and employing temporary solutions can help mitigate immediate challenges posed by a broken garage door spring. However, it's crucial to remember that these measures are temporary fixes and seeking professional repair services remains the most reliable and safe course of action to address the broken spring effectively.
Using Tools at Hand
When dealing with a broken garage door spring, using readily available tools can offer temporary solutions while ensuring safety remains a priority. Using a C-clamp or vice grip, position the tool below the bottom roller on the garage door track to secure it. This technique aims to prevent abrupt downward movement of the door after pulling the emergency release cord. By employing this makeshift method, you can temporarily control the door's descent, providing added safety and stability in situations where the emergency release cord is activated.
Safety Considerations:
Using the clamp or grip serves as a temporary stabilization method, offering you better control over the door's descent for increased safety. This approach doesn't address the underlying issue of the broken spring but effectively assists in managing the door's movement on a temporary basis. By employing this safety measure, you can mitigate the risk of sudden or uncontrolled movements of the garage door due to a malfunctioning spring, ensuring a safer environment while addressing the issue.
Ensuring Safety Measures with Temporary Fixes:
When dealing with a door affected by a broken spring, note that it can become notably heavier and more challenging to lift. If the door feels excessively heavy or difficult to handle, refrain from attempting to lift it alone. Instead, seek assistance from others to safely manage the door's weight. Collaborating with a team helps distribute the load evenly among everyone involved, ensuring a safer and more manageable lifting process. This approach minimizes the risk of injury and provides a safer method for handling the increased weight of a door with a broken spring.
Cautionary Steps:
Prioritizing safety is paramount when implementing temporary fixes for a garage door with a broken spring. Even when using tools, handling such doors can entail risks that should not be underestimated. It's crucial to exercise caution and avoid standing directly under the door or in its potential path of movement while employing these temporary solutions. By maintaining a safe distance and adhering to safety protocols, such as staying clear of the door's trajectory, individuals can significantly reduce the risk of potential accidents or injuries associated with handling a malfunctioning garage door.
When utilizing tools such as C-clamps, vice grips, or other makeshift measures, it's crucial to exercise caution. While these methods provide temporary support, they aren't substitutes for professional repairs. Seeking the expertise of garage door professionals remains the safest and most effective way to address a broken spring comprehensively and ensure the long-term functionality of the garage door system.
Safety Precautions
Preparing to manually operate a garage door affected by a non-functional spring is crucial. Recognizing the considerable weight increase is essential, as the door becomes unexpectedly heavy. Enlisting help is advisable; attempting to lift the door alone could pose injury risks due to its weight. Seeking assistance from others distributes the weight evenly and reduces the risk of potential injuries.
Avoiding
DIY repairs for garage door springs is imperative due to the high tension they're under. Trying to handle repairs independently can be extremely hazardous, risking personal injury and property damage. Relying on professional expertise is key; experienced professionals possess the necessary knowledge, tools, and skills to handle spring repairs safely and effectively.
Seeking expert help from reputable garage door repair services is pivotal when dealing with a broken spring. Contacting these professionals ensures prompt and accurate diagnosis of the issue, leading to safe resolution. Trusting professionals not only ensures immediate safety but also guarantees the long-term functionality and safety of the entire garage door system.
Prioritizing safety, steering clear of DIY repairs, and promptly seeking professional assistance are critical measures when confronted with a broken garage door spring. These precautions not only mitigate potential injuries but also ensure the issue is resolved effectively without any further complications.
Long-term Solutions
Long-term solutions for a broken garage door spring revolve around effective immediate resolutions and preventive measures to avert future incidents. Addressing the broken spring comprehensively requires professional repair services that meticulously inspect and repair or replace related components. Opting for high-quality replacement parts ensures durability and prolongs the effectiveness of the repair.
To prevent future incidents, regular maintenance checks are vital for the entire garage door system. Inspecting springs, cables, rollers, and other components helps detect wear or damage early, preventing potential issues. Proper lubrication of moving parts minimizes friction and wear, following manufacturer recommendations for intervals and lubricant types. Periodic professional inspections preemptively address potential problems before they escalate.
Emphasizing safety is paramount when dealing with garage door issues, especially broken springs. Prioritizing caution and proper handling mitigates risks. Seeking guidance from garage door specialists in maintenance routines or operational concerns is valuable. Long-term solutions necessitate a combination of effective repairs, preventive maintenance, and professional advice, ensuring a safer and more reliable garage door system in the long run.
Implementing these long-term strategies not only resolves immediate spring problems but also sustains the functionality and safety of your garage door system. It significantly reduces the risk of future issues or malfunctions, ensuring a more secure and efficient operation.
Conclusion
In navigating the challenges posed by a broken garage door spring, prioritizing safety and understanding temporary solutions like utilizing the emergency release cord or employing makeshift tools becomes essential. However, these hacks are merely stopgaps; seeking professional assistance remains the safest and most reliable course of action. Long-term solutions involve addressing the broken spring effectively, implementing preventative measures, and prioritizing personal safety. By combining immediate actions with professional expertise and a commitment to safety, you ensure not just temporary access to your garage but the sustained functionality and security of your garage door system.


