
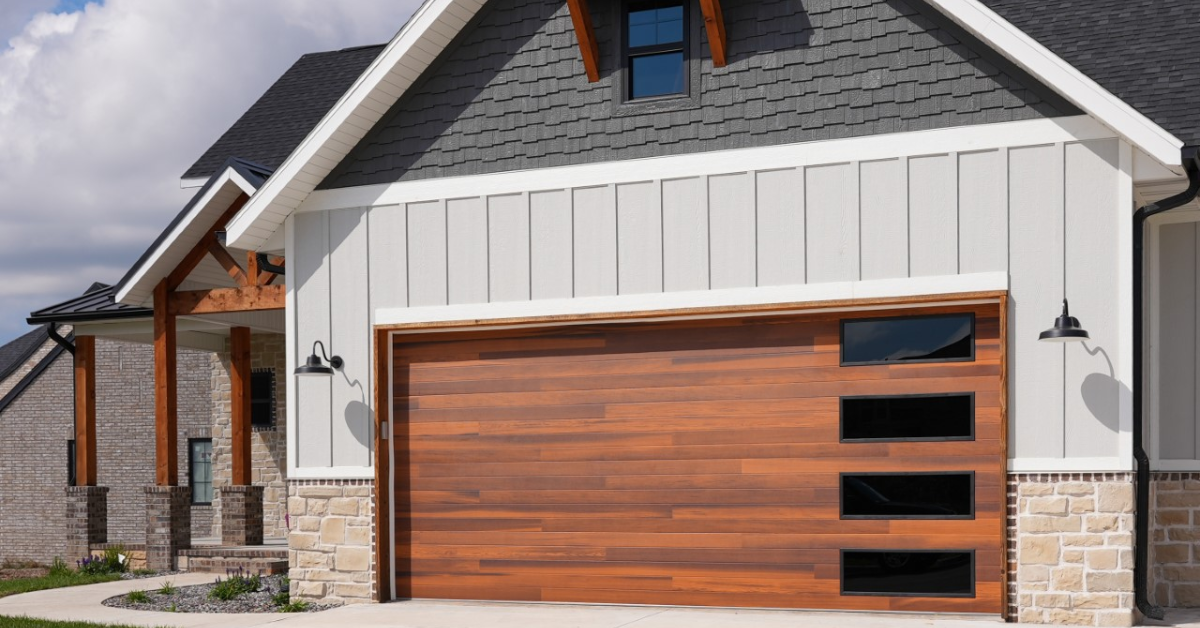
Insider Tips for Extending the Life of Your Garage Door
A well-functioning garage door is like the invisible guardian of our homes, quietly ensuring the safety and convenience of our daily routines. It's that seamless transition from the outside world into the sanctuary of your garage, protecting your vehicles, tools, and cherished belongings. Many of us tend to take our garage doors for granted, until that fateful day when they refuse to budge or make a symphony of unsettling creaks and groans.
The importance of a functional garage door cannot be overstated. It's not just about convenience; it's about security, curb appeal, and the financial impact of unexpected repairs or replacements. The truth is, the
cost of garage door repairs and replacements can send shockwaves through your budget, making you wish you had paid more attention to maintenance along the way.
But fear not! We're about to unlock the insider tips that will not only keep your garage door performing flawlessly but also extend its life, saving you from those dreaded repair bills. From simple DIY maintenance to
professional guidance, we've got you covered. So, let's start this process to ensure your garage door stays in tip-top shape, protecting what matters most to you while adding value to your home.
Knowing Your Door's Function
Your garage door is more than just a structural component to keep unwanted visitors out of your house. It's a complex mechanism composed of various components, each playing a crucial role in its operation. To effectively maintain and extend the life of your garage door, it's essential to have a grasp of its function and the diverse types available.
Garage doors come in a variety of styles, each with its own
unique set of characteristics. There are sectional garage doors, which consist of horizontal sections that are hinged together and open by moving along tracks, folding neatly overhead when opened. Roll-up garage doors, on the other hand, coil into a compact cylinder when opened and are often found in commercial settings due to their robustness. Lastly, swing-out garage doors swing open like traditional house doors and can be aesthetically pleasing, making them suitable for garages with ample space in front of them.
To fully understand and maintain your garage door, it's essential to acquaint yourself with its integral components. Garage doors use either torsion or extension springs to counterbalance the door's weight, making it easier to open and close. Proper
maintenance of these springs is important for safety and smooth operation. Tracks guide the garage door as it moves up and down, and ensuring that the tracks are clean and properly aligned is essential to prevent issues with the door's movement. Rollers are responsible for guiding the door along the tracks, and regular lubrication and
inspection of rollers can prevent unnecessary friction and wear. Panels make up the visible surface of the door and contribute significantly to its appearance. Damaged or dented panels not only affect aesthetics but can also compromise the door's structural integrity. Finally, the garage door opener is the heart of the system, automating the process of opening and closing. Regular checks on the opener's functionality and safety features are vital to ensure trouble-free operation.
Regular Maintenance Practices
Keeping up with regular maintenance will keep your garage door functioning smoothly, protecting your belongings for years to come. This proactive approach can prevent unexpected breakdowns and extend the life of your garage door.
Lubricating Moving Parts
- Lubricating the moving parts of your garage door should be done approximately every six months. Yet, it's a good idea to inspect these components more frequently for signs of wear or noise that might indicate the need for lubrication.
- When lubricating, opt for a silicone-based or lithium-based lubricant specifically designed for garage doors. Avoid using greases or oils, as they can attract dust and debris, causing more harm than good.
Cleaning and Inspecting
- Regularly clean the tracks and rollers of your garage door. Remove any accumulated dirt, debris, or grime. A clean track ensures smooth movement and reduces the risk of obstructions.
- While cleaning, keep an eye out for signs of wear and tear on the tracks, rollers, and other components. Look for dents, cracks, or misalignment. Promptly address any issues to prevent further damage.
Testing Safety Features
- Check the operation of the garage door's automatic reverse feature. To test it, place an object (such as a wooden board) in the path of the closing door. The door should automatically reverse when it makes contact with the object. If it doesn't, seek professional assistance immediately.
- Familiarize yourself with the emergency release feature of your garage door opener. In the event of a power outage or malfunction, this feature allows you to manually open or close the door. Test it periodically to ensure it's in working order.
Seasonal Garage Door Maintenance
The demands placed on your garage door vary with the seasons. Make the necessary adjustments to your maintenance schedule to keep it running smoothly and reliably. Here's a guide to seasonal garage door maintenance to keep your door in top shape year-round.
Preparing for Winter:
As winter approaches, it's essential to ensure your garage is well-prepared to combat the cold. Start by checking and replacing any worn or damaged weatherstripping around your garage door to maintain proper sealing and prevent cold drafts from entering. If your garage is attached to your home, consider insulating the walls and ceiling to regulate the temperature inside. This insulation not only reduces strain on your garage door but also minimizes potential issues caused by extreme cold, making your garage and home more energy-efficient overall.
Summer Care:
As the seasons change, it's important to take steps to keep your garage comfortable and pest-free year-round. In the summer, when your garage can become unbearably hot, consider adding ventilation or insulation to maintain a more comfortable temperature and reduce stress on your garage door opener and components. Simultaneously, safeguard against unwanted pests by sealing any gaps or cracks in and around your garage, effectively keeping insects and rodents at bay. Regular inspections for signs of infestations and prompt addressing of any issues will help ensure a pest-free and comfortable environment in your garage.
Fall Maintenance:
As autumn arrives, it's essential to perform maintenance tasks to keep your garage in top condition. Start by regularly clearing debris, such as fallen leaves and twigs, from the garage door tracks and surrounding areas. The accumulation of debris can obstruct the door's movement and potentially cause damage. Aside from this, take the opportunity to check for rust on your garage door, particularly if you reside in a humid climate. If you spot any rust spots, use a wire brush to remove them and apply a rust-resistant primer and paint to prevent further corrosion. This proactive approach will help ensure the continued functionality and longevity of your garage door.
Handling Common Garage Door Issues
Over time, garage doors can break down just like any other mechanical system. Knowing how to address common problems is very important in maintaining the functionality and longevity of your garage door.
Dealing with Noisy Garage Doors
When your garage door starts
making unusual sounds, it's important to pinpoint the source. Often, the noise emanates from components like rusty rollers, loose hardware, or worn-out springs. A thorough inspection will help you identify the culprit. Once you've determined the source of the noise, take appropriate action. Lubricating moving parts with a silicone-based or lithium-based lubricant can significantly reduce squeaks and creaks. Tighten loose bolts and nuts, and consider replacing any worn-out components for a quieter operation.
Fixing a Crooked Garage Door
A crooked garage door can be caused by a variety of factors, including worn cables, damaged rollers, or an unbalanced door. To diagnose the issue, observe the door's movement and look for obvious signs of damage or misalignment. Depending on the cause, realigning your garage door may require different actions. Adjusting the cables, replacing damaged rollers, or balancing the door's springs are potential solutions. It's important to exercise caution and, when in doubt, seek professional assistance to ensure proper alignment.
Replacing Damaged Panels
Damaged panels not only affect your garage door's appearance but can also compromise its structural integrity. Signs of damage include dents, cracks, or holes. This can lead to bigger problems if not fixed. The decision to replace damaged panels can depend on the extent of the damage and your DIY skills. For minor cosmetic issues, you may attempt DIY repairs. However, if the damage is severe or affects the door's functionality, it's advisable to consult a professional. They can ensure that the replacement is done correctly and safely.
Garage Door Opener Maintenance
Your garage door opener is the unsung hero behind the effortless operation of your garage door. Understanding how it works and performing regular maintenance is key to ensuring it remains reliable and safe.
Garage door openers come in three primary types: chain drive, belt drive, and screw drive. Chain drive openers are robust but tend to be noisy. Belt drive openers are quieter and are a good choice for attached garages. Screw drive openers are durable and require less maintenance. Modern garage door openers are equipped with essential safety features. These include auto-reverse mechanisms that detect obstructions and reverse the door's movement, preventing accidents. Familiarize yourself with these features to ensure the safety of your family and property.
Safety sensors are a critical component of garage door openers. Regularly test these sensors by placing an object in the door's path while closing it. The door should immediately reverse if the sensors detect the obstruction. Clean the sensors periodically to ensure they function correctly. Depending on your opener type, the chain or belt should be lubricated to reduce friction and extend its life. Apply the garage door manufacturer's suggested lubricant. Lubrication should typically be done annually or as indicated in your opener's manual.
If your remote control isn't working, check the batteries first. Replace them if necessary. If the problem persists, ensure that the opener is receiving power and that the remote is programmed correctly. Sometimes, reprogramming or replacing the remote may be necessary. If your garage door refuses to open or close, first check for any obstructions in the door's path. If there are none, inspect the opener's components for loose connections, damaged wires, or worn-out gears. Consult your opener's manual for troubleshooting guidance or contact a professional if needed.
Extending the Life of Garage Door Springs
The springs of your garage door play a vital role in its operation, making it possible to effortlessly open and close. Understanding their function, recognizing signs of wear, and knowing when and how to replace them are essential for maintaining your garage door's longevity and safety.
Signs of Spring Wear
- Unusual noises, like squeaking or grinding, can be an early indicator of spring wear. These sounds may suggest that the springs are struggling to bear the door's weight or that they require lubrication.
- An imbalanced garage door, where one side appears to hang lower than the other, can be a clear sign of spring wear. This imbalance can place additional stress on the springs, which, if left unaddressed, may lead to further damage.
Replacing Garage Door Springs
- Replacing garage door springs is a task that requires a high level of skill and caution. While some homeowners may have the expertise to perform DIY replacements, it is often safer and more advisable to seek professional assistance. Garage door springs are under a great deal of tension and should be handled with care. Professionals have the necessary tools and experience to handle the task safely and effectively.
- If you choose to replace springs on your own, prioritize safety. Wear appropriate protective gear, understand the specific procedures for your type of springs, and follow your manufacturer's guidelines meticulously. Exercise extreme caution, as improperly installed springs can lead to serious injuries.
Conclusion
Taking care of your garage door is an investment in your home's long-term well-being. Regular maintenance, such as lubricating moving parts, cleaning, and safety checks, will ensure your garage door serves you reliably, providing convenience, energy efficiency, and security. Don't wait for issues to arise; take action now to keep your garage door in excellent condition. Your proactive efforts will not only save you from unexpected repair costs but also enhance the value and functionality of your home, ensuring your garage door remains a dependable gateway to your cherished space.
You might also like
Fix N Go Blog


