The Most Common Questions About Garage Door Panel Repair

Rabia Tingat • July 15, 2024

Q1. How do I know if my garage door panel needs to be repaired or replaced?

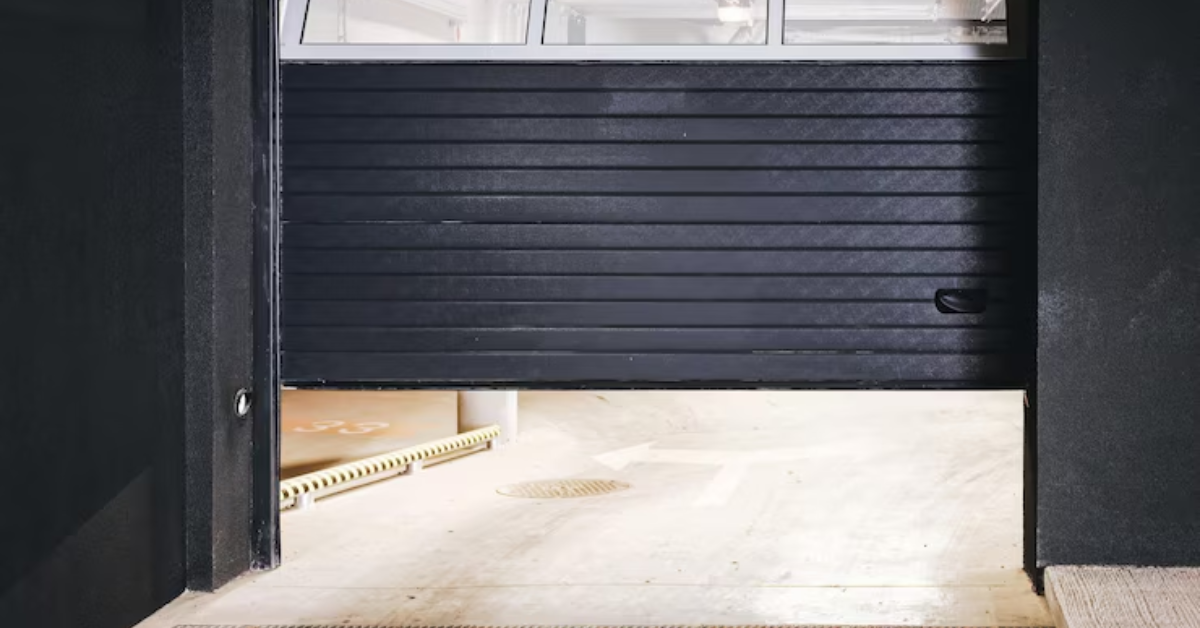
A. Signs that your garage door panel needs repair or replacement include visible damage like dents, cracks, or warping, difficulty in opening or closing the door, unusual noises during operation, and gaps or misalignment that compromise security. A professional assessment can determine the extent of the damage and whether a repair or replacement is necessary.


Q2. What is the average cost of repairing a garage door panel?

A. The cost of repairing a garage door panel varies based on the material and extent of the damage. On average, steel panel repairs can cost between $150 and $300, aluminum panel repairs range from $200 to $400, wood panel repairs from $250 to $1000, and fiberglass panel repairs from $200 to $500 per panel.


Q3. Can I repair my garage door panel myself?

A. DIY repairs are possible for minor damages, such as small dents or scratches. However, significant damage or structural issues should be handled by professionals to ensure safety and proper repair. DIY repairs require the right tools and a certain level of skill.


Q4. How long does it take to repair a garage door panel?

A. The time required to repair a garage door panel depends on the extent of the damage and the availability of replacement parts. Minor repairs can be completed in a few hours, while more extensive repairs or replacements might take a day or more.


Q5. Will my homeowner's insurance cover the cost of garage door panel repair?

A. Homeowner’s insurance policies may cover garage door repairs caused by accidents, natural disasters, or vandalism. It is essential to review your policy to understand the coverage details, inclusions, and exclusions, as well as any applicable deductibles.


Q6. What types of materials are used for garage door panels, and how do they affect repair costs?

A. Garage door panels are typically made from steel, aluminum, wood, or fiberglass. Steel is durable and cost-effective, aluminum is lightweight and rust-resistant, wood offers aesthetic appeal but requires more maintenance, and fiberglass is durable and resistant to dents. Repair costs vary based on the material, with wood generally being the most expensive to repair.


Q7. Can I replace just one panel of my garage door, or do I need to replace the entire door?

A. In many cases, it is possible to replace just one damaged panel rather than the entire door. However, the feasibility depends on the extent of the damage and the availability of matching panels. A professional can help determine the best course of action.


Q8. How often should I perform maintenance on my garage door to prevent panel damage?

A. Regular maintenance is crucial for preventing panel damage and ensuring the longevity of your garage door. It is recommended to inspect and lubricate moving parts every six months, clean the door periodically, and schedule professional maintenance checks annually.


Q9. What are the risks of ignoring a damaged garage door panel?

A. Ignoring a damaged garage door panel can lead to more severe issues, such as compromised security, further structural damage, and potential malfunctions that could result in higher repair costs. Timely repairs help maintain the door's functionality and extend its lifespan.


Q10. How can I find a reliable professional to repair my garage door panel?

A. To find a reliable professional for garage door panel repair, seek recommendations from friends and family, read online reviews, and check for certifications and experience in the field. Obtaining multiple quotes can also help you find a qualified professional at a reasonable cost.

You might also like

Fix N Go Blog

How to Replace a Garage Door Motor?
By Rabia Tingat July 24, 2025
If your garage door opener motor has become noisy, sluggish, or completely non-functional, it may be time to replace it. A faulty motor can make daily garage use frustrating and even unsafe. Fortunately, replacing a garage door motor isn't as complicated as it may seem—especially if you're comfortable with basic DIY tasks. In this step-by-step guide, we’ll walk you through how to replace a garage door motor safely and effectively. Whether you’re dealing with a burnt-out motor or simply upgrading to a newer model, we’ll help you understand the entire process—from removal to reinstallation. Signs Your Garage Door Motor Needs Replacing Before we jump into the replacement process, let’s look at a few signs that indicate your garage door motor is failing: The opener struggles to lift or lower the door Unusual grinding or humming noises from the motor Frequent power failures or overheating The door only opens partially or not at all The remote and wall switch stop responding If your opener exhibits any of these issues even after resetting or troubleshooting, replacing the motor is likely the best long-term solution. Choosing the Right Garage Door Motor Replacement Garage door motors (often called garage door openers) come in several types—chain drive, belt drive, screw drive, and direct drive. When choosing a replacement, make sure it’s compatible with: Your garage door's weight and size Available power source (AC or DC motor) Existing hardware and mounting setup Brands like Chamberlain, Genie, and LiftMaster offer reliable units that include all necessary mounting brackets, sensors, and manuals for a smoother installation. Tools You’ll Need Before replacing your garage door motor, gather these essential tools: Ladder Socket set Screwdrivers Adjustable wrench Wire cutters and strippers Power drill Safety glasses and gloves Once you're equipped, turn off the power supply to the opener to avoid electrical hazards. Step-by-Step Guide to Replacing a Garage Door Motor Step 1: Disconnect Power and Unplug the Motor Safety first—disconnect the opener from the power outlet. If it's hardwired into your home’s electrical system, turn off the circuit breaker. Confirm there's no electricity flowing to the unit using a voltage tester. Step 2: Disengage the Door from the Opener Pull the emergency release cord (usually a red handle) to disengage the garage door from the opener. This lets you open and close the door manually during the motor replacement process. Step 3: Remove the Old Garage Door Motor Start by detaching the wires connected to the safety sensors and wall switch. Take photos or label wires for reference during reinstallation. Next, use a socket wrench or screwdriver to unscrew the motor unit from its mounting bracket on the ceiling. Be cautious—these units are heavy and often require a second person to safely lower them. Once the motor is removed, also uninstall the rail and trolley if your new opener comes with its own. Step 4: Install the New Motor and Mounting Rail Assemble the new motor unit according to the manufacturer’s instructions. This often includes connecting the rail, carriage, and pulley system. Mount the new rail above your garage door and secure the motor to the ceiling using provided brackets. Make sure everything is level and firmly attached. A misaligned rail can lead to jerky movements or early wear on the new motor. Step 5: Wire the Motor and Accessories Reconnect the wall switch and safety sensor wires to the terminals on the new motor unit. Most openers have labeled terminals—typically for red, white, and black wires. If your model includes a backup battery, antenna, or Wi-Fi connection, set these up now. Follow your motor’s wiring diagram precisely to avoid connectivity issues. Step 6: Reconnect the Door and Adjust Settings Pull the emergency cord back into the “engaged” position to reattach the door to the trolley. Now, plug the motor into the power outlet or restore power at the breaker. Turn on the unit and test the door’s operation. Adjust the travel limits and force settings as needed. These settings ensure the door opens and closes completely without excessive strain. Refer to your manual for step-by-step adjustment instructions—usually involving small dials or digital buttons on the unit. Testing Your New Garage Door Motor Once installed, test the full functionality of the opener: Use both the wall switch and remote control Check safety sensors by blocking the beam—door should reverse Confirm smooth and quiet operation Listen for any abnormal noises or vibrations If the door doesn’t operate properly, recheck the alignment of the rail, the wiring connections, or the motor’s mounting hardware. Professional Help vs. DIY While replacing a garage door motor is a doable task for experienced DIYers, you may want to call a professional if:  Your opener is hardwired (no plug-in cord) The ceiling mount is in a tight or high area The garage door is unusually heavy or custom-built You’re unsure about wiring and adjustments Professional installers can typically complete the job within 1–2 hours, and many offer warranties on both labor and parts. Final Thoughts Replacing a garage door motor may seem like a big task, but with the right preparation and safety steps, it's well within reach for the average homeowner. Whether you're upgrading to a quieter, smarter opener or fixing a worn-out unit, understanding the wiring, mounting, and setup process will ensure a successful installation. Remember to always follow the manufacturer’s instructions, double-check your wiring, and test your new unit thoroughly. When done correctly, a new garage door motor will provide smooth, reliable performance for years to come.
How Does Genie Garage Door Motor Wire In?
By Rabia Tingat July 22, 2025
Find out how to wire a Genie garage door motor with expert tips. Improve motor performance and ensure secure, safe installation with this guide.
How to Replace a Garage Door Cable?
By Rabia Tingat July 20, 2025
Learn how to replace a garage door cable step-by-step. This guide covers tools, safety tips, and expert advice for a smooth and safe cable replacement.