
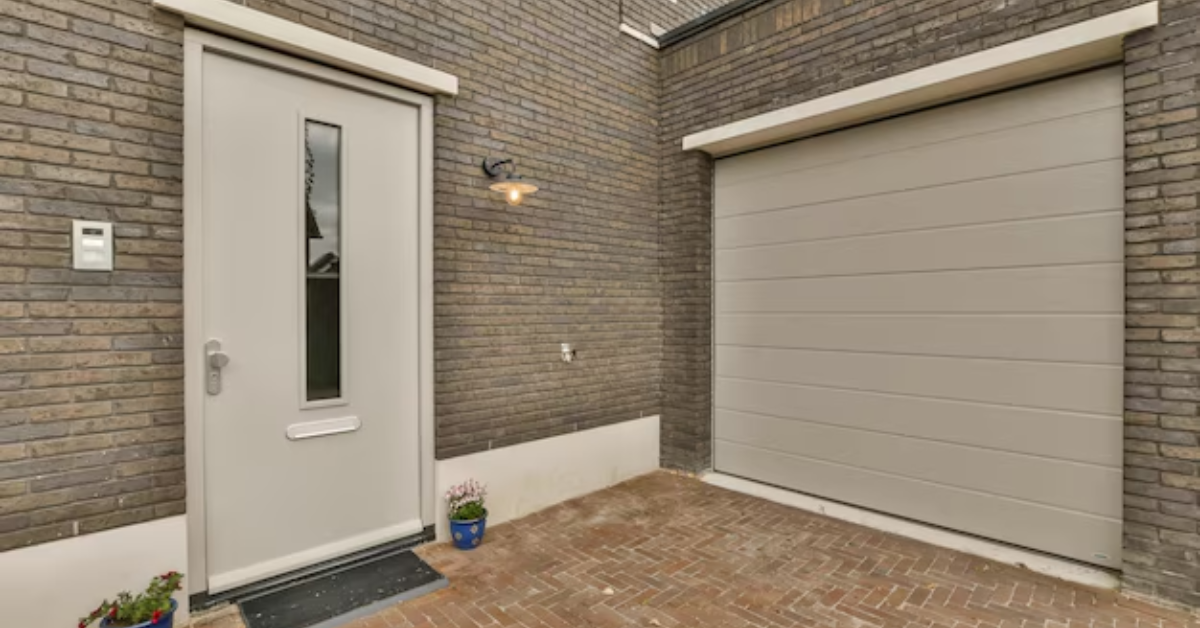
Steel vs. Aluminum Garage Doors | Which One Offers Better Protection?
Choosing the right garage door material is a crucial decision that affects not only the appearance of your home but also its security, durability, and energy efficiency. Steel and aluminum are two of the most popular materials, each with its own advantages. But when it comes to protection, durability, and long-term performance, which one stands out?
In this article, we’ll compare steel and aluminum garage doors in terms of security, weather resistance, maintenance, and overall value to help you determine the best choice for your home.
Which Garage Door Provides Better Protection?
When it comes to security, steel garage doors are the clear winner. Steel is a strong, dense material that is difficult to break or bend, making it a top choice for homeowners concerned about safety. A high-quality steel door can withstand attempted break-ins better than an aluminum counterpart.
Aluminum, while durable in its own right, is a lighter and more malleable metal. This means it can be more easily dented or bent under pressure. While modern aluminum garage doors are often reinforced, they do not offer the same level of protection against forced entry as steel doors.
Verdict: Steel doors provide superior security, making them the better option for homeowners prioritizing safety.
Durability and Impact Resistance
Steel garage doors excel in durability, offering long-lasting strength that can endure years of daily use. Steel is resistant to most forms of impact, making it an excellent choice for homes in areas prone to storms, heavy winds, and potential debris damage.
Aluminum garage doors, on the other hand, are more lightweight but also more prone to denting and bending. If you live in an area with extreme weather conditions or if your garage door is frequently exposed to rough handling (such as children playing nearby), an aluminum door may show signs of wear more quickly.
Verdict: Steel doors are far more durable and impact-resistant than aluminum, making them the better choice for long-term protection.
Weather Resistance and Rust Prevention
Both steel and aluminum garage doors have different strengths when it comes to weather resistance.
- Steel doors are strong and withstand harsh weather conditions, but they are prone to rust and corrosion, especially in humid or coastal environments. However, modern steel doors come with protective coatings and galvanized finishes that significantly reduce rusting.
- Aluminum doors naturally resist rust and corrosion, making them an excellent choice for coastal areas where moisture and salt exposure are high. Unlike steel, aluminum won’t deteriorate as quickly when exposed to constant humidity.
Verdict: Steel is more resilient overall, but if you live near the coast, aluminum may be the better choice due to its natural rust resistance.
Maintenance: Which Material Requires Less Upkeep?
When it comes to maintenance, aluminum garage doors require less upkeep. They are naturally resistant to rust and don’t require frequent painting or protective coatings. However, because aluminum is softer than steel, it may require occasional dent repairs.
Steel garage doors, while durable, do need regular maintenance to prevent rust. If a steel door is scratched or if its protective coating wears off over time, it can start to corrode. Regular cleaning, repainting, and applying protective treatments can extend the life of a steel garage door.
Verdict: Aluminum doors require less maintenance, but steel doors last longer with proper care.
Insulation and Energy Efficiency
A well-insulated garage door can significantly impact your home’s energy efficiency, keeping the temperature stable and reducing heating and cooling costs.
- Steel doors often come with insulated options, featuring polyurethane or polystyrene insulation that helps regulate temperature and reduce noise. This makes steel a better choice for attached garages or homes in regions with extreme temperatures.
- Aluminum doors, while available with insulation, are generally less effective at retaining heat. They conduct heat more easily than steel, making them less energy-efficient unless additional insulation is installed.
Verdict: Steel doors provide superior insulation, making them the better choice for energy efficiency.
Weight and Ease of Installation
One of the biggest advantages of aluminum garage doors is their lightweight nature. Because aluminum is much lighter than steel, it puts less strain on the garage door opener, leading to a longer lifespan for your motorized system. It’s also easier to install and operate manually.
Steel doors, while heavier and more difficult to install, offer better security and durability. However, their weight may require a more powerful garage door opener and stronger hinges to support long-term use.
Verdict: Aluminum doors are lighter and easier to install, but steel doors provide greater protection.
Cost Considerations: Which Offers Better Value?
Steel and aluminum garage doors come in a variety of price ranges, but steel doors generally provide better value for the money.
- Steel doors are available in affordable, basic models or high-end, custom-designed options with insulation and decorative finishes. The initial cost may be slightly higher than aluminum, but their durability and security make them a cost-effective investment.
- Aluminum doors tend to be cheaper upfront, especially for non-insulated models. However, because aluminum is more prone to dents and damage, you may end up spending more on repairs or replacements in the long run.
Verdict: Steel doors offer better value over time, making them the smarter long-term investment.
Which Garage Door Should You Choose?
The decision between steel and aluminum garage doors depends on your specific needs:
✔ Choose Steel If:
- You want maximum security and durability.
- You need an insulated door for energy efficiency.
- You live in an area with harsh weather conditions.
✔ Choose Aluminum If:
- You live in a coastal or humid climate where rust is a concern.
- You want a lightweight and low-maintenance garage door.
- You have a low-powered garage door opener and prefer easier manual operation.
Final Verdict
For homeowners prioritizing security, durability, and insulation, steel garage doors are the best option. They offer stronger protection against break-ins, better impact resistance, and long-term value. However, if you live in a humid coastal area or want a lightweight, low-maintenance door, aluminum could be a suitable alternative—just be mindful of its lower impact resistance. No matter your choice, investing in a high-quality garage door with proper installation and maintenance ensures your home stays secure and stylish for years to come.
You might also like
Fix N Go Blog


