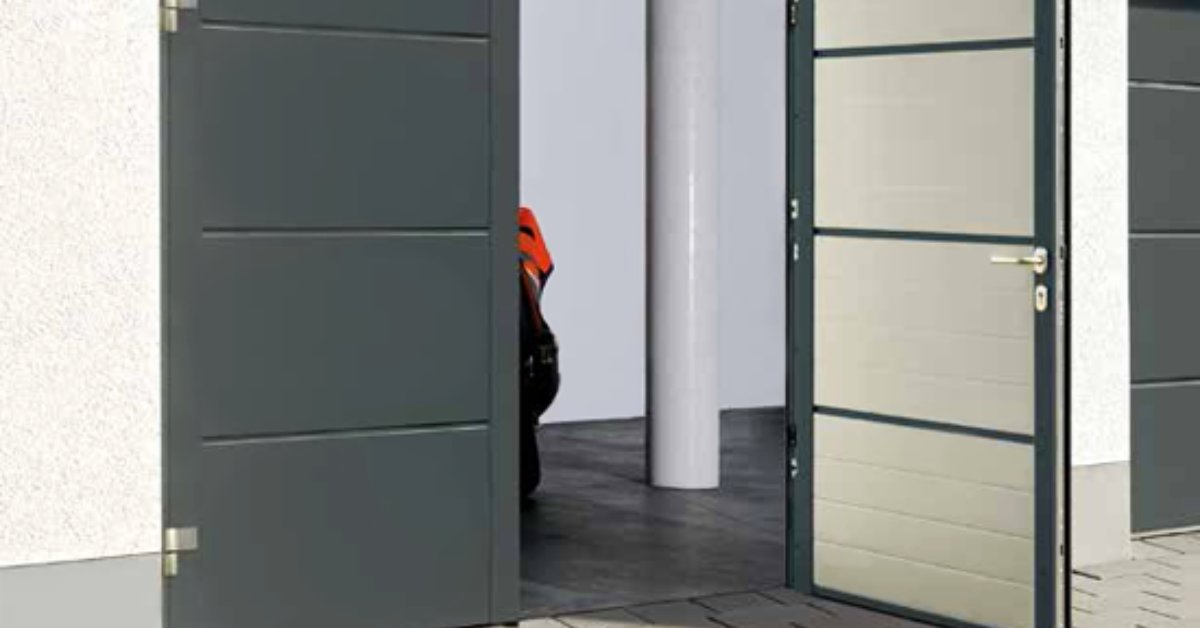
How To Insulate Garage Door Sides?

Rabia Tingat • July 18, 2024

Insulating the sides of your garage door is crucial for enhancing your home's energy efficiency, reducing noise, and maintaining a comfortable temperature in your garage. Without proper insulation, your garage can become a major source of energy loss, leading to higher utility bills. Noise from outside can also penetrate your garage, making it a less enjoyable space. Insulation helps create a barrier against unwanted sounds and temperature fluctuations, providing a more consistent environment.


Proper insulation protects your belongings from extreme weather conditions, ensuring that items stored in your garage remain in good condition. In this detailed guide, we will provide step-by-step instructions on how to effectively insulate the sides of your garage door, ensuring optimal performance and longevity.


Why Insulate Your Garage Door Sides?


Insulating the sides of your garage door offers several benefits:

  1. Energy Efficiency: Reduces heat loss in the winter and keeps the garage cooler in the summer, leading to lower energy bills.
  2. Comfort: Maintains a more consistent temperature, making the garage a more usable space.
  3. Noise Reduction: Minimizes noise from outside and dampens sound within the garage.
  4. Protection: Shields your stored items from extreme temperatures and humidity.


Types of Insulation Materials


Choosing the right insulation material is crucial for effective garage door insulation. Here are some commonly used materials:


Fiberglass Insulation

  • Pros: Excellent thermal performance, easy to install.
  • Cons: Can cause skin irritation, requires protective clothing during installation.


Foam Board Insulation

  • Pros: High R-value per inch, moisture-resistant.
  • Cons: Requires cutting to fit, may need adhesive for installation.


Reflective Insulation

  • Pros: Reflects radiant heat, lightweight.
  • Cons: Less effective in extremely cold climates, needs to be combined with other insulation types.


Spray Foam Insulation

  • Pros: Expands to fill gaps, excellent air barrier.
  • Cons: Expensive, requires professional installation.


Tools and Materials Needed


Before starting the insulation process, gather the necessary tools and materials:

  • Insulation Material: Based on your preference and climate.
  • Utility Knife: For cutting insulation to size.
  • Tape Measure: To measure the dimensions of the garage door sides.
  • Adhesive or Insulation Tape: To secure the insulation in place.
  • Safety Gear: Gloves, safety glasses, and a dust mask for protection.
  • Weatherstripping: To seal gaps and improve insulation.


Step-by-Step Guide to Insulate Garage Door Sides


1. Measure the Garage Door Sides: Use a tape measure to determine the height and width of the sides of your garage door. Accurate measurements are crucial for cutting the insulation material to the correct size.


2. Cut the Insulation: Using a utility knife, cut the insulation material according to the measurements. Ensure that the cuts are precise to provide a snug fit against the door sides.


3. Prepare the Surface: Clean the sides of the garage door to remove any dust, dirt, or debris. A clean surface ensures better adhesion of the insulation material.


4. Install the Insulation: Apply adhesive or insulation tape to the back of the insulation material. Press the insulation firmly against the sides of the garage door, ensuring there are no gaps or spaces. For foam board insulation, you may need to use construction adhesive for a secure fit.


5. Seal the Edges: Use weatherstripping to seal the edges of the insulation. This helps to further prevent air leaks and enhances the overall insulation effectiveness.


6. Inspect and Adjust: After installation, inspect the insulation to ensure it is securely in place and covers the entire surface. Make any necessary adjustments to ensure optimal coverage.


Additional Tips for Effective Insulation

  • For maximum efficiency, consider insulating the entire garage door, not just the sides. This includes the panels and the bottom seal.
  • Check the insulation periodically for signs of wear or damage. Replace any worn-out insulation to maintain its effectiveness.
  • Enhance your garage's insulation by combining side insulation with other methods, such as insulating the walls and ceiling of the garage.


Common Mistakes to Avoid

  • Accurate measurements are essential for a snug fit. Double-check your measurements before cutting the insulation material.
  • Ensure the garage door sides are clean before installation. Adhesive may not stick properly to dirty or greasy surfaces.
  • Always wear protective gear, especially when working with fiberglass insulation, to prevent skin irritation and respiratory issues.


Conclusion


Insulating the sides of your garage door is a simple yet effective way to improve energy efficiency, reduce noise, and protect your belongings. By following the steps outlined in this guide, you can ensure a professional-quality insulation job that provides lasting benefits. Remember to choose the right insulation material for your climate and needs, and always prioritize safety during installation.

You might also like

Fix N Go Blog

How to Replace a Garage Door Motor?
By Rabia Tingat July 24, 2025
If your garage door opener motor has become noisy, sluggish, or completely non-functional, it may be time to replace it. A faulty motor can make daily garage use frustrating and even unsafe. Fortunately, replacing a garage door motor isn't as complicated as it may seem—especially if you're comfortable with basic DIY tasks. In this step-by-step guide, we’ll walk you through how to replace a garage door motor safely and effectively. Whether you’re dealing with a burnt-out motor or simply upgrading to a newer model, we’ll help you understand the entire process—from removal to reinstallation. Signs Your Garage Door Motor Needs Replacing Before we jump into the replacement process, let’s look at a few signs that indicate your garage door motor is failing: The opener struggles to lift or lower the door Unusual grinding or humming noises from the motor Frequent power failures or overheating The door only opens partially or not at all The remote and wall switch stop responding If your opener exhibits any of these issues even after resetting or troubleshooting, replacing the motor is likely the best long-term solution. Choosing the Right Garage Door Motor Replacement Garage door motors (often called garage door openers) come in several types—chain drive, belt drive, screw drive, and direct drive. When choosing a replacement, make sure it’s compatible with: Your garage door's weight and size Available power source (AC or DC motor) Existing hardware and mounting setup Brands like Chamberlain, Genie, and LiftMaster offer reliable units that include all necessary mounting brackets, sensors, and manuals for a smoother installation. Tools You’ll Need Before replacing your garage door motor, gather these essential tools: Ladder Socket set Screwdrivers Adjustable wrench Wire cutters and strippers Power drill Safety glasses and gloves Once you're equipped, turn off the power supply to the opener to avoid electrical hazards. Step-by-Step Guide to Replacing a Garage Door Motor Step 1: Disconnect Power and Unplug the Motor Safety first—disconnect the opener from the power outlet. If it's hardwired into your home’s electrical system, turn off the circuit breaker. Confirm there's no electricity flowing to the unit using a voltage tester. Step 2: Disengage the Door from the Opener Pull the emergency release cord (usually a red handle) to disengage the garage door from the opener. This lets you open and close the door manually during the motor replacement process. Step 3: Remove the Old Garage Door Motor Start by detaching the wires connected to the safety sensors and wall switch. Take photos or label wires for reference during reinstallation. Next, use a socket wrench or screwdriver to unscrew the motor unit from its mounting bracket on the ceiling. Be cautious—these units are heavy and often require a second person to safely lower them. Once the motor is removed, also uninstall the rail and trolley if your new opener comes with its own. Step 4: Install the New Motor and Mounting Rail Assemble the new motor unit according to the manufacturer’s instructions. This often includes connecting the rail, carriage, and pulley system. Mount the new rail above your garage door and secure the motor to the ceiling using provided brackets. Make sure everything is level and firmly attached. A misaligned rail can lead to jerky movements or early wear on the new motor. Step 5: Wire the Motor and Accessories Reconnect the wall switch and safety sensor wires to the terminals on the new motor unit. Most openers have labeled terminals—typically for red, white, and black wires. If your model includes a backup battery, antenna, or Wi-Fi connection, set these up now. Follow your motor’s wiring diagram precisely to avoid connectivity issues. Step 6: Reconnect the Door and Adjust Settings Pull the emergency cord back into the “engaged” position to reattach the door to the trolley. Now, plug the motor into the power outlet or restore power at the breaker. Turn on the unit and test the door’s operation. Adjust the travel limits and force settings as needed. These settings ensure the door opens and closes completely without excessive strain. Refer to your manual for step-by-step adjustment instructions—usually involving small dials or digital buttons on the unit. Testing Your New Garage Door Motor Once installed, test the full functionality of the opener: Use both the wall switch and remote control Check safety sensors by blocking the beam—door should reverse Confirm smooth and quiet operation Listen for any abnormal noises or vibrations If the door doesn’t operate properly, recheck the alignment of the rail, the wiring connections, or the motor’s mounting hardware. Professional Help vs. DIY While replacing a garage door motor is a doable task for experienced DIYers, you may want to call a professional if:  Your opener is hardwired (no plug-in cord) The ceiling mount is in a tight or high area The garage door is unusually heavy or custom-built You’re unsure about wiring and adjustments Professional installers can typically complete the job within 1–2 hours, and many offer warranties on both labor and parts. Final Thoughts Replacing a garage door motor may seem like a big task, but with the right preparation and safety steps, it's well within reach for the average homeowner. Whether you're upgrading to a quieter, smarter opener or fixing a worn-out unit, understanding the wiring, mounting, and setup process will ensure a successful installation. Remember to always follow the manufacturer’s instructions, double-check your wiring, and test your new unit thoroughly. When done correctly, a new garage door motor will provide smooth, reliable performance for years to come.
How Does Genie Garage Door Motor Wire In?
By Rabia Tingat July 22, 2025
Find out how to wire a Genie garage door motor with expert tips. Improve motor performance and ensure secure, safe installation with this guide.
How to Replace a Garage Door Cable?
By Rabia Tingat July 20, 2025
Learn how to replace a garage door cable step-by-step. This guide covers tools, safety tips, and expert advice for a smooth and safe cable replacement.