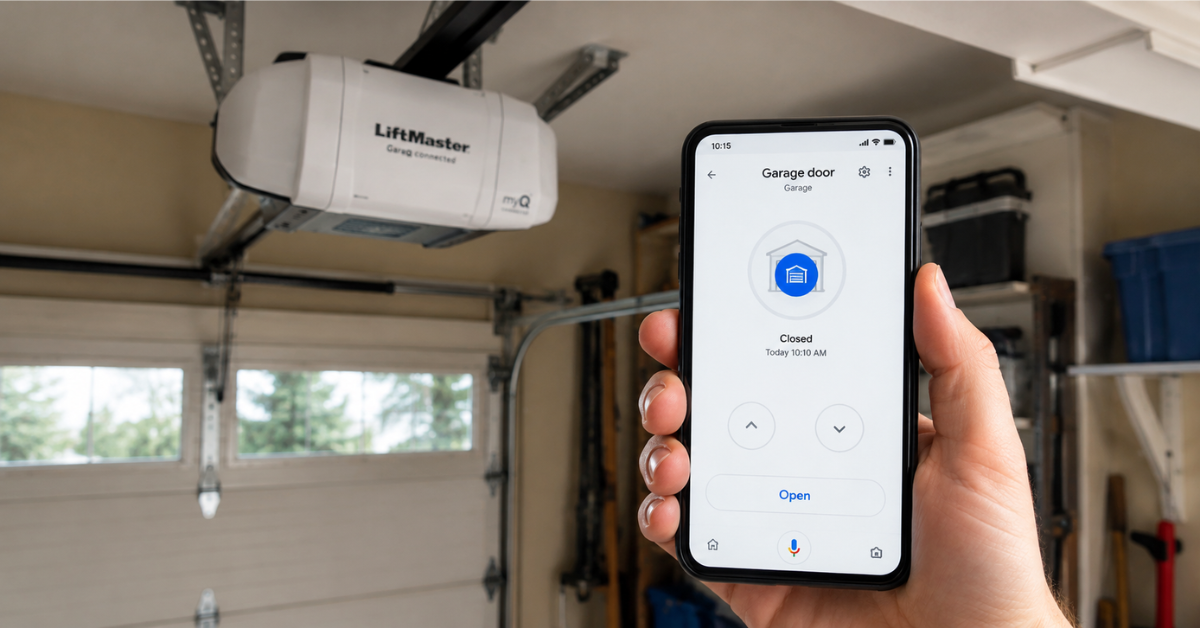
How Does Genie Garage Door Motor Wire In?
If you're installing or replacing a Genie garage door opener, one of the most essential tasks is understanding how the motor wires into the rest of the system. While it may sound technical, wiring a Genie garage door motor is a manageable DIY task—provided you follow proper safety measures and understand the process.
This guide will walk you through everything you need to know about how a Genie garage door motor wires in, ensuring smooth operation and long-term functionality. We’ll cover wiring diagrams, color codes, common mistakes, and more—all in an easy-to-understand format optimized for both beginners and DIY enthusiasts.
Understanding the Basics of a Genie Garage Door Motor
Before diving into the wiring process, it’s important to understand what the motor actually does. The Genie garage door opener motor is the powerhouse that drives the movement of your garage door. It connects to a power source, control board, and safety sensors to open and close the door smoothly and safely.
Most modern Genie models—like the Genie QuietLift, Chain Drive, or Belt Drive series—use a DC-powered motor that’s efficient, quiet, and compact. Wiring this motor correctly is crucial for both safety and operational reliability.
Tools and Materials You'll Need
To properly wire in your Genie garage door motor, you’ll need a few basic tools and materials:
- Flathead and Phillips screwdrivers
- Wire strippers and cutters
- Electrical tape
- Voltage tester
- Mounting hardware (usually provided in the installation kit)
- Ladder
- The user manual (specific to your Genie model)
Make sure the power is turned off at the breaker before you begin any electrical work.
Wiring the Power Source
The first step is connecting the motor to a power source. Genie garage door openers are typically powered by a standard 120V electrical outlet. This outlet should be located near the ceiling, close to where the opener is mounted.
- Check the Outlet: Ensure the outlet is grounded and functioning. Use a voltage tester to confirm.
- Plug-In Installation: If your Genie model comes with a plug-in cord, you simply plug it into the outlet. This is common in most residential installations.
- Hardwired Installation (If Required): Some installations may require direct wiring into the house's electrical system. This should only be performed by a licensed electrician.
Most homeowners will find the plug-in version far more convenient and safer to install.
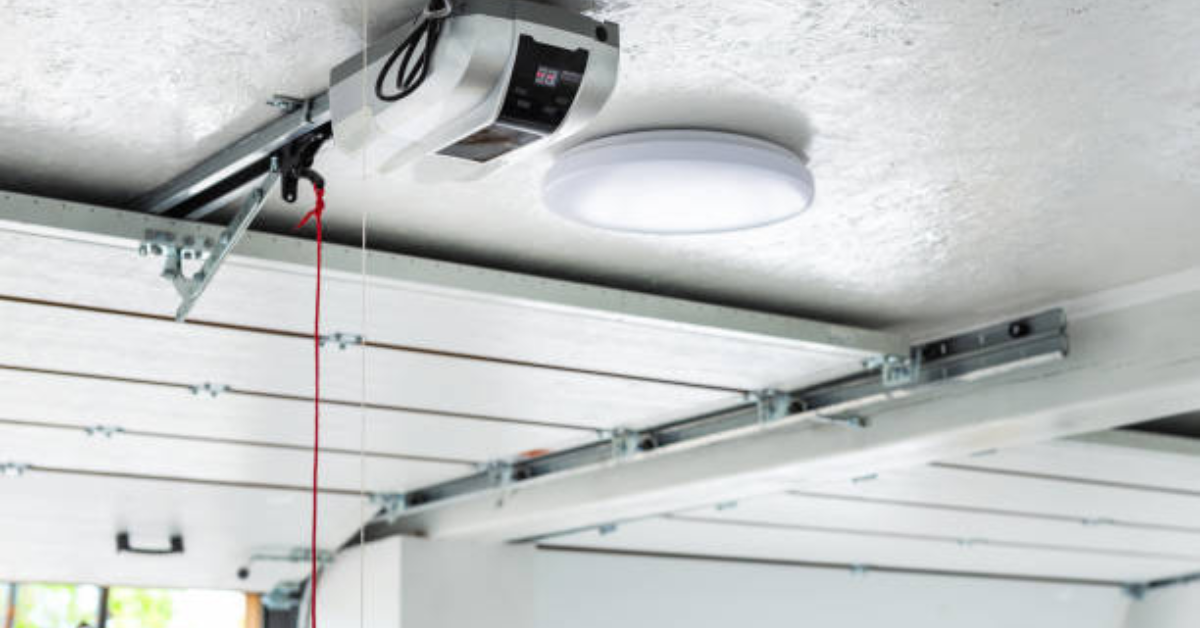
Motor to Control Board Wiring
The Genie motor is typically connected to a logic board or control board, which interprets remote commands and safety sensor inputs.
Inside the motor housing, you'll find several terminals, usually labeled and color-coded. The standard Genie wiring configuration includes:
- Red Wire: Power (from control board to motor)
- White Wire: Neutral or common
- Blue or Black Wire: Motor control signal
Your unit's manual will have a wiring diagram, but the key is ensuring wires are matched to their respective terminals. Strip the wire ends and insert them into the appropriate terminals, then tighten with a screwdriver. Avoid over-stripping, which can lead to exposed wires and safety hazards.
Wiring the Wall Console
The wall-mounted console is your indoor switch that allows you to open or close the garage door manually. It usually connects to the opener via low-voltage wires (commonly 18- or 22-gauge).
Here’s how to wire it correctly:
- Run the Wires: Use the included low-voltage wire to run from the wall console to the motor unit.
- Connect to Terminals: Most Genie openers have screw terminals marked
“Wall Console” or
“WC”. Match the red and white wires to the corresponding screws.
- Secure the Connections: Tighten the terminal screws and ensure no copper is exposed. Loose connections can cause intermittent operation.
Test the console after wiring, but only after completing sensor and remote setup.
Wiring the Safety Sensors
Genie garage door openers include infrared safety sensors that prevent the door from closing on people, pets, or objects. Wiring them is vital for safe operation and also required for the system to function.
The safety sensors are installed on both sides of the garage door, about 6 inches above the floor.
Wiring Steps:
- Sensor Placement: Mount the sending and receiving sensors using the brackets provided.
- Run the Wires: Most Genie models come with pre-marked wires—strip both ends and run them back to the opener.
- Connect to Terminals: Attach the wires to the terminals marked
“Safe-T-Beam”, typically color-coded (black and white or red and white).
- Test Alignment: Once wired, a green or red LED on the sensors should light up, indicating proper alignment.
If the door doesn’t close properly after installation, double-check the sensor connections and alignment.
Connecting the Antenna and Remote Receiver
Most Genie openers have a built-in antenna for receiving signals from the remote control. This antenna doesn’t require additional wiring, but make sure it’s hanging down vertically for optimal signal range.
The motor connects to the remote through internal circuit pathways, so no manual wiring is needed here. Just ensure the remotes are properly programmed using the "Learn" button on the opener.
Common Mistakes to Avoid
Wiring a Genie garage door motor is fairly straightforward, but avoid these common errors to ensure long-term reliability:
- Mixing up sensor wires – incorrect polarity can cause sensor failure
- Leaving exposed copper – can lead to short circuits or corrosion
- Not securing wires – loose wires can get caught in moving parts
- Bypassing the safety sensors – not only dangerous but may prevent the opener from working at all
Always refer to the installation manual for your specific model to avoid model-specific wiring differences.
When to Call a Professional
If you're uncomfortable with electrical work or your installation requires hardwiring into your home’s electrical panel, it’s best to consult a licensed electrician. Improper wiring can void your warranty or even pose a fire hazard.
Final Thoughts
Wiring a Genie garage door motor might sound intimidating, but with a little preparation and patience, it’s a doable task for most homeowners. By understanding how the motor connects to the power supply, control board, safety sensors, and wall console, you can ensure your garage door functions smoothly and safely.
Always follow the specific wiring instructions provided with your Genie model, and don’t cut corners when it comes to safety. Whether you're upgrading your opener or installing a new one, proper wiring is the foundation of reliable garage door performance.
You might also like
Fix N Go Blog