
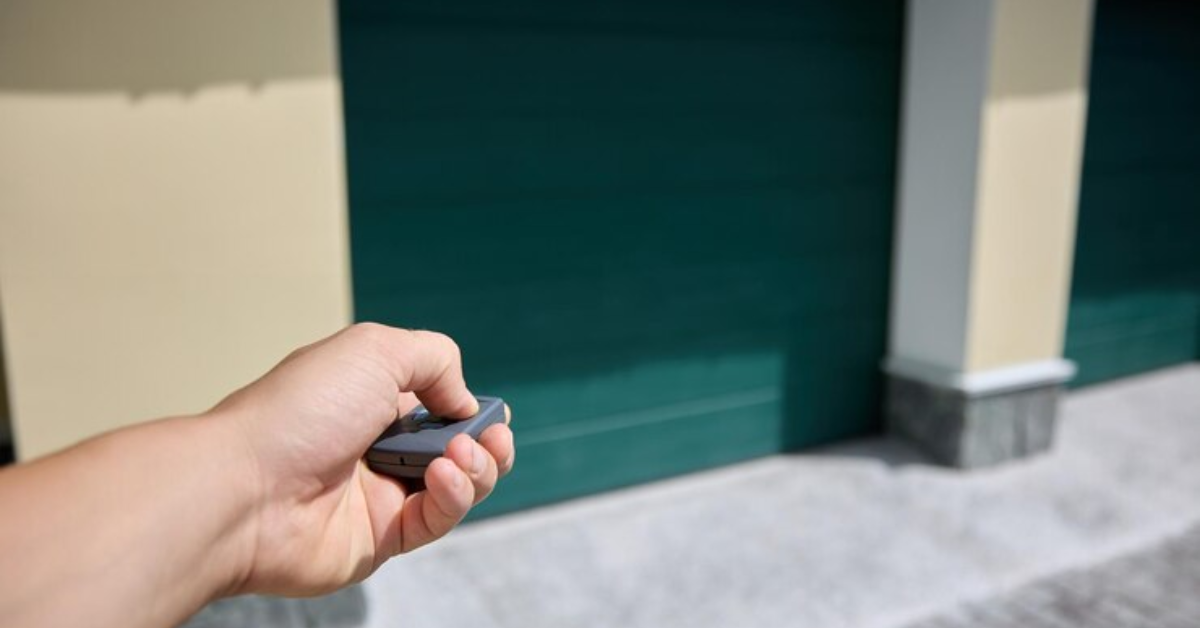
How To Repair A Garage Door Opener Remote?
Garage door opener remotes are essential for convenient access to your garage, but when they malfunction, it can be frustrating and inconvenient. Understanding how to troubleshoot and repair a garage door opener remote is crucial for maintaining smooth functionality. In this guide, we will delve into the process of troubleshooting common issues with garage door opener remotes, offering practical solutions to restore their operation. By exploring various troubleshooting techniques and DIY repair methods, you'll gain the knowledge and confidence needed to address remote problems effectively and ensure hassle-free access to your garage. Join us as we embark on a journey to explore garage door opener remote troubleshooting and repair, empowering you to tackle any issues that may arise with confidence and expertise.
Recognizing Common Problems with Garage Door Opener Remotes
Garage door opener remotes are integral components for convenient access to your garage, but they can encounter various issues over time. Common problems include failure to open or close the garage door, intermittent operation, or unresponsive buttons. These issues often stem from factors such as battery depletion, signal interference, or malfunctioning components within the remote.
Several factors can contribute to the dysfunction of garage door opener remotes. Weak or dead batteries are a primary culprit, as they can impair the remote's ability to transmit signals effectively. Also, signal interference from nearby electronic devices or metal structures can disrupt communication between the remote and the garage door opener. Furthermore, physical damage to the remote or internal components can also lead to malfunction.
Practical Steps for Diagnosing Remote Problems
When faced with issues with your garage door opener remote, a systematic approach to troubleshooting can help identify and resolve the problem efficiently. By following practical steps, you can diagnose the root cause of the issue and implement appropriate solutions to restore functionality.
Battery Check:
Begin by checking the batteries in the remote to ensure they are not depleted or corroded. Replace the batteries with fresh ones, ensuring they are properly inserted according to the polarity markings. Weak or dead batteries are a common cause of remote dysfunction and replacing them can often resolve the issue.
Signal Assessment:
Next, assess the signal transmission between the remote and the garage door opener. Ensure that there are no obstructions blocking the signal path and that the remote is within the recommended range. Test the remote from different locations to determine if signal interference is causing the problem.
Resetting Programming: If the remote continues to malfunction, consider resetting its programming to realign its functions with the garage door opener. Consult the manufacturer's instructions or user manual for specific steps on how to reset the remote's programming. This process can help resolve issues related to programming errors or conflicts.
Button Examination: Inspecting Physical Components: Finally, inspect the physical components of the remote, including the buttons and casing, for any signs of damage or wear. Clean the buttons and contacts with a soft cloth and ensure that they are functioning properly. If the remote shows signs of physical damage, such as cracks or moisture ingress, consider replacing it to restore functionality.
Using these troubleshooting techniques, you can identify and resolve common garage door opener remote issues, ensuring reliable operation and convenience for garage access. If troubleshooting does not resolve the problem, consider seeking assistance from a professional garage door technician for further diagnosis and repair.
Identifying the Issue
Garage door opener remotes can encounter various issues that hinder their functionality. Common problems include unresponsive buttons, intermittent signal transmission, or complete failure to operate the garage door. Recognizing these issues is essential for effective troubleshooting and repair. Several factors can contribute to the dysfunction of garage door opener remotes. These may include low battery power, signal interference from nearby electronics or appliances, misaligned sensors, or programming errors. Understanding these factors can help pinpoint the root cause of remote problems.
DIY Repair Methods
Simple Solutions for Remote Issues: Many remote problems can be resolved using simple DIY repair methods. By addressing common issues such as battery replacement, contact cleaning, and reprogramming, you can often restore your garage door opener remote to proper functioning.
Battery Replacement:
If the remote fails to operate, replacing the batteries is the first step in troubleshooting. Ensure that fresh batteries are installed correctly to provide adequate power to the remote.
Contact Cleaning:
Dirty or corroded contacts can interfere with the transmission of signals between the remote and opener unit. Clean the contact points using a soft cloth or cotton swab dipped in rubbing alcohol to remove any buildup and improve connectivity.
Reprogramming: If communication between the remote and opener is disrupted, reprogramming the remote can often resolve the issue. Follow the manufacturer's instructions to reset the remote and reprogram it to the opener unit, ensuring proper communication and functionality.
How to fix garage door opener remote control?
If your garage door opener remote control is not working, here are some steps you can take to try to fix it:
- Check the Batteries: Replace the batteries in the remote control with fresh ones and see if that resolves the issue.
- Inspect the Remote: Look for any physical damage on the remote, such as broken buttons or a cracked case. If there is damage, you may need to replace the remote.
- Reprogram the Remote: Sometimes, reprogramming the remote can fix connectivity issues. Consult your garage door opener's manual for instructions on how to reprogram the remote.
- Check the Antenna: Ensure that the antenna on the garage door opener motor unit is hanging down and not damaged. Adjust its position if necessary.
- Reset the Opener: Unplug the garage door opener for a few minutes, then plug it back in. This can sometimes reset the system and fix minor issues.
- Check for Interference: Nearby electronic devices or appliances can sometimes interfere with the signal. Try moving the remote to a different location and see if it works.
If none of these steps resolve the issue, there may be a problem with the remote control itself, and you may need to replace it or seek professional assistance.
Knowing When to Reach Out for Expert Help
While DIY repair methods can address many remote issues, there are instances where professional assistance may be necessary. If troubleshooting efforts fail to resolve the problem, or if the issue is beyond your expertise, it's advisable to seek help from a qualified garage door repair technician. When choosing a repair service, look for a reputable provider with extensive experience in garage door opener repairs. Ensure that technicians are licensed, insured, and properly trained to diagnose and fix remote issues. Consider reading reviews and asking for recommendations to select a trustworthy and reliable repair service.
Conclusion
Maintaining the functionality of your garage door opener remote requires understanding how to troubleshoot and repair it. By recognizing common issues, employing DIY repair methods, and knowing when to seek professional assistance, you can effectively address remote problems and ensure smooth operation. Regular maintenance and timely repairs can extend the lifespan of your remote and contribute to the overall functionality of your garage door system.
You might also like
Fix N Go Blog


