How to Replace a Garage Door Motor?
If your garage door opener motor has become noisy, sluggish, or completely non-functional, it may be time to replace it. A faulty motor can make daily garage use frustrating and even unsafe. Fortunately, replacing a garage door motor isn't as complicated as it may seem—especially if you're comfortable with basic DIY tasks.
In this step-by-step guide, we’ll walk you through how to replace a garage door motor safely and effectively. Whether you’re dealing with a burnt-out motor or simply upgrading to a newer model, we’ll help you understand the entire process—from removal to reinstallation.
Signs Your Garage Door Motor Needs Replacing
Before we jump into the replacement process, let’s look at a few signs that indicate your garage door motor is failing:
- The opener struggles to lift or lower the door
- Unusual grinding or humming noises from the motor
- Frequent power failures or overheating
- The
door only opens partially or not at all
- The remote and wall switch stop responding
If your opener exhibits any of these issues even after resetting or troubleshooting, replacing the motor is likely the best long-term solution.
Choosing the Right Garage Door Motor Replacement
Garage door motors (often called garage door openers) come in several types—chain drive, belt drive, screw drive, and direct drive. When choosing a replacement, make sure it’s compatible with:
- Your garage door's weight and size
- Available power source (AC or DC motor)
- Existing hardware and mounting setup
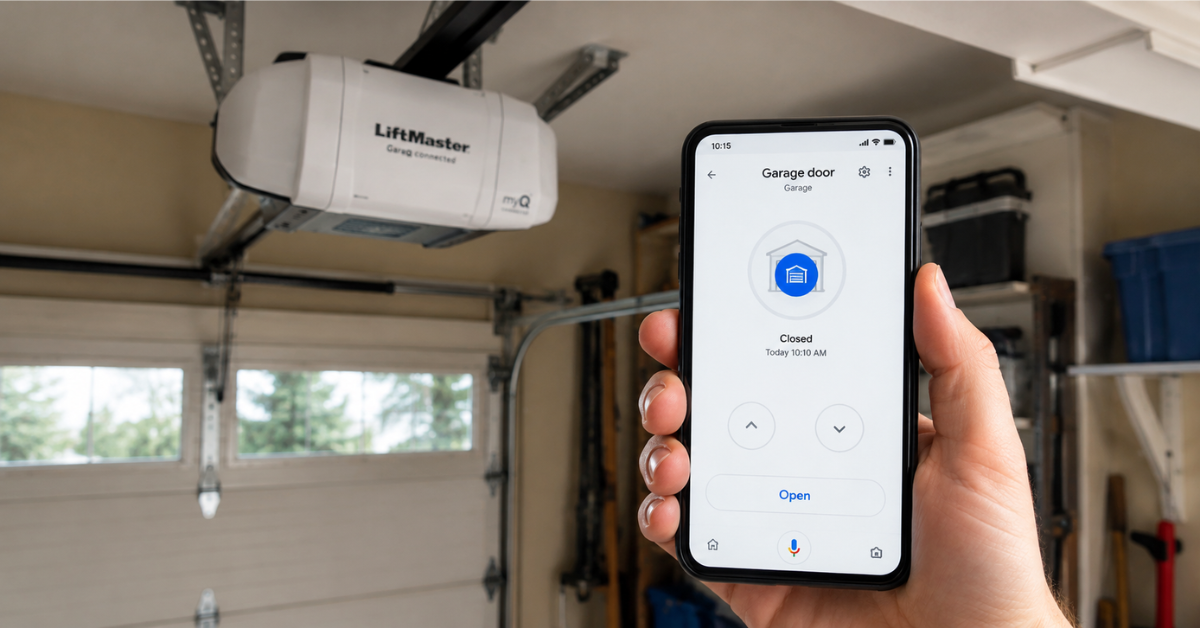
Brands like Chamberlain, Genie, and LiftMaster offer reliable units that include all necessary mounting brackets, sensors, and manuals for a smoother installation.
Tools You’ll Need
Before replacing your garage door motor, gather these essential tools:
- Ladder
- Socket set
- Screwdrivers
- Adjustable wrench
- Wire cutters and strippers
- Power drill
- Safety glasses and gloves
Once you're equipped, turn off the power supply to the opener to avoid electrical hazards.
Step-by-Step Guide to Replacing a Garage Door Motor
Step 1: Disconnect Power and Unplug the Motor
Safety first—disconnect the opener from the power outlet. If it's hardwired into your home’s electrical system, turn off the circuit breaker. Confirm there's no electricity flowing to the unit using a voltage tester.
Step 2: Disengage the Door from the Opener
Pull the emergency release cord (usually a red handle) to disengage the garage door from the opener. This lets you open and close the door manually during the motor replacement process.
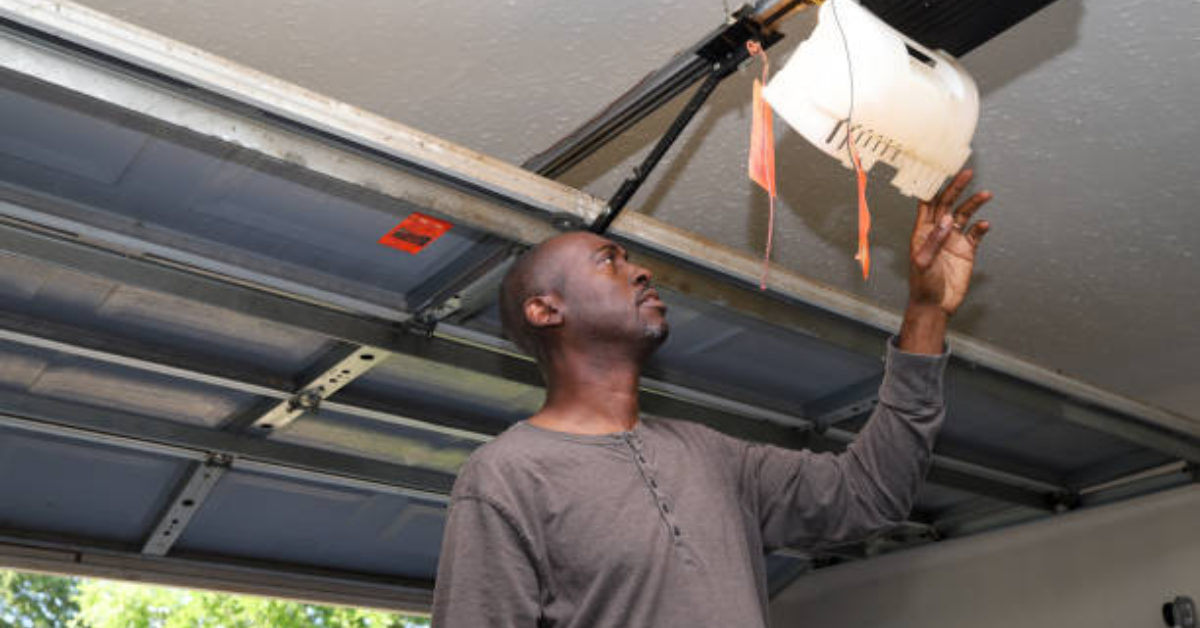
Step 3: Remove the Old Garage Door Motor
Start by detaching the wires connected to the safety sensors and wall switch. Take photos or label wires for reference during reinstallation.
Next, use a socket wrench or screwdriver to unscrew the motor unit from its mounting bracket on the ceiling. Be cautious—these units are heavy and often require a second person to safely lower them.
Once the motor is removed, also uninstall the rail and trolley if your new opener comes with its own.
Step 4: Install the New Motor and Mounting Rail
Assemble the new motor unit according to the manufacturer’s instructions. This often includes connecting the rail, carriage, and pulley system.
Mount the new rail above your garage door and secure the motor to the ceiling using provided brackets. Make sure everything is level and firmly attached. A misaligned rail can lead to jerky movements or early wear on the new motor.
Step 5: Wire the Motor and Accessories
Reconnect the wall switch and safety sensor wires to the terminals on the new motor unit. Most openers have labeled terminals—typically for red, white, and black wires.
If your model includes a backup battery, antenna, or Wi-Fi connection, set these up now. Follow your motor’s wiring diagram precisely to avoid connectivity issues.
Step 6: Reconnect the Door and Adjust Settings
Pull the emergency cord back into the “engaged” position to reattach the door to the trolley.
Now, plug the motor into the power outlet or restore power at the breaker. Turn on the unit and test the door’s operation.
Adjust the travel limits and force settings as needed. These settings ensure the door opens and closes completely without excessive strain. Refer to your manual for step-by-step adjustment instructions—usually involving small dials or digital buttons on the unit.
Testing Your New Garage Door Motor
Once installed, test the full functionality of the opener:
- Use both the wall switch and remote control
- Check safety sensors by blocking the beam—door should reverse
- Confirm smooth and quiet operation
- Listen for any abnormal noises or vibrations
If the door doesn’t operate properly, recheck the alignment of the rail, the wiring connections, or the motor’s mounting hardware.
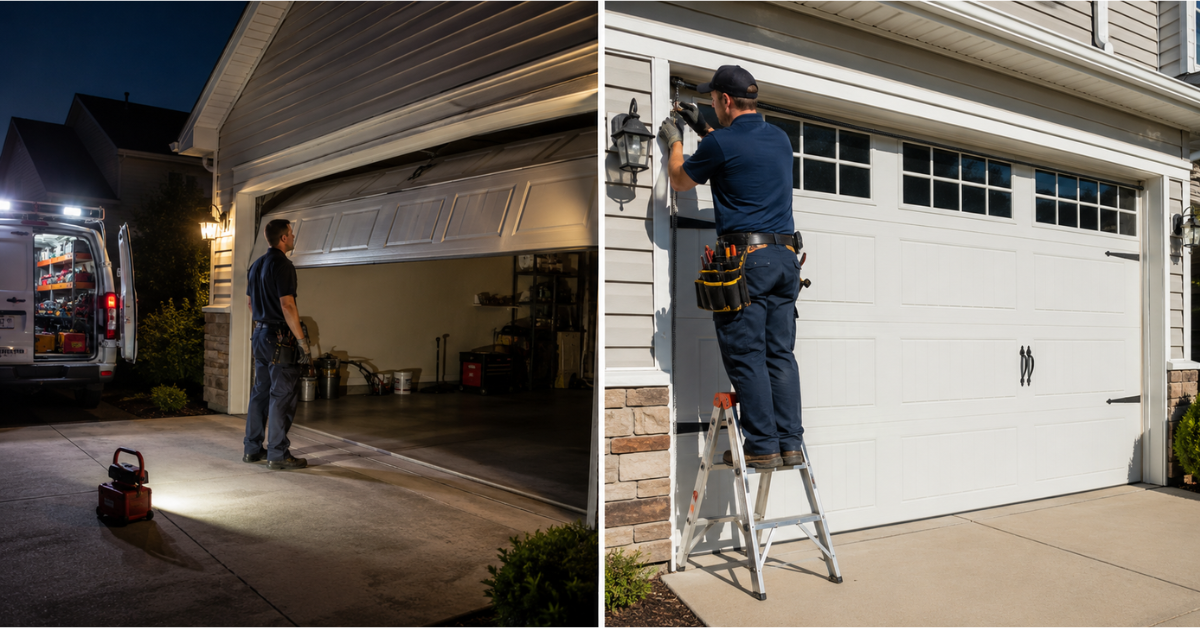
Professional Help vs. DIY
While replacing a garage door motor is a doable task for experienced DIYers, you may want to call a professional if:
- Your opener is hardwired (no plug-in cord)
- The ceiling mount is in a tight or high area
- The garage door is unusually heavy or custom-built
- You’re unsure about wiring and adjustments
Professional installers can typically complete the job within 1–2 hours, and many offer warranties on both labor and parts.
Final Thoughts
Replacing a garage door motor may seem like a big task, but with the right preparation and safety steps, it's well within reach for the average homeowner. Whether you're upgrading to a quieter, smarter opener or fixing a worn-out unit, understanding the wiring, mounting, and setup process will ensure a successful installation.
Remember to always follow the manufacturer’s instructions, double-check your wiring, and test your new unit thoroughly. When done correctly, a new garage door motor will provide smooth, reliable performance for years to come.
You might also like
Fix N Go Blog