
How Do I Program A Liftmaster Garage Door Remote
Programming a LiftMaster garage door remote may seem challenging, but with the right steps, you can easily sync your remote to control your garage door. Whether you're replacing an old remote or adding a new one, the process is simple and requires minimal tools. This guide will walk you through programming your LiftMaster garage door remote to ensure smooth operation.
Tools You Will Need
Before starting, gather the following:
- A compatible LiftMaster garage door opener remote control
- Access to the garage door opener’s motor unit (usually located on the ceiling of your garage)
- A step ladder (if needed) to reach the motor unit
Let’s break down the steps for programming the remote.
1. Identify Your Garage Door Opener’s Learn Button
Step 1: Locate the Learn Button
The first step is to find the Learn button on your LiftMaster garage door opener. This button is located on the back or side of the motor unit that is installed on the ceiling of your garage.
- For newer models, you might have to remove a light cover to expose the button.
- The button can be yellow, purple, red, orange, or green depending on your model.
- It is usually labeled as “Learn” and may have an adjacent LED indicator.
Step 2: Understand What the Learn Button Does
The Learn button is essential for programming both remotes and keypads to your garage door opener. When pressed, it puts your LiftMaster system in programming mode, allowing it to sync with a remote control.
2. Program the LiftMaster Remote Control
Step 1: Prepare the Remote
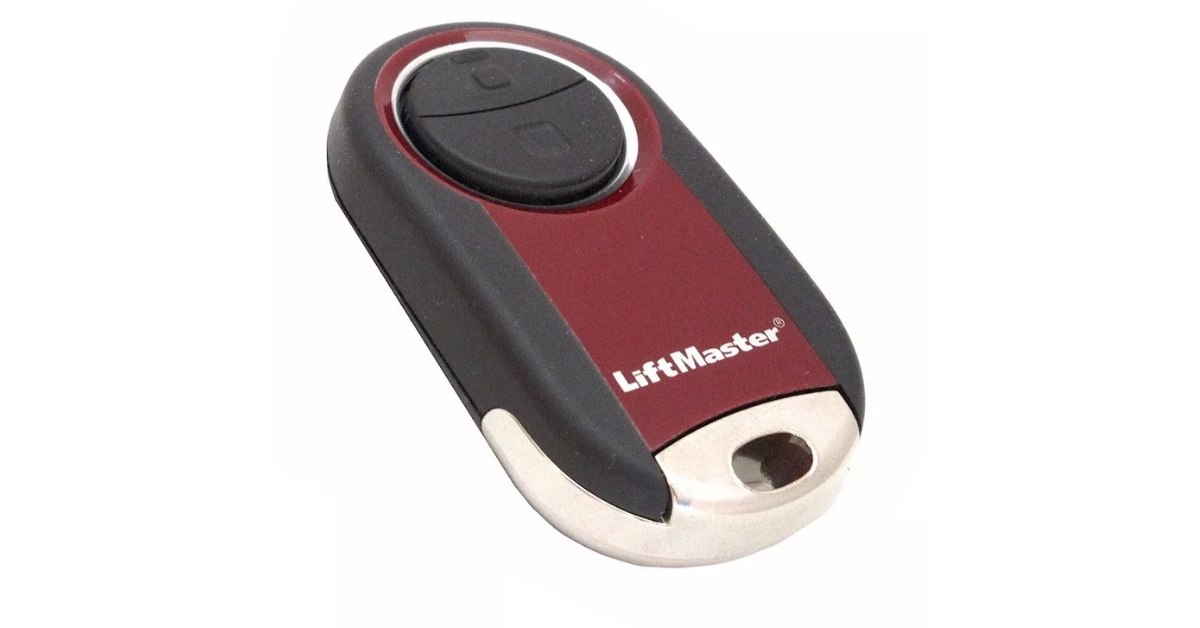
Take your new or replacement LiftMaster remote. Each remote comes with multiple buttons that can be programmed for different garage doors. Decide which button you want to program for your garage door opener.
Step 2: Press the Learn Button
Once you’ve located the Learn button on your garage door opener, press it. After pressing, you will see a light blink or hear a click, indicating the opener is now in programming mode. You have approximately 30 seconds to complete the next step, so be prepared to act quickly.
- If the Learn button is yellow, the LED light should glow steadily.
- If the Learn button is red or orange, the LED will glow for around 30 seconds.
Step 3: Sync the Remote Control
While the motor unit is in programming mode, quickly grab your remote control and press and hold the button you want to program. Hold the button for around three seconds.
- The garage door opener light will flash, or you may hear two clicks, signaling that the remote has successfully paired with the garage door opener.
- If nothing happens, you may need to repeat the process.
Step 4: Test the Remote
To ensure the remote was programmed correctly, test it by pressing the button you just synced. The garage door should open or close as expected. If the door doesn’t respond, repeat the programming steps, ensuring you press the Learn button and remote button in the correct order.
3. Programming Multiple Remotes
If you have multiple remotes or want to program a remote for multiple garage doors, LiftMaster makes it easy.
Step 1: Repeat the Process for Each Remote
Each remote control button can be programmed to control a different garage door opener. To program additional remotes, follow the same process:
- Press the Learn button on the motor unit of the garage door opener you want to control.
- Press and hold the desired button on your remote.
- Wait for the indicator light on the motor unit to flash, signaling that the programming was successful.
Step 2: Label Your Remotes (Optional)
If you program multiple remotes or control different garage doors, labeling each button or remote may help you remember which remote controls which door.
4. Reprogramming a LiftMaster Remote
In certain cases, you may need to reprogram your LiftMaster remote. For instance:
- After a power outage, your system may lose its programming.
- If you buy a new remote or replace an old one, reprogramming is necessary.
- If your remote was lost or stolen, you may want to reprogram all your devices to prevent unauthorized access.
Step 1: Erase Existing Codes (Optional)
If you want to erase the current programming and start fresh, you can reset your garage door opener’s memory. To do this:
- Locate the Learn button on the motor unit.
- Press and hold the Learn button for around 10 seconds. The LED light will turn off, erasing all previously programmed remote controls and keypads.
Step 2: Reprogram the Remote
Follow the same steps mentioned earlier to program your remote control again after erasing the old codes.
5. Troubleshooting Programming Issues
While programming a LiftMaster remote is usually straightforward, problems can sometimes arise. Here are a few troubleshooting tips:
Problem 1: The Remote Doesn’t Sync
- Ensure the batteries in your remote are working. If not, replace them with fresh batteries and try again.
- Make sure you’re pressing the Learn button on the motor unit, not the remote, to enter programming mode.
- Ensure you’re within range of the motor unit when programming. If you're too far away, the signal may not reach.
Problem 2: The Remote Suddenly Stops Working
- Check if the remote needs to be reprogrammed after a power outage or a system reset.
- Try erasing all codes from the opener and reprogramming the remote from scratch.
Problem 3: Garage Door Opener’s Light Doesn’t Blink During Programming
- If the garage door opener’s light doesn’t blink or the motor unit doesn’t click, check that the Learn button is functioning properly.
- If necessary, consult the user manual for your LiftMaster model to verify that you’re following the correct programming steps.
6. Additional Features of LiftMaster Remotes
Many LiftMaster remotes come with extra features:
- Multiple button remotes: You can program different buttons to control multiple garage doors or gates.
- Keychain remotes: Some LiftMaster remotes are designed to be small and portable, making them easy to attach to your keychain for quick access.
Conclusion
Programming a LiftMaster garage door remote is a simple process that can be completed in just a few minutes. By following these step-by-step instructions, you can ensure that your remote is properly synced with your garage door opener, allowing for seamless operation. Whether you're programming a new remote, reprogramming after a power outage, or managing multiple garage doors, the process is quick and efficient, providing you with convenient control over your garage door.
You might also like
Fix N Go Blog


