The Ultimate Automatic Garage Door Maintenance Timeline

Rabia Tingat • November 30, 2024

Automatic garage doors are an essential convenience for many homeowners, offering smooth operation and reliable security. However, like any mechanical system, they require regular maintenance to ensure longevity, safety, and optimal performance. Following a well-planned maintenance timeline can prevent costly repairs, improve functionality, and increase the lifespan of your garage door system. Here’s your ultimate guide to maintaining your automatic garage door.


Why Regular Maintenance is Important


Neglecting your automatic garage door can lead to operational issues, increased repair costs, and even safety hazards. Regular maintenance ensures that:

  • The door operates smoothly and quietly.
  • Critical components such as springs, tracks, and sensors remain in good condition.
  • Safety mechanisms function correctly, protecting people and property.

By adhering to a routine maintenance timeline, you can avoid unexpected breakdowns and maintain the overall security of your home.


Daily Maintenance Tasks


While there’s no need to inspect your garage door daily, certain habits can help keep your system in check.

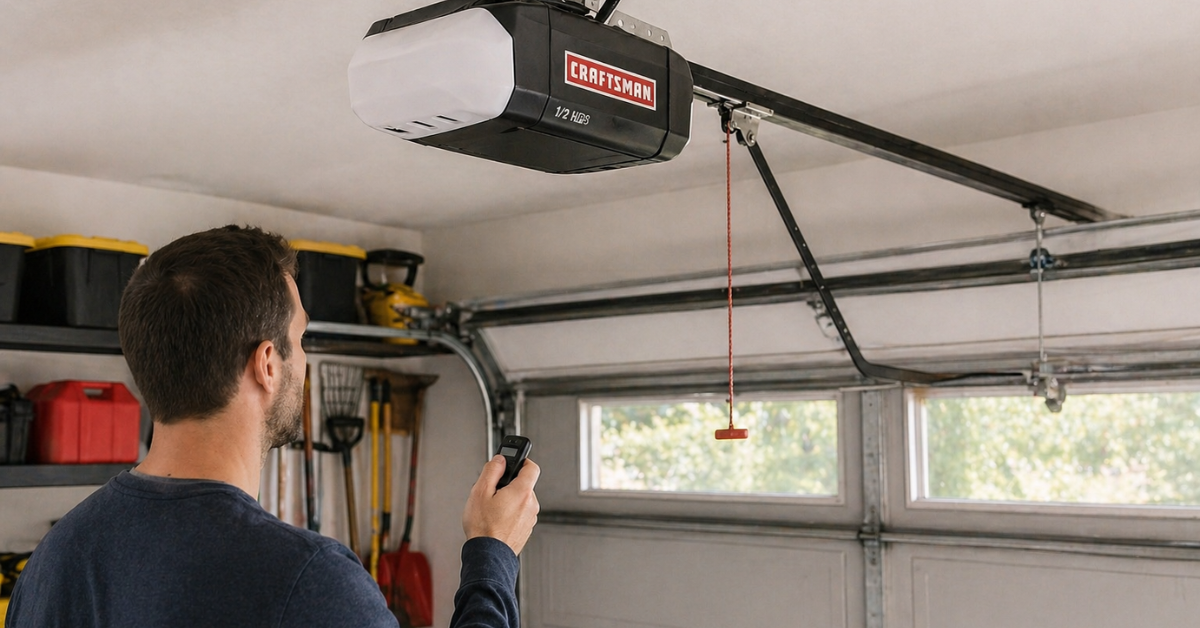
  1. Observe Door Operation:
    Watch how your garage door moves each time you open or close it. A smooth and quiet operation indicates a well-functioning system, while jerky movements or unusual noises may signal problems.
  2. Ensure Safety Features Work:
    Make sure the safety sensors near the floor are clean and aligned. These sensors prevent the door from closing on objects or people.


Weekly Maintenance Tasks


1. Inspect for Visible Damage

Walk around your garage door weekly and check for:

  • Dents or cracks in the door panels.
  • Loose hardware, such as screws, nuts, or bolts.
  • Frayed cables or worn-out parts.


2. Test the Door Balance

Disconnect the automatic opener by pulling the release cord. Lift the door manually halfway and let go. If the door stays in place, it’s balanced correctly. If not, it may need professional adjustment.


3. Clean the Exterior

Keep the surface of the garage door clean. Use a mild soap and water solution to remove dirt, debris, and grime. For metal doors, check for rust spots and repaint them if necessary to prevent corrosion.


Monthly Maintenance Tasks


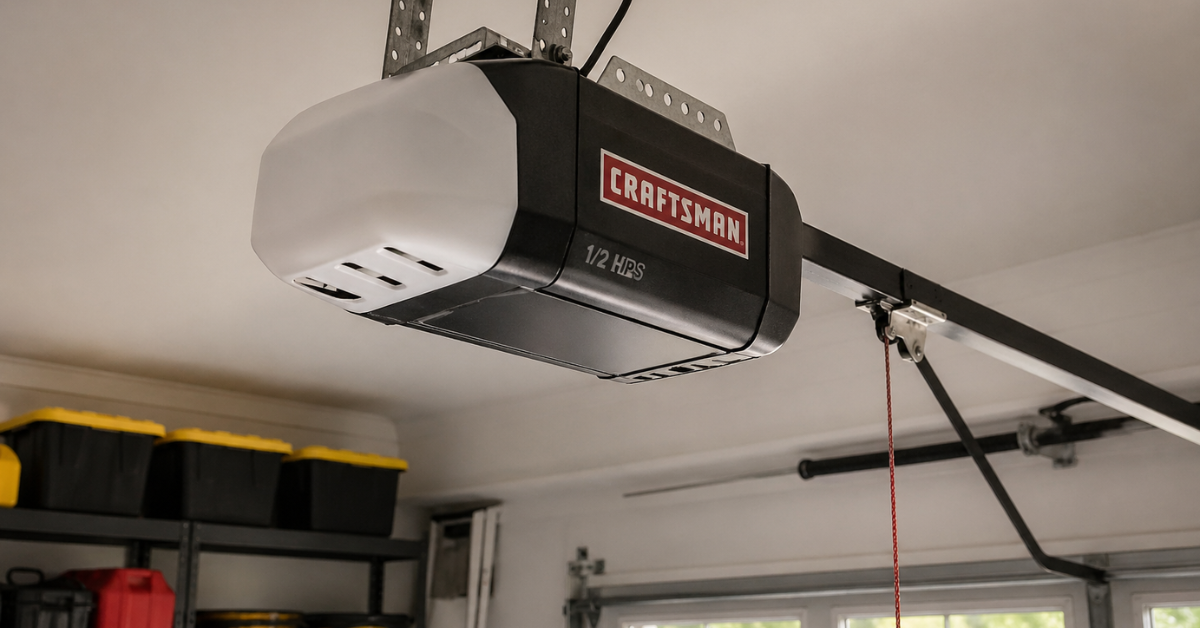
1. Lubricate Moving Parts

Apply a silicone-based lubricant to essential components such as:

This helps reduce friction, ensuring smooth operation and prolonging the life of these parts.


2. Inspect the Weatherstripping

Check the rubber seal at the bottom of the door for cracks or wear. The weatherstripping keeps out moisture, debris, and pests. Replace it if necessary to maintain an effective seal.


3. Test the Auto-Reverse Feature

Place an object, such as a piece of wood, under the door. Close the door using the opener. The door should automatically reverse when it touches the object. If it doesn’t, the auto-reverse mechanism needs immediate attention.


Quarterly Maintenance Tasks


1. Tighten Loose Hardware

Over time, vibration and regular use can loosen the hardware. Use a socket wrench to tighten bolts, screws, and brackets, ensuring everything is secure.


2. Check the Tracks

Inspect the tracks on both sides of the door for debris, rust, or misalignment. Clean them with a damp cloth and ensure they are properly aligned. If they are bent, seek professional repair.


3. Inspect Springs and Cables

Look for signs of wear, rust, or fraying in the torsion springs and cables. These components are under high tension and should only be adjusted by a professional to avoid injury.


Annual Maintenance Tasks


1. Schedule Professional Inspection

Hire a garage door technician for an annual inspection. They can:

  • Test and fine-tune the door’s balance.
  • Adjust the spring tension if necessary.
  • Perform detailed safety checks.


2. Replace Remote Batteries

To avoid being locked out, replace the batteries in your remote and keypad once a year, even if they’re still functional.


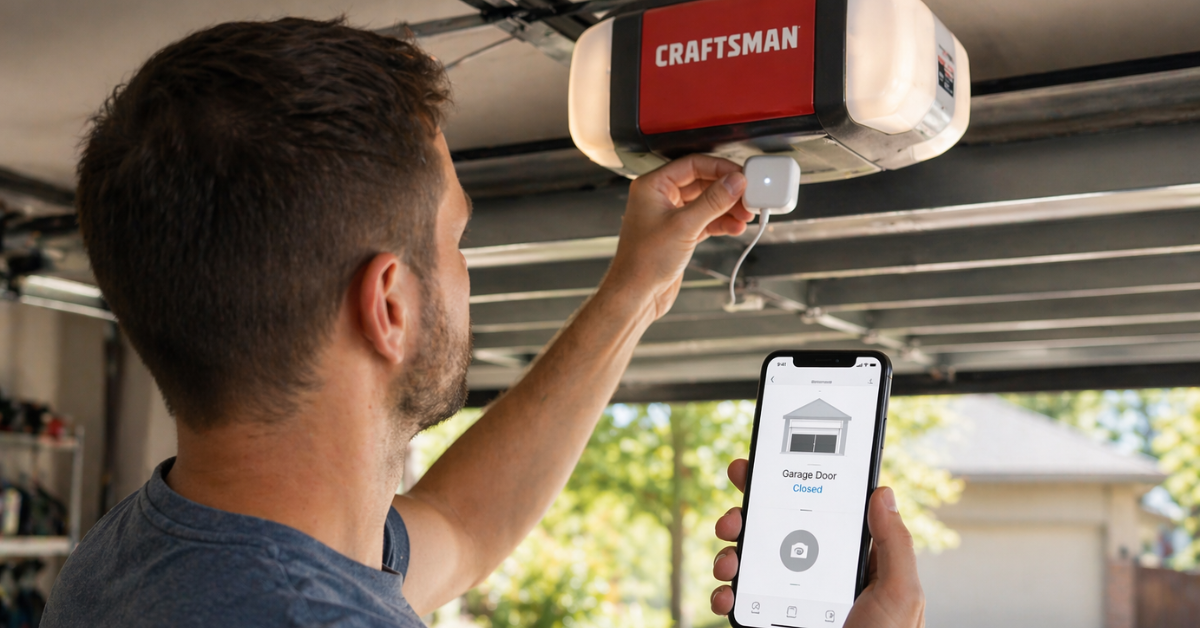
3. Update the Garage Door Opener System

If your system is older, consider upgrading to a newer model with enhanced security features, such as rolling code technology or smart integration.


Seasonal Maintenance Considerations


Certain tasks should be performed as seasons change:


Spring and Summer

  • Inspect for rust or wear caused by winter moisture.
  • Clean and lubricate tracks and moving parts to prevent seasonal expansion issues.


Fall and Winter

  • Ensure the weatherstripping is intact to block cold drafts and snow.
  • Test the door opener’s performance in colder temperatures, as freezing conditions can strain the motor.


Signs Your Garage Door Needs Immediate Attention


Sometimes, problems arise that require urgent action. Watch for these signs:

  • Loud grinding or squealing noises.
  • The door moves unevenly or stops mid-operation.
  • The door doesn’t close completely or reopens unexpectedly.
  • Broken springs, cables, or rollers.

Ignoring these issues can lead to more extensive and costly repairs.


Conclusion


Maintaining your automatic garage door doesn’t have to be complicated. By following this comprehensive timeline, you can ensure your door remains in excellent condition year-round. Regular inspections, timely lubrication, and professional servicing can save you time, money, and the stress of unexpected breakdowns.

A well-maintained garage door not only enhances your home’s curb appeal but also provides the security and reliability your family deserves.

You might also like

Fix N Go Blog

How to Replace a Garage Door Motor?
By Rabia Tingat July 24, 2025
If your garage door opener motor has become noisy, sluggish, or completely non-functional, it may be time to replace it. A faulty motor can make daily garage use frustrating and even unsafe. Fortunately, replacing a garage door motor isn't as complicated as it may seem—especially if you're comfortable with basic DIY tasks. In this step-by-step guide, we’ll walk you through how to replace a garage door motor safely and effectively. Whether you’re dealing with a burnt-out motor or simply upgrading to a newer model, we’ll help you understand the entire process—from removal to reinstallation. Signs Your Garage Door Motor Needs Replacing Before we jump into the replacement process, let’s look at a few signs that indicate your garage door motor is failing: The opener struggles to lift or lower the door Unusual grinding or humming noises from the motor Frequent power failures or overheating The door only opens partially or not at all The remote and wall switch stop responding If your opener exhibits any of these issues even after resetting or troubleshooting, replacing the motor is likely the best long-term solution. Choosing the Right Garage Door Motor Replacement Garage door motors (often called garage door openers) come in several types—chain drive, belt drive, screw drive, and direct drive. When choosing a replacement, make sure it’s compatible with: Your garage door's weight and size Available power source (AC or DC motor) Existing hardware and mounting setup Brands like Chamberlain, Genie, and LiftMaster offer reliable units that include all necessary mounting brackets, sensors, and manuals for a smoother installation. Tools You’ll Need Before replacing your garage door motor, gather these essential tools: Ladder Socket set Screwdrivers Adjustable wrench Wire cutters and strippers Power drill Safety glasses and gloves Once you're equipped, turn off the power supply to the opener to avoid electrical hazards. Step-by-Step Guide to Replacing a Garage Door Motor Step 1: Disconnect Power and Unplug the Motor Safety first—disconnect the opener from the power outlet. If it's hardwired into your home’s electrical system, turn off the circuit breaker. Confirm there's no electricity flowing to the unit using a voltage tester. Step 2: Disengage the Door from the Opener Pull the emergency release cord (usually a red handle) to disengage the garage door from the opener. This lets you open and close the door manually during the motor replacement process. Step 3: Remove the Old Garage Door Motor Start by detaching the wires connected to the safety sensors and wall switch. Take photos or label wires for reference during reinstallation. Next, use a socket wrench or screwdriver to unscrew the motor unit from its mounting bracket on the ceiling. Be cautious—these units are heavy and often require a second person to safely lower them. Once the motor is removed, also uninstall the rail and trolley if your new opener comes with its own. Step 4: Install the New Motor and Mounting Rail Assemble the new motor unit according to the manufacturer’s instructions. This often includes connecting the rail, carriage, and pulley system. Mount the new rail above your garage door and secure the motor to the ceiling using provided brackets. Make sure everything is level and firmly attached. A misaligned rail can lead to jerky movements or early wear on the new motor. Step 5: Wire the Motor and Accessories Reconnect the wall switch and safety sensor wires to the terminals on the new motor unit. Most openers have labeled terminals—typically for red, white, and black wires. If your model includes a backup battery, antenna, or Wi-Fi connection, set these up now. Follow your motor’s wiring diagram precisely to avoid connectivity issues. Step 6: Reconnect the Door and Adjust Settings Pull the emergency cord back into the “engaged” position to reattach the door to the trolley. Now, plug the motor into the power outlet or restore power at the breaker. Turn on the unit and test the door’s operation. Adjust the travel limits and force settings as needed. These settings ensure the door opens and closes completely without excessive strain. Refer to your manual for step-by-step adjustment instructions—usually involving small dials or digital buttons on the unit. Testing Your New Garage Door Motor Once installed, test the full functionality of the opener: Use both the wall switch and remote control Check safety sensors by blocking the beam—door should reverse Confirm smooth and quiet operation Listen for any abnormal noises or vibrations If the door doesn’t operate properly, recheck the alignment of the rail, the wiring connections, or the motor’s mounting hardware. Professional Help vs. DIY While replacing a garage door motor is a doable task for experienced DIYers, you may want to call a professional if:  Your opener is hardwired (no plug-in cord) The ceiling mount is in a tight or high area The garage door is unusually heavy or custom-built You’re unsure about wiring and adjustments Professional installers can typically complete the job within 1–2 hours, and many offer warranties on both labor and parts. Final Thoughts Replacing a garage door motor may seem like a big task, but with the right preparation and safety steps, it's well within reach for the average homeowner. Whether you're upgrading to a quieter, smarter opener or fixing a worn-out unit, understanding the wiring, mounting, and setup process will ensure a successful installation. Remember to always follow the manufacturer’s instructions, double-check your wiring, and test your new unit thoroughly. When done correctly, a new garage door motor will provide smooth, reliable performance for years to come.
How Does Genie Garage Door Motor Wire In?
By Rabia Tingat July 22, 2025
Find out how to wire a Genie garage door motor with expert tips. Improve motor performance and ensure secure, safe installation with this guide.
How to Replace a Garage Door Cable?
By Rabia Tingat July 20, 2025
Learn how to replace a garage door cable step-by-step. This guide covers tools, safety tips, and expert advice for a smooth and safe cable replacement.