
What Causes Garage Door Springs to Break?
Garage door springs stand as essential yet often overlooked components that play a pivotal role in the seamless functionality of this household fixture. Serving as the muscle behind the door's movement, these springs bear the weight and tension necessary to lift and lower the door effortlessly. However, understanding the causes behind their potential breakage is crucial. The consequences of a broken spring extend beyond mere inconvenience; they halt the door's movement, disrupting daily routines and posing safety risks.
This comprehensive exploration delves into the underlying factors that contribute to
garage door spring breakage, shedding light on the significance of these components and the profound impact their malfunction can have on the door's functionality and the smooth operation of daily life.
Understanding Garage Door Springs
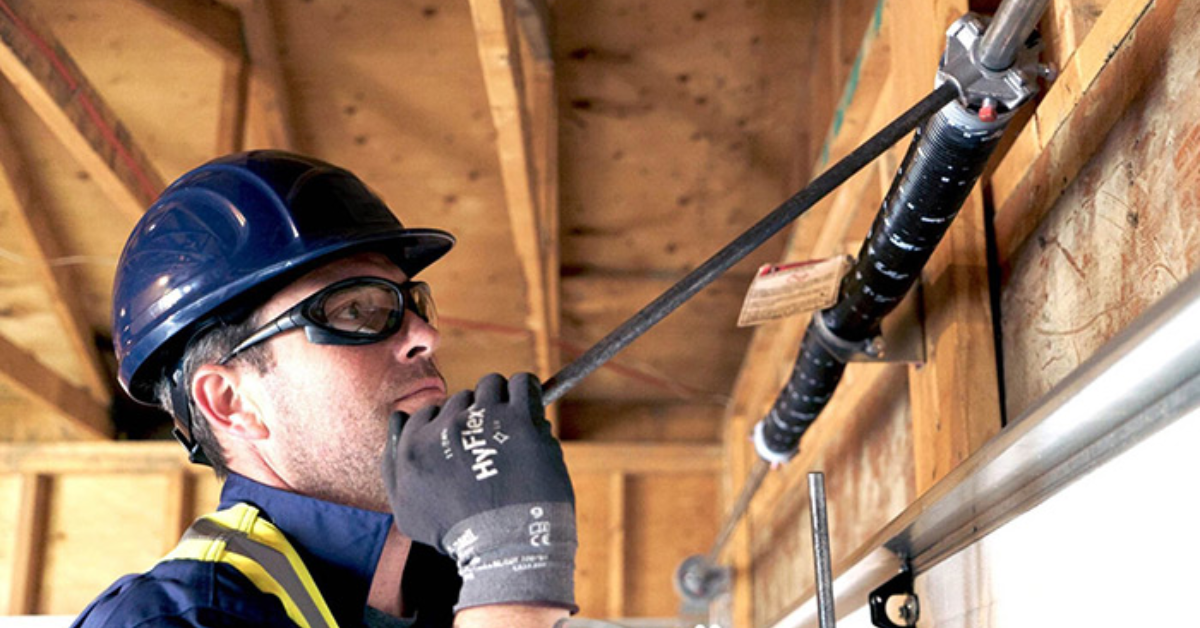
Garage door springs, essential components in the door's operation, generally fall into two main types: torsion and extension springs.
Torsion Springs:Torsion springs are mounted above the closed garage door, typically positioned on a metal shaft. They work by winding and unwinding to create stored mechanical energy. As the door closes, the springs unwind, releasing stored tension to aid in the lifting process. Conversely, when opening, the springs wind up, lifting the door through their stored energy. Torsion springs offer durability and are known for their smoother and quieter operation.
Extension Springs:
Extension springs are usually installed along the horizontal tracks on both sides of the garage door. Unlike torsion springs, extension springs elongate and contract to facilitate door movement. As the door closes, the extension springs stretch, storing energy. When opening, this stored energy contracts, aiding in lifting the door. Extension springs are characterized by their affordability but are considered slightly less durable than torsion springs.
Role in Lifting and Lowering the Door:
Both torsion and extension springs play a critical role in the garage door's operation. These springs counterbalance the weight of the door, making it possible to manually lift and lower the door with ease. When the door is closed, the springs remain in a state of tension, storing energy. This stored energy is then utilized to offset the door's weight during the opening and closing process. Without functional springs, the door's weight becomes too burdensome, making manual operation challenging or rendering automatic openers ineffective.
To comprehend the pivotal role torsion and extension springs play in seamless garage door operation, it is vital to understand their mechanisms and functions.These springs act as the driving force behind the door's operation, providing the necessary balance and support to enable smooth lifting and lowering motions.
Common Causes of Spring Breakage
1. Wear and Tear:
Garage door springs endure continuous cycles of tension and release, inevitably undergoing wear and fatigue over time. With each movement of the door, these springs experience stress, gradually leading to weakening of the metal composition. Eventually, this wear results in a diminished ability to support the door's weight, ultimately contributing to spring failure.
2. Rust and Corrosion:
The presence of rust or corrosion significantly undermines the durability of garage door springs. Moisture exposure or environmental elements, particularly in regions with high humidity or significant temperature fluctuations, can lead to rust formation on the springs. Rust weakens the structural integrity of the metal, accelerating wear and making the springs more susceptible to breakage.
3. Lack of Maintenance:
Regular maintenance, including inspections and lubrication, plays a pivotal role in preserving the health of garage door springs. Neglecting routine upkeep allows debris, dirt, and grime to accumulate on the springs, accelerating wear and corrosion. Without proper maintenance, these accumulated particles can cause friction, hastening the degradation of the springs and potentially leading to premature failure.
4. Poor Quality or Improper Installation:
Inferior quality springs or improper installation significantly contribute to premature spring failure. Springs constructed from subpar materials or those not suited to handle the door's weight are prone to early wear and breakage. Similarly, incorrect installation, including improper tension adjustments or using mismatched springs, can place undue stress on the components, leading to accelerated wear and eventual failure.
Understanding these underlying causes of garage door spring breakage underscores the significance of regular maintenance, quality materials, and proper installation in preserving the longevity and functionality of these critical components. Addressing these factors proactively helps mitigate the risks associated with spring failure, ensuring the optimal performance of the garage door system.
Environmental Factors
Extreme temperature variations exert a considerable impact on the performance and longevity of garage door springs. In regions experiencing fluctuating climates, the expansion and contraction of the metal in springs occur in response to temperature changes. During colder temperatures, springs can become more rigid and prone to brittleness, leading to increased stress and potential breakage. Conversely, in hotter climates, springs may lose their flexibility, affecting their ability to effectively counterbalance the door's weight. These temperature-induced alterations in the springs' properties significantly diminish their resilience over time, hastening wear and increasing the likelihood of failure.
Moisture and humidity present substantial challenges to the durability and functionality of garage door springs. Exposure to moisture, whether from rain, snow, or high humidity levels, initiates the onset of corrosion on the springs' surface. Corrosion weakens the metal composition, accelerating wear and compromising the springs' structural integrity. Moreover, moisture buildup can lead to the formation of rust, further exacerbating the degradation process. The combined effects of moisture and humidity not only expedite spring deterioration but also increase the risk of premature failure, significantly impacting the reliability of the garage door system.
It is imperative that garage door springs be protected from environmental factors such as temperature fluctuations and moisture exposure. Implementing preventive measures such as regular maintenance, protective coatings, and climate-controlled environments can help mitigate these adverse effects, preserving the longevity and functionality of the springs.
Signs of Impending Spring Failure
Identifying potential signs of impending spring failure is crucial for homeowners to address issues before they escalate. Some key indicators to watch for include:
- Observing visible signs of wear, such as fraying, stretching, or gaps in the springs, indicates potential stress and fatigue, signaling a need for inspection or possible replacement.
- Unusual noises during door operation, like squeaking, grinding, or rattling, may signify spring issues. Such sounds often indicate excessive friction or misalignment within the springs.
- A door that appears uneven while opening or closing, tilting to one side, or displaying erratic movements signals a potential imbalance in the springs, necessitating immediate attention.
- A garage door showing signs of strain, struggling to open or close smoothly, might indicate weakened springs unable to adequately support the door's weight.
- Unusual gaps or pauses in the door's movement during operation could imply irregular tension or a compromised spring system, requiring prompt inspection and possible repair.
- Noticing rust or corrosion on the springs' surface signifies potential structural weakening. Corroded springs are prone to breakage and should be addressed promptly.
Recognizing these signs of potential spring failure empowers homeowners to take proactive measures. Regular inspections, prompt maintenance, and engaging professional assistance at the earliest signs of spring issues can prevent further damage, ensuring the optimal functioning and longevity of the garage door system.
Preventive Measures
Regular Inspection and Lubrication: Regular inspection and lubrication are fundamental in preserving the health and functionality of garage door springs. Conducting routine checks allows homeowners to visually assess the condition of the springs, identifying early signs of wear, rust, or damage. Lubricating the springs and other moving components reduces friction, preventing premature wear and ensuring smoother operation. This proactive maintenance significantly extends the lifespan of the springs, enhancing their durability and minimizing the risk of unexpected failure.
Professional Maintenance:
Engaging professional services for spring inspection and adjustments offers several advantages. Experienced technicians possess the expertise to conduct thorough assessments, identifying potential issues that might be overlooked during routine checks. Professionals can accurately diagnose spring problems, providing precise adjustments or replacements as needed. Their in-depth knowledge and specialized tools ensure safe and effective handling of springs, mitigating risks associated with DIY maintenance. Professional maintenance not only ensures optimal spring health but also guarantees the overall reliability and safety of the garage door system.
Implementing these preventive measures, including regular homeowner inspections coupled with professional maintenance, forms a comprehensive approach to preserving the functionality and durability of garage door springs. This proactive stance not only extends the lifespan of the springs but also minimizes the likelihood of unexpected failures, ensuring smooth and efficient garage door operation.
Conclusion
The causes contributing to garage door spring breakage encompass wear and tear, rust, lack of maintenance, and poor quality installation. Wear from continuous usage, rust formation, negligence in regular upkeep, and inferior materials or installation techniques collectively weaken springs, leading to potential failure. Encouraging proactive measures—such as regular inspections, lubrication, and professional maintenance—proves vital in averting spring failure. By addressing these causes through timely maintenance and diligent care, homeowners can safeguard against spring issues, ensuring the reliability and longevity of their garage door system. Taking proactive steps not only mitigates potential risks but also ensures the continued smooth and efficient functioning of garage door springs.
You might also like
Fix N Go Blog


