Avoiding Costly Garage Door Mistakes – Expert Advice!
In the realm of home maintenance, few elements hold as much significance as a well-functioning garage door. Beyond its role as a mere entry point, a functional garage door serves as a guardian for vehicles, possessions, and often provides direct access to the home. However, the significance of this essential component is often overlooked until problems arise, leading to unforeseen financial burdens. The financial impact of common mistakes, whether in installation, upkeep, or neglect, can be substantial, often escalating into costly repairs or replacements.
Hence, understanding the pivotal role of expert advice in averting these expenses becomes paramount. This comprehensive guide aims to illuminate the importance of
maintaining a functional garage door, underscore the financial implications of overlooking its care, and impart invaluable expert advice to help homeowners circumvent costly mistakes.
Choosing the Right Door
Selecting the ideal garage door involves a thoughtful consideration of various factors that cater to specific needs while balancing long-term benefits against initial costs. Choosing the right garage door begins with an assessment of individual requirements. Factors such as insulation, material, and style play crucial roles in functionality and aesthetics.
Insulation: Evaluate the
need for insulation based on climate and usage. Insulated doors help regulate temperature, making them ideal for regions experiencing extreme weather conditions or for garages utilized as living spaces or workshops.
Material:
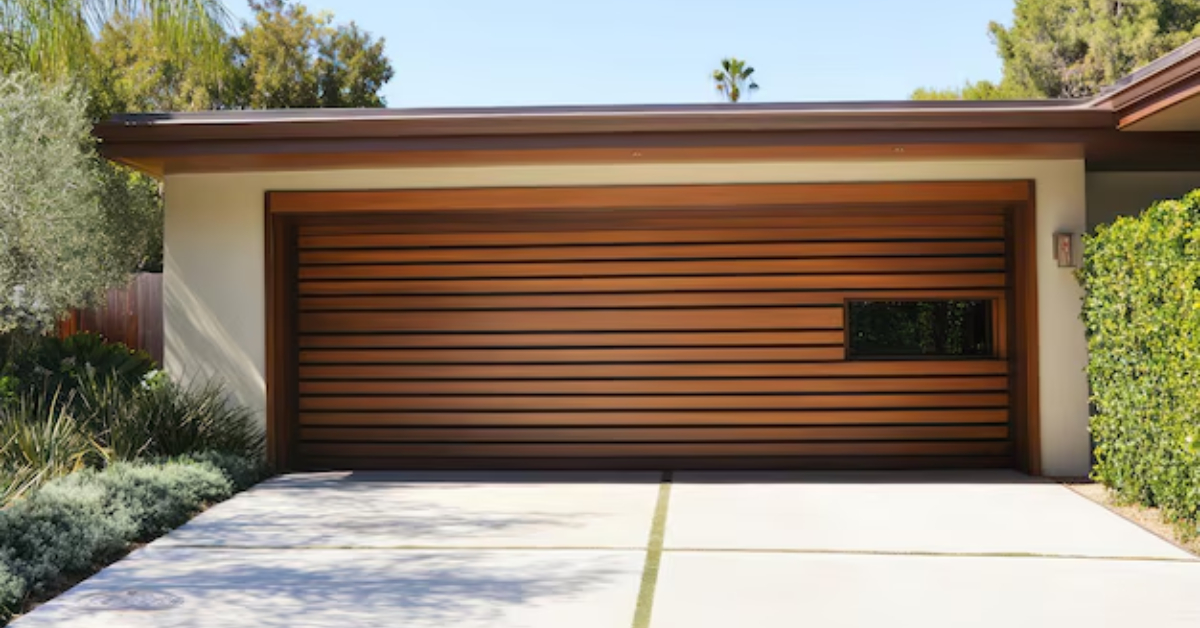
Different materials offer distinct advantages. Wood provides a classic, natural look but may require more maintenance. Steel doors offer durability and require less upkeep, while aluminum doors are lightweight and resistant to corrosion.
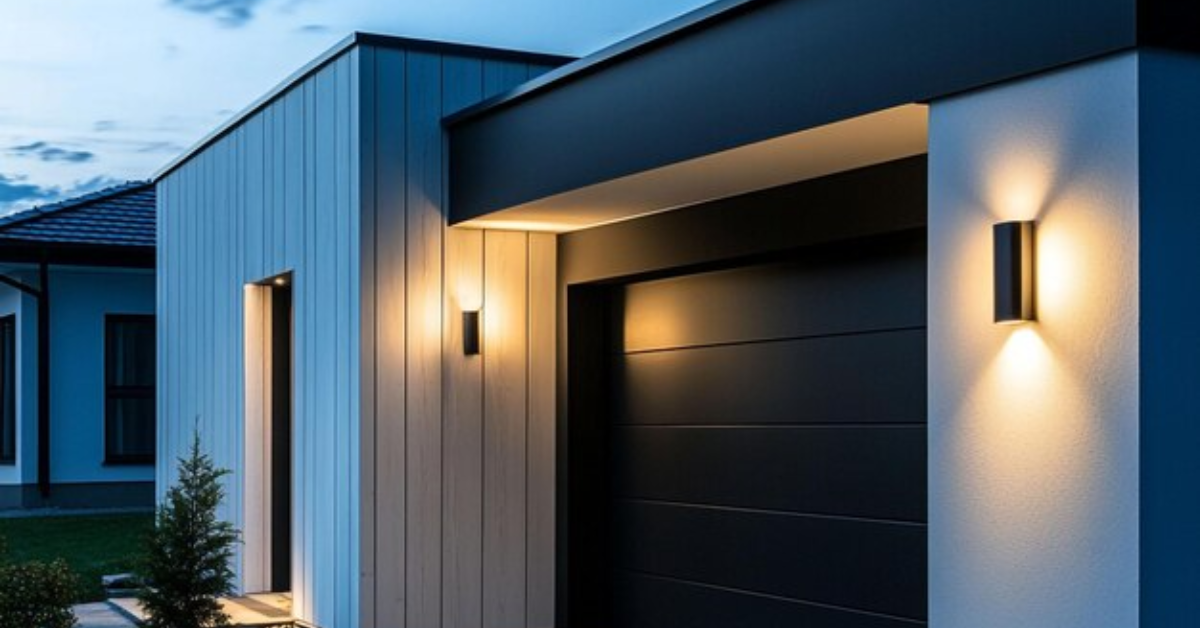
Style: Consider the architectural aesthetics of the home.
Garage doors contribute significantly to curb appeal, so choosing a style that complements the overall design enhances the visual appeal of the property.
Long-Term Costs vs. Initial Investment
Balancing initial investment with long-term costs is crucial when selecting a garage door. Some materials and styles might have higher upfront costs due to their quality or design intricacies. However, considering the door's durability and lifespan is essential to gauge the value of the initial investment.
A door's durability, energy efficiency, and maintenance requirements impact its long-term costs. Investing in a high-quality, insulated door might entail a higher upfront cost but could result in lower energy bills and reduced maintenance expenses over time. Making an informed decision involves weighing immediate costs against the door's expected longevity and benefits. By aligning specific needs with the right type of garage door and considering the long-term advantages, homeowners can make a wise investment that not only meets their current requirements but also offers lasting value.
Professional Installation
Opting for professional installation of a garage door holds paramount importance in ensuring its optimal functionality and longevity while circumventing potential pitfalls associated with DIY endeavors.
Ensuring Proper Functionality
Professional installation guarantees meticulous attention to detail, precision in measurements, and adherence to manufacturer specifications. These aspects are crucial in ensuring that the door operates smoothly, aligns correctly, and integrates seamlessly with the garage structure. The expertise of professionals minimizes the risk of common installation errors that could compromise the door's functionality, such as misaligned tracks, uneven balance, or improper spring tension.
Avoiding Costly DIY Mistakes
DIY installation attempts, while seemingly cost-effective, often lead to unforeseen complications. Inaccurate measurements, improper assembly, or faulty adjustments can result in significant issues. These mistakes might not be immediately apparent but could manifest into costly repairs or replacements down the line. Additionally, safety concerns arise as DIY attempts might involve handling heavy components without adequate expertise or equipment, posing risks of injury or property damage.
Expertise and Warranty Assurance
Professional installers not only bring expertise but also often provide warranties on their workmanship. This warranty coverage offers peace of mind, assuring homeowners that any installation-related issues will be rectified without incurring additional expenses. Moreover, it safeguards against potential voiding of manufacturer warranties that could result from improper DIY installation attempts.
Relying on professional installation services for garage doors ensures precision, adherence to industry standards, and minimizes the risks associated with DIY projects. By investing in expert installation, homeowners not only ensure the proper functionality of their garage doors but also mitigate the potential for costly repairs or safety hazards stemming from amateur installations.
Regular Maintenance Practices
Maintaining a garage door in optimal condition involves a series of essential upkeep tasks performed regularly to ensure its smooth functionality and longevity.
Visual Inspection:
Regularly inspect the door for signs of wear, damage, or misalignment. Look for
worn-out cables,
dents, rust, or loose hardware.
Lubrication:
Apply lubricant to moving parts such as rollers, hinges, and springs to reduce friction and ensure smooth operation.
Tightening Hardware:
Regularly tighten nuts, bolts, and screws to prevent loosening due to vibration and movement.
Balance Testing:
Check the balance of the door by disconnecting the opener and manually operating it. Premature wear and tear can be caused by an unbalanced door.
Weatherstripping Inspection:
Examine and replace weatherstripping to maintain a proper seal, keeping out moisture, debris, and pests.
Maintenance Schedules and Checklist Items:
Monthly Tasks:
- Perform a visual inspection of all components, including springs, cables, rollers, and tracks.
- Lubricate moving parts with a silicone-based lubricant.
Bi-Annual or Quarterly Tasks:
- Tighten all hardware to prevent loosening.
- Check weatherstripping for wear and tear, replacing if necessary.
- Inspect the opener's safety features, including the auto-reverse mechanism.
Annual Tasks:
- A professional inspection and maintenance should be scheduled at least once a year.
- Have a professional assess and adjust the door's tension and alignment.
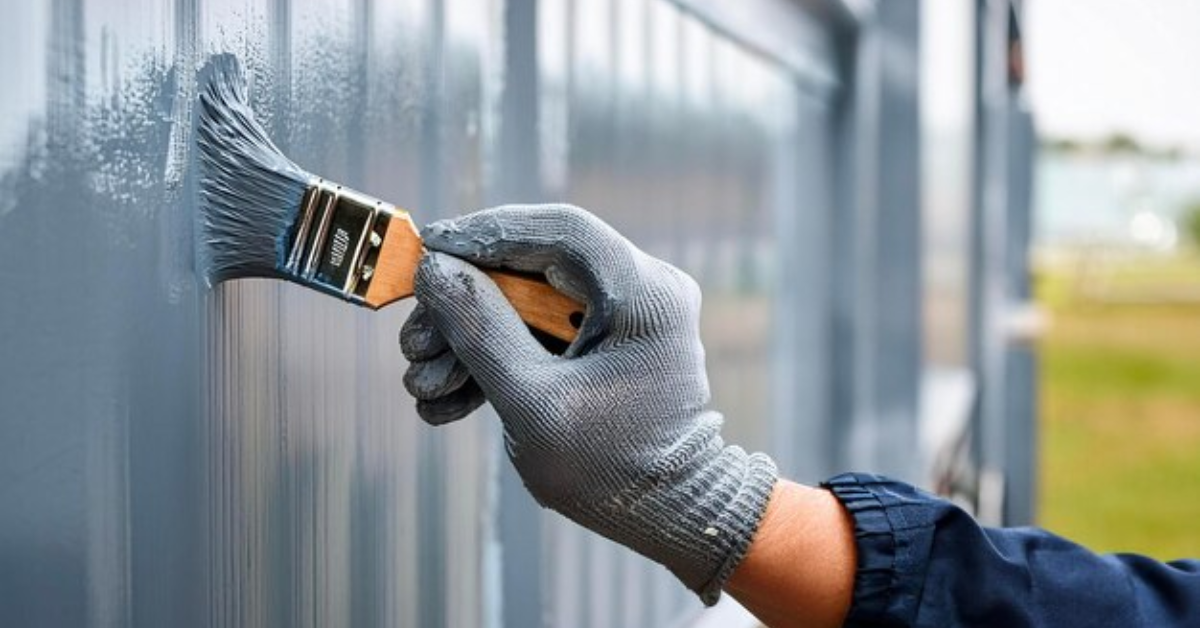
- Check for signs of wear on the door panels and consider repainting or refinishing if needed.
Following a structured maintenance schedule and checklist ensures that essential upkeep tasks are regularly performed, preventing potential issues and prolonging the life of the garage door. Regular maintenance not only maintains the door's functionality but also enhances safety and prevents costly repairs down the line.
Addressing Minor Issues Promptly
Promptly addressing minor issues with a garage door is paramount in preventing small concerns from escalating into larger, costlier problems. Recognizing common issues and promptly resolving them can maintain the door's functionality and prevent potential hazards.
Prevention of Escalation:
Small issues, if left unattended, can worsen over time, leading to more significant problems. For instance, a loose roller might cause misalignment, which, if ignored, could strain other components, resulting in extensive damage.
Cost and Time Savings:
Addressing minor issues promptly is more cost-effective and time-saving than dealing with larger, more complex repairs or replacements. Timely fixes prevent the need for extensive repairs and potential downtime.
Identifying Common Problems and Solutions:
Noisy Operation: A garage door emitting grinding, squeaking, or rattling noises during operation indicates potential issues. The solution lies in diligent maintenance: lubricating the moving components like rollers, hinges, and springs to reduce friction and ensuring smooth movement. Additionally, tightening any loose hardware can alleviate these disruptive noises, promoting a quieter and more efficient operation for the garage door.
Slow Response from Opener:
A slow response or unresponsiveness from the
garage door opener signals potential issues that demand attention. Addressing this problem involves a systematic approach: begin by inspecting the remote batteries, ensuring they have sufficient power. Simultaneously, clean the sensors, ensuring they are free from dust or debris that might hinder their functionality. Moreover, meticulously check the sensor's path, clearing any obstructions that might disrupt its operation. These measures collectively aid in resolving the delayed or unresponsive behavior of the door opener, reinstating its smooth and prompt functionality.
Misaligned Tracks:
Visible gaps between the
rollers and tracks leading to uneven operation signify misaligned tracks, a problem that demands swift resolution. To rectify this issue, meticulous attention is required: use a rubber mallet to gently realign the tracks, ensuring a smooth and even alignment. Simultaneously, conduct a thorough inspection for any debris or obstructions within the tracks, clearing them meticulously to facilitate the door's unhindered movement. These steps, when executed with precision, restore proper alignment and functionality to the tracks, allowing the garage door to operate seamlessly.
Weatherstripping Wear:
Cracked or worn weatherstripping poses a concern, allowing unwanted drafts or moisture to infiltrate through gaps. To mitigate this issue effectively, prompt action is imperative: replace the weatherstripping. This replacement ensures the maintenance of a secure seal, preserving insulation within the garage and preventing external elements from penetrating, thereby safeguarding against drafts and moisture intrusion. By undertaking this replacement, homeowners uphold the integrity of their garage's insulation and fortify its defense against external elements.
Sagging or Uneven Door:
A sagging or uneven garage door, evident from its imbalanced closure, demands swift attention. The remedy involves a systematic approach:
adjusting the tension of the springs or cables to restore proper balance. Simultaneously, inspect the door for any obstructions or debris that might be causing the imbalance, ensuring the door's unobstructed movement. This proactive approach rectifies the imbalance, ensuring the door's smooth and even operation, aligning it correctly for secure closure.
Expert Tips for Cost Savings
Here are expert tips for cost-effective garage door maintenance and budget-friendly repair strategies that can help homeowners save on expenses:
- Apply lubricant to moving parts like rollers, hinges, and springs regularly. This simple task prevents friction, reducing wear and tear and minimizing the need for repairs.
- Perform routine visual inspections, checking for loose hardware, worn-out components, or signs of damage. Identifying issues early can prevent minor problems from escalating into costly repairs.
- Simple tasks like tightening loose bolts, cleaning tracks, or replacing weatherstripping can often be done as DIY projects, saving on service fees.
Opt for Professional Consultation:
While DIY maintenance helps save costs, for complex issues or adjustments, seeking professional advice rather than attempting repairs can prevent further damage and higher repair expenses. Instead of immediate replacement, consider refurbishing certain components like panels or hardware to extend their lifespan and save on the cost of buying entirely new parts. When repairs are necessary, obtain multiple quotes from reputable service providers to compare costs. This comparison can help in finding cost-effective yet quality repair services.
Long-Term Cost-Saving Mindset:
- Investing in routine maintenance and small repairs proactively can prevent major breakdowns that require expensive emergency repairs or replacements.
- While initial costs might be higher, investing in high-quality components or professional services often pays off in the long run by reducing the frequency of repairs and replacements.
- Familiarize yourself with the basic maintenance tasks and understand the workings of your garage door. This knowledge can help in identifying issues early and performing simple repairs.
By implementing these expert-recommended cost-effective maintenance practices and exploring budget-friendly repair strategies, homeowners can effectively manage garage door expenses while ensuring the door's functionality and longevity.
Conclusion
This comprehensive guide emphasizes the importance of proactive maintenance, swift problem resolution, and informed decision-making in preserving a functional garage door. Implementing expert advice, from routine maintenance to addressing minor issues promptly, is pivotal in preventing costly repairs and ensuring the door's smooth operation. Embrace these insights to safeguard your garage door, prolong its lifespan, and avoid unnecessary expenses, securing a reliable and enduring component of your home.


