Simple Hacks for Freeing a Stuck Garage Door
A garage door functions seamlessly, operating day in and day out without much notice until it encounters a problem like getting stuck. A stuck garage door can be an inconvenience, causing frustration and potentially disrupting our daily routines. Understanding the common reasons behind a stuck garage door can not only help alleviate the immediate issue but also empower homeowners to prevent similar problems in the future.
Various factors contribute to a garage door getting stuck, ranging from mechanical issues to environmental factors and lack of maintenance. Whether it's due to rusty tracks,
misaligned sensors, or adverse weather conditions, comprehending these root causes lays the groundwork for effective troubleshooting and swift resolution.
We’ll find out here the
common reasons why garage doors get stuck and unveil a set of simple yet effective hacks to free them from their immobilized state. From basic maintenance tips to troubleshooting mechanical or electrical glitches, this article aims to equip homeowners with the knowledge and tools necessary to tackle stuck garage doors efficiently and with confidence.
Safety Precautions
Prioritizing safety measures before initiating any efforts to release a stuck garage door is crucial. The weight and mechanisms involved in garage doors pose potential risks, making it imperative to prioritize safety. Here are essential tips to consider before diving into troubleshooting:
Disconnect Power Sources: Begin by unplugging the automatic opener or turning off the power supply to prevent accidental activation while working on the door. This step minimizes the risk of the door suddenly moving while you're in the process of troubleshooting.
Block the Door's Movement:
Place a sturdy object, such as a wooden block or a c-clamp, under the door to prevent it from unexpectedly closing or opening while you're working on it. This adds an extra layer of safety, particularly when dealing with spring tension or adjusting components.
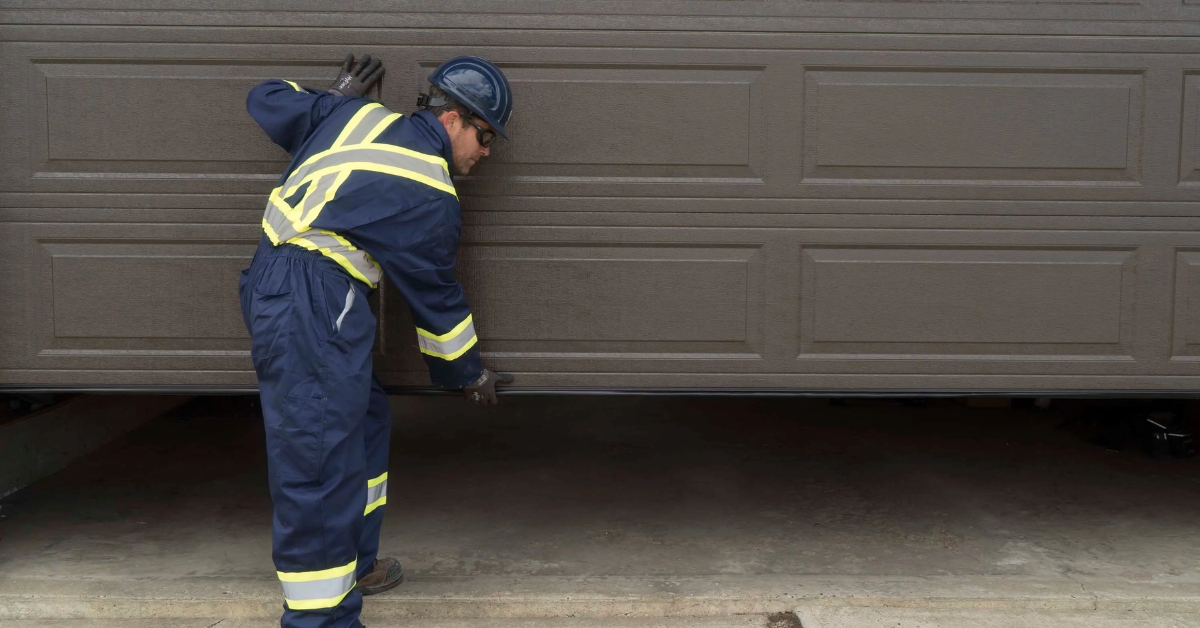
Use Protective Gear: Wear safety glasses to shield your eyes from debris or accidental flying parts. Additionally, sturdy gloves can protect your hands from sharp edges or pinching points during the troubleshooting process.
Avoid Overexertion:
A stuck garage door might require physical force to dislodge. Exercise caution to prevent straining muscles or causing injury. If the door seems too heavy or difficult to move, avoid attempting to force it open manually and seek professional help.
Refer to the Manual:
Consult the garage door's manual or manufacturer's instructions for specific safety guidelines and troubleshooting procedures. Different door types and models may require unique approaches or precautions.
Work with a Partner: Some troubleshooting steps, especially those involving lifting or adjusting heavy components, are safer and more manageable with an extra set of hands. Having a partner can enhance safety and effectiveness.
Educate Household Members: Inform other household members about the ongoing maintenance or troubleshooting to prevent accidental attempts to operate the door while maintenance is in progress.
When homeowners prioritize safety measures before tackling troubleshooting, they greatly reduce the chances of accidents or injuries while dealing with a stuck garage door.
Assessing the Situation
Before diving into troubleshooting methods, it's crucial to assess the situation by understanding the type of garage door you have and thoroughly analyzing the sticking points. This assessment will provide valuable insight into the potential causes of the door's malfunction.
Identifying the Type of Garage Door
Sectional Doors:
These are the most common type of garage doors, comprised of panels that roll up on tracks. They operate using springs, tracks, and rollers.
Roll-Up Doors:
Typically found in commercial settings, roll-up doors coil into a barrel above the opening. They function using a system of tracks, slats, and a spring assembly.
Swing-Out Doors:
Less common, swing-out doors operate by swinging outward from the center of the garage opening like traditional doors.
Slide-to-Side Doors: These doors slide to the side parallel to the garage ceiling, requiring a clear lateral space for operation.
Observing and Analyzing the Sticking Points
Homeowners can conduct a thorough assessment of a stuck garage door by visually inspecting its components for signs of damage, misalignment, or blockages along the tracks and rollers. Listening attentively during operation is essential—unusual sounds like grinding or squeaking can reveal issues such as insufficient lubrication or damaged parts.
Manually testing the door's movement highlights where it sticks or encounters resistance, pinpointing the problematic areas. Checking the door's balance and alignment by disconnecting the opener and testing its ability to remain in place halfway open can indicate underlying issues like
spring tension problems. This comprehensive evaluation, involving visual inspection, sound cues, movement testing, and balance checks, provides crucial insights into the root causes of the garage door's malfunction.
Simple Hacks for Freeing a Stuck Garage Door
A stuck garage door can be a nuisance, but often, simple hacks can effectively resolve the issue and restore smooth functionality. Below are several straightforward methods to free a stuck garage door:
Lubrication: Applying the Right Lubricant
Proper lubrication is crucial for maintaining a
smoothly operating garage door. To apply the right lubricant, start by cleaning the tracks, rollers, hinges, and springs using a clean cloth to remove any accumulated dirt or debris. Once clean, use a high-quality garage door lubricant or silicone-based spray to coat these components generously. Ensure even coverage along the entire length of the tracks. After application, manually move the door up and down a few times to help distribute the lubricant evenly. Wipe off any excess lubricant to prevent dripping, ensuring a well-lubricated, smooth movement for your garage door.
Adjusting Tracks and Rollers: Tools Needed and Process
When dealing with sticking garage doors, misaligned tracks or rollers could be a common issue. To adjust them, you'll need a few tools such as a rubber mallet, level, screwdriver, and wrench. Start by checking the alignment of the tracks using a level, making sure they are straight and properly aligned. If misaligned, gently tap the tracks with a rubber mallet to adjust them back into alignment. Simultaneously, tighten any loose bolts or screws along the tracks and rollers using a screwdriver or wrench. Ensure the adjustments are done carefully to maintain the door's smooth movement.
Weather-Related Issues: Prevention and Quick Fixes
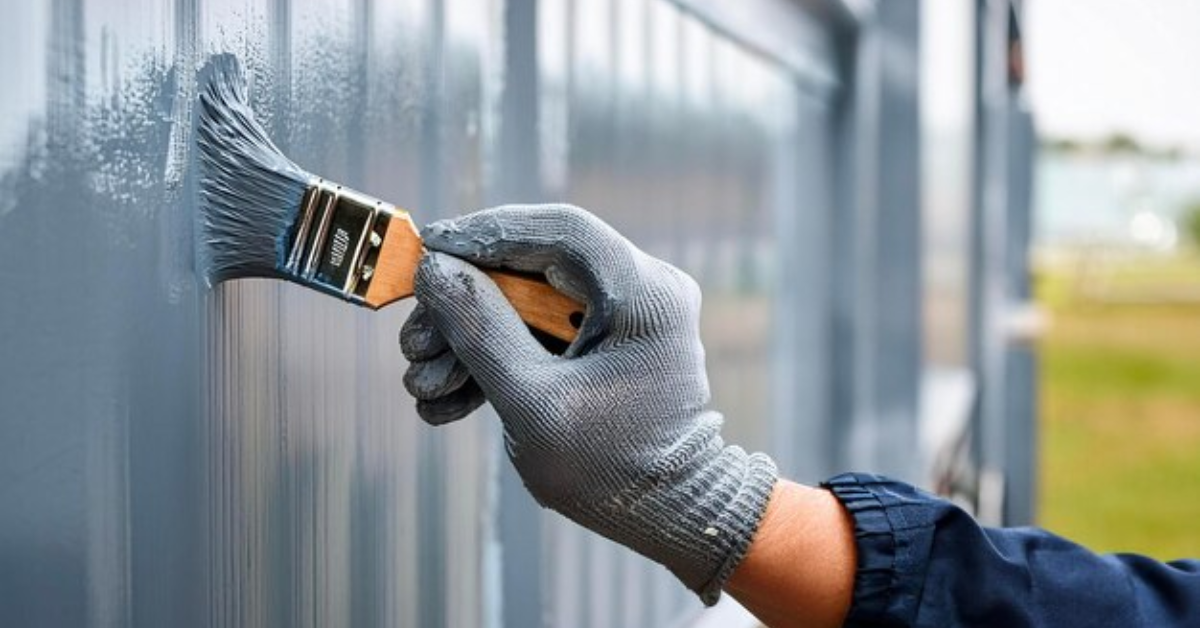
Weather conditions can significantly impact the functionality of a garage door. To prevent weather-related sticking, consider applying a weather-resistant lubricant or paint to protect metal parts from moisture. Additionally, sealing gaps and cracks around the door with weather-stripping can prevent drafts and moisture ingress. For quick fixes related to weather-induced sticking, regularly clean the tracks and apply a specific lubricant designed to repel moisture. Installing a dehumidifier in the garage can also help maintain an optimal environment, reducing moisture levels that might affect the door's operation.
Mechanical or Electrical Problems: Troubleshooting Techniques
Stuck garage doors might stem from mechanical or electrical issues. Troubleshooting these problems involves several steps. Begin by checking the power supply to the garage door opener, inspecting circuit breakers, and replacing blown fuses if necessary. Ensure the sensors are properly aligned and unobstructed, cleaning them with a soft cloth if needed. Inspect the wiring for signs of damage, fraying, or loose connections, addressing any issues found. Consult the garage door opener manual for specific troubleshooting steps related to electrical problems, ensuring a safe and effective resolution.
Addressing stuck garage doors involves a systematic approach, from proper lubrication to adjustments, weather-related prevention, and troubleshooting electrical or mechanical issues. Following these step-by-step guides can help homeowners identify and resolve the root causes, restoring their garage door's smooth functionality.
Signs Requiring Professional Help
While many issues with a stuck garage door can be addressed with
DIY approaches, certain signs may indicate the need for
professional intervention:
Spring Issues:
If the garage door
springs are damaged, broken, or under high tension, it's best to seek professional help. Springs are tightly wound and can be extremely dangerous to handle without proper training and tools.
Motor or Opener Malfunctions: Persistent issues with the
garage door opener, such as erratic behavior,
failure to respond to remote controls, or unusual noises, may require expertise beyond basic troubleshooting.
Structural Damage: Significant structural damage to the door itself, including
large dents, bent panels, or tracks severely out of alignment, often necessitates professional repair or replacement.
Electrical Problems: Complex electrical issues, such as
faulty wiring or problems with the door's sensors, pose safety hazards and require a trained technician's expertise.
Repeated Sticking or Malfunctions: If the garage door continues to get stuck despite attempted DIY fixes, it's a clear sign that the underlying issue might be beyond basic adjustments and lubrication.
Unusual Sounds or Movements: Grinding, scraping, or grinding noises during operation, or if the door moves unevenly or jerks, can indicate significant problems that a professional should inspect.
Safety Concerns:
If there are safety concerns regarding the garage door's operation, such as sudden drops, erratic movements, or difficulty in manually opening or closing the door, it's essential to seek professional help promptly.
When faced with these signs, it's advisable to contact a qualified garage door technician or repair service. Attempting to fix complex issues without proper expertise can lead to further damage or injury. Professional assistance ensures the problem is accurately diagnosed and resolved, restoring the garage door's functionality safely and effectively.
Conclusion
Freeing a stuck garage door involves a systematic approach, starting from identifying the type of issue to implementing simple yet effective hacks. From proper lubrication to adjustments in tracks and rollers, addressing weather-related concerns, and troubleshooting mechanical or electrical problems, these steps provide homeowners with practical solutions. However, when faced with complex issues or signs indicating potential risks, seeking professional assistance becomes imperative. By following these essential steps and knowing when to seek expert help, homeowners can ensure the smooth and safe operation of their garage doors, restoring functionality and peace of mind to their homes.


