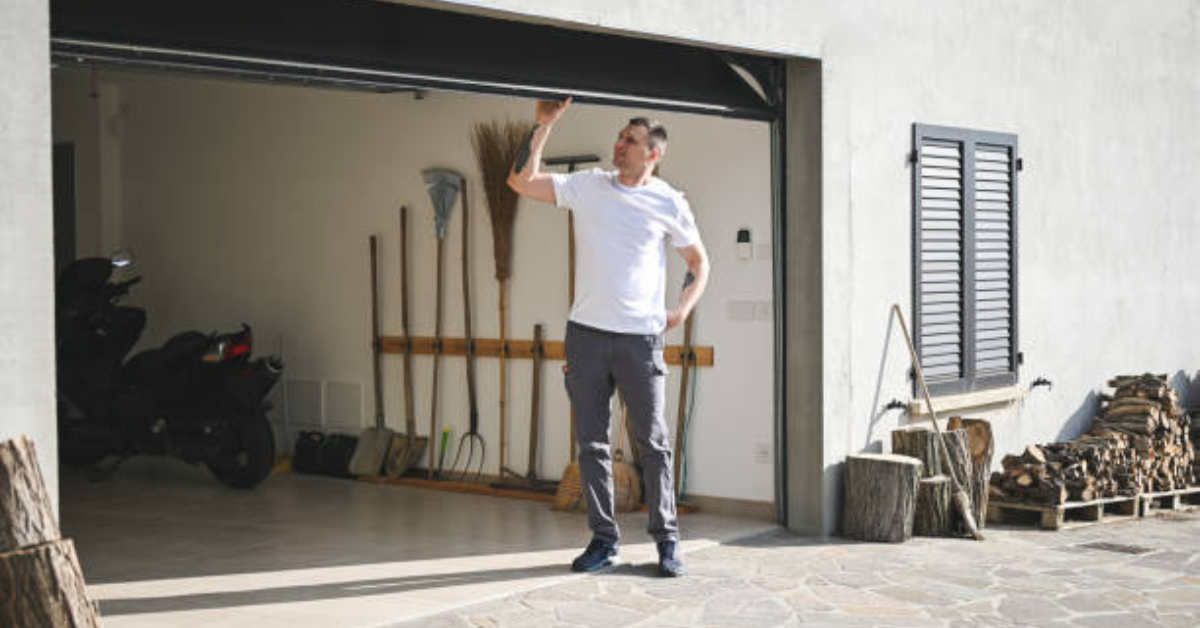
How to Get Your Garage Door Back on Track?

Rabia Tingat • October 25, 2024

Garage doors that come off their tracks can be both frustrating and potentially dangerous. A door that isn’t aligned can put stress on the entire system, leading to more costly repairs if not handled quickly. This guide will walk you through the steps to safely get your garage door back on track, along with helpful tips to prevent future issues. Whether you’re facing a small misalignment or a complete derailment, you’ll find solutions to restore smooth and safe operation.


Understand the Cause of the Misalignment


Before beginning repairs, it's essential to understand why the garage door is off track. Here are some common causes:

  • Impact or obstruction: Accidentally bumping the door with a vehicle or placing objects in the door’s path can knock it off balance.
  • Worn-out parts: Over time, rollers, hinges, and tracks wear down, leading to alignment issues.
  • Lack of maintenance: Regular maintenance prevents minor issues from worsening and causing derailments.

Identifying the root cause helps ensure your fix will last and that additional damage hasn’t occurred.


Gather Necessary Tools and Safety Equipment


Safety is crucial when working on garage doors due to their weight and tension. For this task, you’ll need:

  • Screwdrivers
  • Pliers
  • Adjustable wrench
  • Safety gloves
  • Ladder (if needed for higher doors)

Having these tools ready will make the process easier and safer.


Disconnect the Power


Turn off the power to the garage door opener by unplugging it from the wall. This prevents accidental activation while you’re working. If your opener has a battery backup, disconnect that as well.

Safety Note: If your door is partially open, be cautious, as it may slide down due to the lack of motor control.


Open the Track with Pliers


Identify where the rollers are off track. Using pliers, slightly pry open the track at the point where the door is misaligned. This gap will allow you to guide the roller back onto the track.

Pro Tip: Only open the track slightly, as too wide a gap may cause future derailments.


Guide the Rollers Back on Track


Once the track is opened, carefully guide each roller back into place. Begin with the bottom rollers and work your way up. Ensure each roller is securely in the track before moving to the next.

If the rollers are damaged or rusty, consider replacing them, as new rollers glide smoothly and reduce strain on the garage door mechanism.


Test the Door’s Movement Manually


With the rollers back in place, manually test the door to ensure smooth movement. Gently lift the door, and observe if it slides freely on the track without sticking or derailing. If it moves without issue, proceed to close the track.


Close the Track and Tighten All Bolts


Use your pliers to carefully bend the track back to its original position, ensuring a snug fit around each roller. Next, inspect and tighten any loose bolts on the tracks and brackets. Loose bolts can cause wobbling and derailment.


Lubricate the Tracks and Rollers


Applying lubricant will help your garage door operate smoothly and prevent future derailments. Use a silicone-based or lithium-based lubricant on the tracks, rollers, and hinges. Avoid heavy oils, as they can attract dust and debris, clogging up the track.


Reconnect the Power and Test the Door


Once everything is back in place, reconnect the power to the garage door opener. Use the remote control to open and close the door a few times, observing its movement. If it moves smoothly and stays on track, your repair was successful.


Regular Maintenance Tips to Keep Your Door on Track


Keeping your garage door aligned and operating smoothly requires regular maintenance. Here are a few tips:

  • Inspect regularly: Check the tracks, rollers, and hardware every few months for wear, tear, or obstructions.
  • Lubricate parts: Apply lubricant to moving parts every 6 months to reduce friction and wear.
  • Check for misalignment: Listen for unusual sounds and watch for irregular movement, as these are signs the door might be misaligned.


When to Call a Professional


While these steps cover basic derailment issues, some situations require professional help. For example, if the tracks are severely bent or damaged, replacement may be necessary, which typically requires the expertise of a professional. Broken springs or cables also pose a significant risk due to the high tension they hold, making professional handling essential to ensure safety. Also, if your garage door continues to come off track despite your repair efforts, it could indicate a deeper, underlying issue that a specialist can properly diagnose and resolve. For complex garage door repairs, companies like Fix N' Go Garage Door Repair provide the expertise needed to safely and effectively address these problems, keeping your garage door running smoothly and securely.


Final Thoughts


Getting your garage door back on track can be a manageable DIY task with the right tools and safety precautions. By following these steps, you can restore functionality, maintain safety, and extend the life of your garage door system. Regular maintenance and careful operation will keep your door running smoothly, allowing you to avoid further complications down the road.

You might also like

Fix N Go Blog

How to Replace a Garage Door Motor?
By Rabia Tingat July 24, 2025
If your garage door opener motor has become noisy, sluggish, or completely non-functional, it may be time to replace it. A faulty motor can make daily garage use frustrating and even unsafe. Fortunately, replacing a garage door motor isn't as complicated as it may seem—especially if you're comfortable with basic DIY tasks. In this step-by-step guide, we’ll walk you through how to replace a garage door motor safely and effectively. Whether you’re dealing with a burnt-out motor or simply upgrading to a newer model, we’ll help you understand the entire process—from removal to reinstallation. Signs Your Garage Door Motor Needs Replacing Before we jump into the replacement process, let’s look at a few signs that indicate your garage door motor is failing: The opener struggles to lift or lower the door Unusual grinding or humming noises from the motor Frequent power failures or overheating The door only opens partially or not at all The remote and wall switch stop responding If your opener exhibits any of these issues even after resetting or troubleshooting, replacing the motor is likely the best long-term solution. Choosing the Right Garage Door Motor Replacement Garage door motors (often called garage door openers) come in several types—chain drive, belt drive, screw drive, and direct drive. When choosing a replacement, make sure it’s compatible with: Your garage door's weight and size Available power source (AC or DC motor) Existing hardware and mounting setup Brands like Chamberlain, Genie, and LiftMaster offer reliable units that include all necessary mounting brackets, sensors, and manuals for a smoother installation. Tools You’ll Need Before replacing your garage door motor, gather these essential tools: Ladder Socket set Screwdrivers Adjustable wrench Wire cutters and strippers Power drill Safety glasses and gloves Once you're equipped, turn off the power supply to the opener to avoid electrical hazards. Step-by-Step Guide to Replacing a Garage Door Motor Step 1: Disconnect Power and Unplug the Motor Safety first—disconnect the opener from the power outlet. If it's hardwired into your home’s electrical system, turn off the circuit breaker. Confirm there's no electricity flowing to the unit using a voltage tester. Step 2: Disengage the Door from the Opener Pull the emergency release cord (usually a red handle) to disengage the garage door from the opener. This lets you open and close the door manually during the motor replacement process. Step 3: Remove the Old Garage Door Motor Start by detaching the wires connected to the safety sensors and wall switch. Take photos or label wires for reference during reinstallation. Next, use a socket wrench or screwdriver to unscrew the motor unit from its mounting bracket on the ceiling. Be cautious—these units are heavy and often require a second person to safely lower them. Once the motor is removed, also uninstall the rail and trolley if your new opener comes with its own. Step 4: Install the New Motor and Mounting Rail Assemble the new motor unit according to the manufacturer’s instructions. This often includes connecting the rail, carriage, and pulley system. Mount the new rail above your garage door and secure the motor to the ceiling using provided brackets. Make sure everything is level and firmly attached. A misaligned rail can lead to jerky movements or early wear on the new motor. Step 5: Wire the Motor and Accessories Reconnect the wall switch and safety sensor wires to the terminals on the new motor unit. Most openers have labeled terminals—typically for red, white, and black wires. If your model includes a backup battery, antenna, or Wi-Fi connection, set these up now. Follow your motor’s wiring diagram precisely to avoid connectivity issues. Step 6: Reconnect the Door and Adjust Settings Pull the emergency cord back into the “engaged” position to reattach the door to the trolley. Now, plug the motor into the power outlet or restore power at the breaker. Turn on the unit and test the door’s operation. Adjust the travel limits and force settings as needed. These settings ensure the door opens and closes completely without excessive strain. Refer to your manual for step-by-step adjustment instructions—usually involving small dials or digital buttons on the unit. Testing Your New Garage Door Motor Once installed, test the full functionality of the opener: Use both the wall switch and remote control Check safety sensors by blocking the beam—door should reverse Confirm smooth and quiet operation Listen for any abnormal noises or vibrations If the door doesn’t operate properly, recheck the alignment of the rail, the wiring connections, or the motor’s mounting hardware. Professional Help vs. DIY While replacing a garage door motor is a doable task for experienced DIYers, you may want to call a professional if:  Your opener is hardwired (no plug-in cord) The ceiling mount is in a tight or high area The garage door is unusually heavy or custom-built You’re unsure about wiring and adjustments Professional installers can typically complete the job within 1–2 hours, and many offer warranties on both labor and parts. Final Thoughts Replacing a garage door motor may seem like a big task, but with the right preparation and safety steps, it's well within reach for the average homeowner. Whether you're upgrading to a quieter, smarter opener or fixing a worn-out unit, understanding the wiring, mounting, and setup process will ensure a successful installation. Remember to always follow the manufacturer’s instructions, double-check your wiring, and test your new unit thoroughly. When done correctly, a new garage door motor will provide smooth, reliable performance for years to come.
How Does Genie Garage Door Motor Wire In?
By Rabia Tingat July 22, 2025
Find out how to wire a Genie garage door motor with expert tips. Improve motor performance and ensure secure, safe installation with this guide.
How to Replace a Garage Door Cable?
By Rabia Tingat July 20, 2025
Learn how to replace a garage door cable step-by-step. This guide covers tools, safety tips, and expert advice for a smooth and safe cable replacement.