How to Sync Craftsman Garage Door Opener with Remote Easily
If your garage door remote suddenly stops working or you’ve just bought a new one, you might be wondering how to get everything connected again. The good news is that learning how to sync Craftsman garage door opener systems with a remote is much easier than most people think.
Whether you’re a homeowner or a beginner trying DIY fixes, this guide will walk you through the process step by step—without confusion or technical jargon.
Why Syncing Your Remote Matters
Your garage door opener relies on communication between the motor unit and the remote. When they’re not synced, the system simply won’t respond.
This can happen for several reasons. Maybe you replaced the remote, experienced a power outage, or reset the opener. In any case, syncing ensures secure and reliable operation.
More importantly, modern Craftsman systems use rolling codes for safety, so syncing isn’t just about convenience—it’s also about protecting your home.
Understanding How Craftsman Remotes Work
Before jumping into the process, it helps to understand the basics.
A Craftsman remote communicates with the opener through a signal. When you press the button, it sends a coded message to the motor unit. The opener must recognize this code, which is why you need to pair or program the remote.
This is often referred to as garage door remote pairing or programming.
Step-by-Step: How to Sync Craftsman Garage Door Opener
Let’s get straight to the practical part. Follow these steps carefully for a smooth Craftsman remote setup.
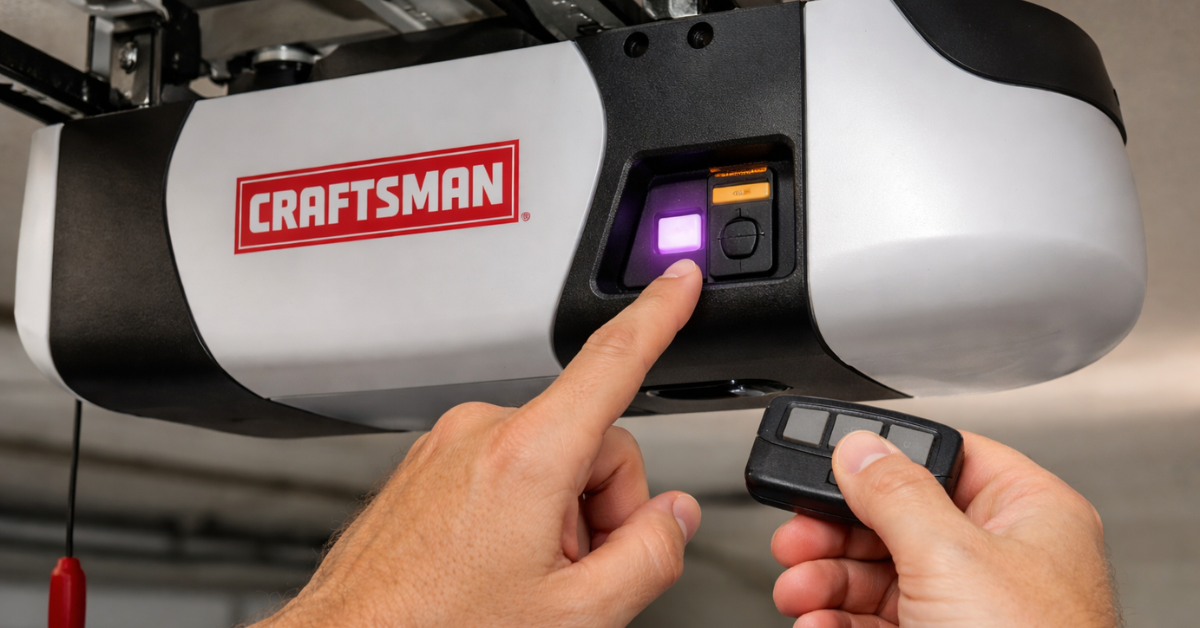
Step 1: Locate the Learn Button
Start by finding the “Learn” button on your garage door opener motor unit. It’s usually located on the back or side, near the antenna wire.
Depending on your model, the button may be yellow, red, orange, or purple.
This button is the key to syncing your remote.
Step 2: Press the Learn Button
Press and release the Learn button. You’ll notice a small LED light turning on. This indicates that the opener is now in programming mode.
You typically have about 30 seconds to complete the next step, so don’t wait too long.
Step 3: Press the Remote Button
Take your remote and press the button you want to program. Hold it for a few seconds.
If the syncing is successful, the opener light will blink or you’ll hear a clicking sound. That’s your confirmation.
Congratulations—you’ve completed the core step of program Craftsman remote successfully.
Step 4: Test the Remote
Now test the remote by pressing the button again.
If the door opens or closes smoothly, everything is working perfectly. If not, repeat the process carefully.
Sometimes it takes a second attempt, especially if timing wasn’t right.
Syncing Multiple Remotes
If you have more than one remote, don’t worry—you can sync multiple devices.
Simply repeat the same process for each remote. Craftsman openers are designed to store several remote codes, making it easy for family members to have their own access.
This is especially helpful for households with multiple drivers.
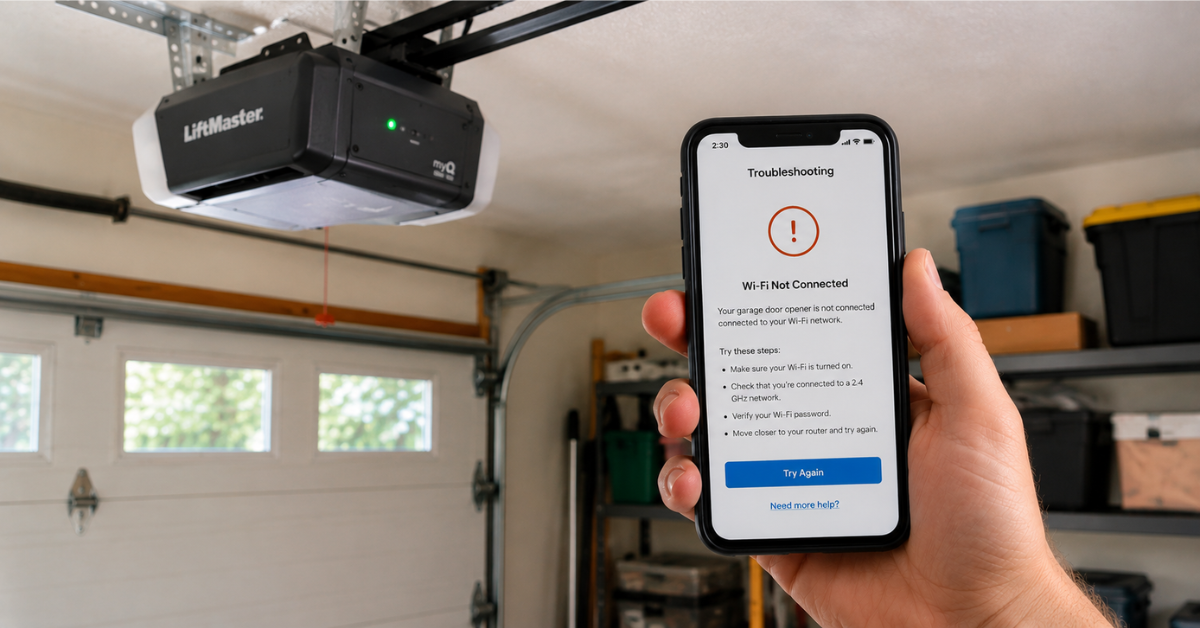
What If the Remote Won’t Sync?
Sometimes things don’t go as planned. If your remote isn’t working after syncing, there could be a few simple reasons.
- First, check the battery. A weak battery can prevent proper communication.
- Second, ensure you pressed the Learn button correctly and within the time limit.
- Third, confirm that your remote is compatible with your opener model.
If all else fails, you may need to reset the system and try again.
How to Reset Craftsman Opener (If Needed)
If you’re facing persistent issues, resetting the opener can help.
Press and hold the Learn button for about 6–10 seconds until the LED turns off. This clears all programmed remotes. After resetting, you’ll need to sync each remote again from scratch. This step is useful for resolving deeper Craftsman opener troubleshooting problems.
Tips for a Smooth Syncing Process
To make the process easier, keep a few practical tips in mind.
Always stand close to the opener when syncing. Distance can affect signal strength. Work in a quiet, well-lit space so you can notice indicator lights or sounds. Follow the sequence carefully—timing matters more than you might think.
These small details can save you time and frustration.
When to Replace Your Remote
If syncing doesn’t work even after multiple attempts, your remote might be faulty.
Over time, remotes wear out or become incompatible with newer systems. In such cases, replacing the remote is often the simplest solution.
Fortunately, replacement remotes are affordable and easy to program.
Conclusion
Learning how to sync Craftsman garage door opener systems with a remote is a quick and practical skill every homeowner should know. The process is simple: locate the Learn button, activate programming mode, press the remote button, and test the connection.
With just a few minutes of effort, you can restore full functionality to your garage door system. And once you’ve done it once, you’ll find it even easier the next time.
FAQs
Q1. How do I know if my Craftsman remote is synced?
A: You’ll see the opener light blink or hear a click when syncing is successful. Testing the remote confirms it.
Q2. Can I sync multiple remotes to one opener?
A: Yes, most Craftsman openers allow multiple remotes to be programmed easily.
Q3. Why is my Craftsman remote not working after syncing?
A: Common reasons include dead batteries, incorrect timing, or compatibility issues.
Q4. Do I need a professional to sync my remote?
A: No, syncing is simple and can be done at home in just a few minutes.
Q5. What does the Learn button do?
A: It puts the opener into programming mode so it can recognize and store remote signals.
You might also like
Fix N Go Blog