
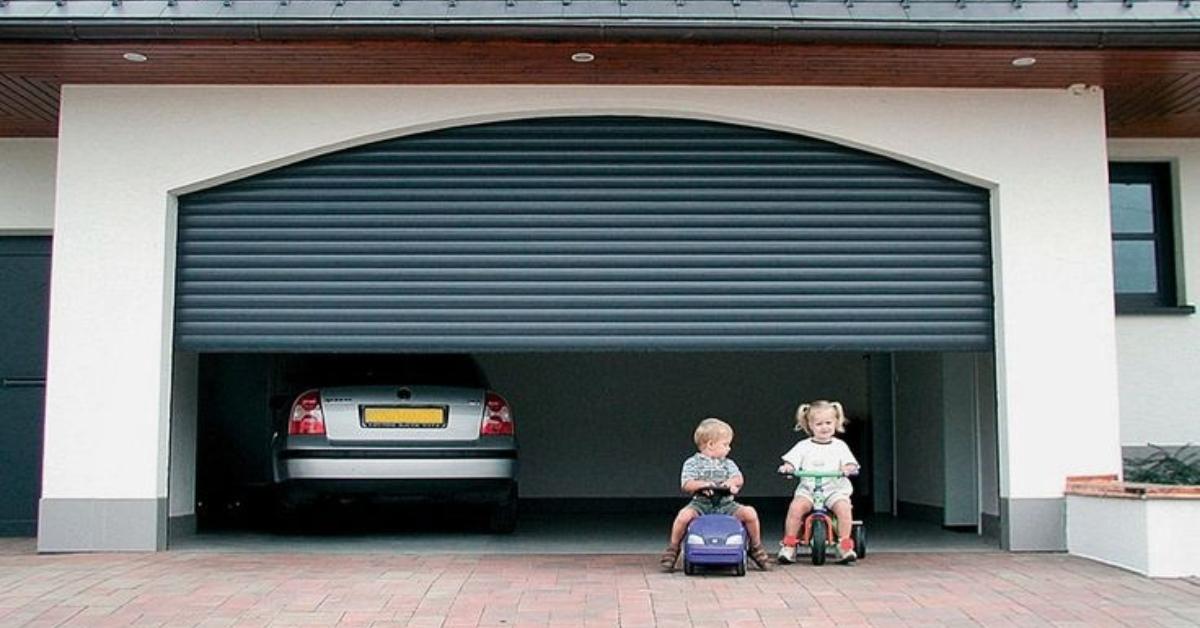
What Are the Reasons for a Jammed Garage Door?
A garage door is a linchpin of convenience and security, seamlessly granting access to our homes at the push of a button. Yet, when this mechanical marvel falters, becoming stubbornly jammed, it disrupts the ebb and flow of our daily lives. The frustration mounts as we grapple with an immovable barrier that not only impedes our routine but also poses security risks.
Understanding the multifaceted reasons underpinning a
jammed garage door is akin to deciphering a complex puzzle. It spans a spectrum of issues, ranging from mechanical glitches—like misaligned tracks, worn-out rollers, or malfunctioning springs—to environmental adversaries such as extreme temperatures or moisture-induced rust.
This in-depth exploration navigates through the labyrinth of potential causes, shedding light on the mechanical, technical, and environmental factors that can render a garage door immobile. Delving deeper, it seeks not just to unravel the complexities behind these jams but also to empower homeowners with insights into preventive measures and troubleshooting strategies.
In the pursuit of a
smoothly operating garage door, this comprehensive guide serves as a beacon, illuminating the path toward a better understanding of the mechanisms, the challenges, and the solutions entwined within the realm of garage door jams.
Common Causes of Garage Door Jams
Misaligned Tracks
Misaligned tracks are a prevalent cause of garage door jams. The tracks, which guide the door's movement, must be perfectly aligned for smooth operation. Any deviation from alignment due to impact, wear, or improper installation can lead to issues. When the tracks are misaligned, the door may get stuck or struggle to move along the track smoothly. This misalignment can result from loose hardware, bent tracks, or debris obstructing the track's path. Regular inspections and adjustments can prevent this issue, ensuring the tracks remain properly aligned.
Broken Springs
Another significant cause of garage door jams is broken springs. Springs bear the weight of the door, facilitating its movement during opening and closing. Over time, these springs can weaken due to constant tension and usage, eventually breaking. When a spring breaks, the door's balance gets disrupted, causing one side to drop or preventing the door from opening at all. Broken springs pose a significant safety risk and should only be replaced by trained professionals due to the high tension they hold.
Damaged Rollers
Damaged or worn-out rollers can also lead to garage door jams. Rollers, situated along the sides of the door, enable smooth movement within the tracks. When these rollers wear out, become chipped, or get stuck due to dirt or debris accumulation, they impede the door's movement. This obstruction can cause the door to get stuck or operate unevenly, resulting in a jammed door. Regular lubrication and periodic inspection of rollers can prevent such issues, ensuring they function smoothly and efficiently.
Weather-related Issues
Extreme temperatures, whether extremely hot or cold, can take a toll on garage doors. In scorching heat, metal components can expand, potentially causing warping or bending of the door. This expansion might lead to misaligned tracks or hinder smooth movement along the rollers. Conversely, in freezing conditions, metal parts contract, affecting the door's mobility. Lubricants may thicken, making the operation less smooth, while rubber seals and insulation might become brittle, compromising the door's ability to maintain a secure and insulated environment.
Moisture is a persistent threat to garage doors. Prolonged exposure to moisture can trigger rust formation on metal components like tracks, hinges, springs, and rollers. Rust not only impedes the door's movement but also weakens these vital components, potentially leading to failures. Wooden doors are also susceptible; moisture can cause swelling, warping, and rot, affecting both functionality and appearance. Regular inspections, moisture prevention strategies, and applying rust-resistant coatings can help mitigate these issues.
Understanding the effects of extreme temperatures and moisture-related problems such as rust formation empowers homeowners to take proactive measures. Regular maintenance, weatherproofing, and rust prevention can safeguard garage doors against these weather-related challenges, ensuring continued smooth operation and durability.
Mechanical and Technical Problems
Motor malfunctions can cause garage door operation disruptions. Issues with the motor, such as worn-out gears, damaged wiring, or motor component failures, can lead to the door not opening or closing smoothly or failing to respond to commands. A malfunctioning motor might produce unusual noises, vibrations, or irregular movements, indicating underlying problems. Regular motor maintenance and timely repairs by qualified technicians can prevent these malfunctions and ensure proper functioning.
Electrical Issues
Garage doors rely on electrical systems for operation, and electrical problems can cause significant disruptions. Issues such as faulty wiring, tripped circuits, or damaged electrical components can lead to erratic door behavior or complete failure. Power surges or lightning strikes might also damage the door's electrical system. Regular inspection of electrical connections, addressing any wiring issues promptly, and installing surge protectors can mitigate electrical problems.
Problems with Door Components
Various components contribute to a garage door's operation, and problems with these components can cause jams or malfunctions. Issues with springs, tracks, rollers, hinges, or cables can hinder smooth movement or cause the door to get stuck. Worn-out or damaged components may also compromise the door's balance or cause misalignment, leading to operational problems. Routine inspection, lubrication, and prompt replacement of worn or damaged parts are crucial to ensuring the proper functioning of these door components.
Understanding motor malfunctions, electrical issues, and problems with door components empowers homeowners to identify potential problems early on and take proactive measures. Regular maintenance and timely repairs are essential to ensure the smooth and reliable operation of garage doors.
Lack of Maintenance and Wear-and-Tear
Regular maintenance plays a pivotal role in the functionality and longevity of garage doors. It helps identify potential issues before they escalate, ensuring that the door operates smoothly and reliably. Routine inspections, lubrication of moving parts, tightening loose hardware, and checking for signs of wear are crucial aspects of maintenance. Additionally, periodic professional inspections and tune-ups can address underlying issues and prevent unexpected malfunctions, prolonging the lifespan of the door and its components.
Wear-and-tear on garage doors manifests in various ways. Visible signs such as rust formation on metal parts, fraying cables, worn-out rollers, or cracks in the door panels indicate deteriorating conditions. Noises like squeaking, grinding, or rattling during door operation might suggest mechanical issues or worn-out components. Uneven movement, jerking, or slowing down while opening or closing are also signs of potential problems. Regularly observing and addressing these signs of wear through timely maintenance and necessary repairs can prevent larger issues and ensure the door's optimal performance.
Homeowners can prevent garage door damage by understanding the importance of regular maintenance and recognizing signs of wear-and-tear. Regular inspections, preventive maintenance, and addressing signs of wear promptly contribute to the door's longevity, reliability, and efficient operation.
DIY Troubleshooting for Garage Door Jams
While DIY troubleshooting can resolve minor issues, some problems might require professional assistance. If DIY checks and solutions don't resolve the jam or if there are significant visible damages, it's best to seek the expertise of a professional garage door technician. Moreover, if the issue involves complex electrical or mechanical components, like motor malfunctions or wiring problems, or if there are safety concerns, it's crucial to rely on skilled professionals to ensure proper and safe repairs.
Knowing simple DIY troubleshooting steps and when to seek professional help empowers homeowners to address minor issues themselves while recognizing when a professional's expertise is necessary for more complex or critical problems. Prioritizing safety and seeking professional assistance for intricate issues ensures the efficient and safe operation of garage doors.
Tips for Prolonging Garage Door Life
Several tips can help prolong the life of garage doors. Keep the tracks clean and free from debris, ensuring they're properly aligned. Lubricate moving parts regularly to minimize friction and wear. Avoid slamming the door shut and conduct gentle manual testing of the door's balance. Additionally, maintain weather seals and insulation to protect the door from extreme temperatures and moisture. Also, consider painting or treating wooden doors to protect them from the elements. Following a maintenance schedule and implementing these tips for prolonging garage door life are proactive steps that homeowners can take. Regular maintenance and preventive measures not only ensure smooth and reliable operation but also contribute to extending the lifespan of garage doors, saving on repair costs and enhancing overall safety and security.
Conclusion
Understanding the diverse reasons behind a jammed garage door is key to ensuring its smooth and reliable operation. From mechanical issues like misaligned tracks, broken springs, and damaged rollers to weather-related challenges such as extreme temperatures and moisture-induced rust, each factor plays a crucial role in the door's functionality. Implementing regular maintenance, conducting timely inspections, and addressing minor issues promptly can prevent jams and extend the door's lifespan. By recognizing these potential causes and taking proactive measures, homeowners can mitigate risks, enhance safety, and sustain the optimal performance of their garage doors for years to come.
You might also like
Fix N Go Blog


